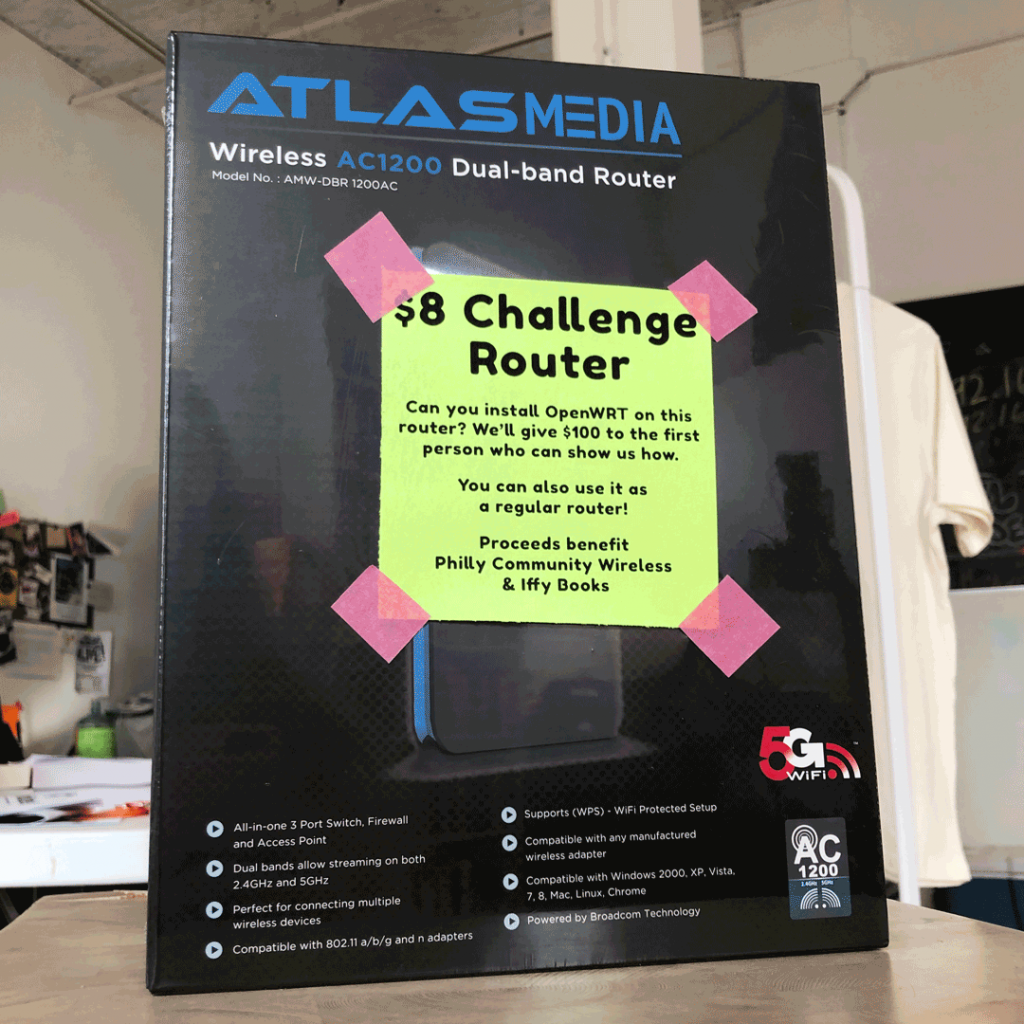
The following is transcribed from a conversation with Jim from Trashpanda Village, with a few edits for clarity. You can buy your own Atlas Media challenge router here.
What we have is an older router, but it’s not so old that it can’t still be functional and provide some fun. It’s got wi-fi, it’s got a couple of Ethernet ports. It runs on 12 volts, 1 amp, so it doesn’t draw a lot of power. Very simple construction on the inside. It’s made by a company that went out of business, but when you open it up and look inside it’s obvious that it’s a product that was white labeled from China. When you open up the interface and log in with the default password admin, it looks like any other normal, standard router. When you right-click on the web pages and go to view source, you can start to peel back the mystery of where this router actually came from. After poking around on a few different web pages within the admin panel, you’ll notice Chinese characters in the comments. And eventually you’ll come across a page where you’ll see there’s a file at the location 192.168.0.1/js/product.js. And when you open that file, that’s where you’ll see it’s actually not an Atlas Media router. It’s a Tenda FH1205 router. And that starts you down the path of doing some Google searches to find out who Tenda is, and you look at some of their products and you see it’s pretty similar to this router. So this is more than likely just a Tenda router that’s been rebranded as an Atlas router, so that the Tenda FH1205 firmware actually loads directly onto this router. I don’t know how to get it back to an Atlas router, but that’s how you could do it.
Looking at the firmware for the Tenda router, you can decompile it and poke around. And that’s what led me to find a script called 192.168.0.1/cgi-bin/DownloadCfg. When you curl that location, out pops all the key-value pairs from the settings. It basically downloads all the settings for the router as one big text file. Y’know, it’s like wifi_enabled=True or ethernet_name="eth1", stuff like that. That led me to poke around the Tenda firmware and find if there were any other cgi-bin files that might be interesting that might be carried over into the Atlas. That’s when I found another script in the cgi-bin called 192.168.0.1/cgi-bin/DownloadFlash. In order to get that to work, you log in to the interface normally, then you switch over to your command prompt and run a curl or a wget on that location and output the results to a file. It will download 64MB of data, and then promptly crash or reboot the router. It’s interesting, because it’s exactly 64MB. Which is, if you look on the circuit board, it’s the size of the flash chip in there. So I’m pretty confident that what I’ve just downloaded at that point is the entire flash firmware. The next step proceeding foward would be to extract that using binwalk. You can use binwalk with the -eM command, and that will extract that binary file into various other files and folders. The -eM command does a recursive bin walk on it, so if it finds any other compressed files it will try to uncompress those as well.
One of the headaches that you’ll run into is that most firmwares are Squashfs. But this particular Squashfs firmware has an atypical LZMA header in it. LZMA is the compression algorithm that the Squashfs file system is compressed with. But many vendors will often customize the compression algorithm to make it more efficient or just get rid of features they don’t want to support. This makes it kind of a pain in the neck to extract using standard tools. So you’ll have to locate a patch for binwalk called Sasquatch. This is a simple patch that you can find on GitHub. It’s rather old, and I ran into problems compiling it on a later Ubuntu system. What Sasquatch does is it downloads the Squashfs tools and tries to recompile them itself. But it patches a few lines of code that make the LZMA portion of it a bit more brute force, so binwalk will attempt to guess at the custom trick the vendor did with LZMA compression. I can send you the tweak I did to the patch file in order to get it to actually compile on a later Ubuntu system, but the TL;DR is that there’s gonna be a setting in there somewhere where it tries to set some XY values. Later versions of Ubuntu don’t have the same headers for XY support. This might not be the best way to do this, but we aren’t using XY anyway so let’s just not support it. So you go in there and comment out the line that says XY_support=1. Then follow the rest of the help from Sasquatch and it’ll recompile SquashFS. And then you can re-run binwalk. Once you decompress the Squashfs system, that’s when you get all the files that are on the router’s web server. And once you have all the files, that’s when you can do password cracking on /etc/passwd or /etc/shadow and find out that the root password is Fireitup.
A colleague of mine, Dev, found a CVE for Tenda routers that mentioned another URL that you can go to. The URL is 192.168.0.1/goform/telnet. When you execute a GET request to that URL, it triggers the router to launch telnet. So you’ve run that in one command line window, and then in another command line window you just telnet to 192.168.0.1. It’ll ask you for a username, which is root, and a password, which is Fireitup.
The other way to get root on the box would be to crack open the case and solder some wires to the headers. The serial settings are 115200 Hz, and the rest are the default settings. Connect a UART to that, or you could even use a Flipper. Once you press enter a few times, it’ll ask you for the password. It doesn’t ask for the username, just the password. Then you give it that Fireitup password and you’re in as root. And at that point, you can do whatever you want.
If you end up bricking the router, there is a possibility to de-brick it. If you have your serial wires connected, during the bootup sequence there’s a short moment where if you press enter it will launch into what’s known as a CFE boot prompt. That will give you the Broadcom boot prompt. That should give you the ability to TFTP copy over a new binary file. This should be all that’s needed to basically install OpenWrt or un-brick your router if you brick it. As always, caution in the CFE boot is necessary because if you brick it from there I don’t think there’s a way back other than desoldering the chip.
We are so close to doing literally whatever we want now. With this information, we can now make a custom operating system for this router. The caveats here are that support for the Broadcom wireless chip is gonna be limited depending on our capacity to either support open source vs. compiled drivers. Y’know, hacker/gray market drivers. It’s all up to your ethics at that point, where you wanna go with that. It’s the kind of thing where I don’t think you’ll get the full suite, but I think you can get wi-fi with open source drivers. And if you don’t mind using the compiled drivers from Broadcom, that’s not a gray area. It’s not FOSS, but it’s at least not illegal or shady.
If you’re familiar with how to do web source code and are somewhat comfortable with the command line, this is a pretty short project for you. If you’re comfortable with soldering, it’s even shorter. It’s a very simple soldering project, three wires. Finding the spot to do the soldering is really easy. The challenge is that the holes might be filled with solder. So I would call this a beginner-to-kind-of-a-headache soldering project. Maybe 20 minutes to solder. For everything else, a half hour to screw around. If you just listen to everything I said and sat down with the project, you’d be done in 20 minutes to get as far as I did.
To actually get OpenWrt or some sort of operating system running on this, that part I don’t know. I that that would take a couple hours of some hardcore hacking. I think we can figure it out in a couple hours. Or another couple days or weeks or whatever. Everything we’re doing is the kind of stuff you can just Google and follow how-tos. If we have to write a custom driver for the chip, that’s when you’re in the super-advanced elite world. And I don’t think we’re there. No one’s opening a hex editor and having to move 1s and 0s around manually. Or running JTAG on the CPU and looking at every single CPU instruction. I don’t think it’s that complex.
Thanks, Jim!
Here are some photos of a router with header pins soldered on, connected to a CH340 USB-to-TTL adapter.


Thanks to Mattie for soldering. And thanks to Anthony and Retry for research and advice.
➡️ Buy an Atlas Media challenge router for $8 + shipping
➡️ Donate to Iffy Books
March 2023