LoRa + Meshtastic: Encrypted messaging from your phone without the internet
April 2023
Iffy Books + Mike Dank
The Meshastic project, founded in early 2020, uses inexpensive LoRa radios to create an off-grid mesh network for communication. If you’ve ever been hiking or camping in the wilderness away from cell towers, or at locations like music festivals where infrastructure is often congested from a high volume of use, you may understand the need for a platform that does not rely on traditional communication services.
Meshtastic is completely off-grid, and doesn’t rely on any existing networks or infrastructure. It does so using LoRa (short for Long Range) radios that are advertised as being able to transmit data at a typical range of 10km (~6 miles) in areas with a clear line of sight, and some have reported communicating over longer distances. In a city environment with many obstructions, your range is more likely to be 1–3 blocks.
LoRa implements chirp spread spectrum (CSS) modulation, meaning that it is robust to channel noise and resistant to multi-path fading, resulting in low interference.
It is important to note that LoRa is not designed for high-speed data transmission, and the hardware is only capable of transmitting between 250 bits/s and 27 kbits/s. At this speed, LoRa becomes ideal for text communication via realtime chat as well as location beaconing, though it has also been adopted for use in IoT and sensor networks.
Meshtastic uses LoRa technology to provide a communication platform ideal for small groups of people who wish to have private conversations. This can be ideal for a temporary setup where there is no traditional infrastructure to use, or a permanent setup with fixed and mobile nodes operating in a particular neighborhood.
BUILDING A MESH
Each node in a Meshastic network is composed of a LoRa radio device, typically paired via Bluetooth to a mobile phone. Once paired, the host device can run the Meshtastic application to send and receive messages on the network.
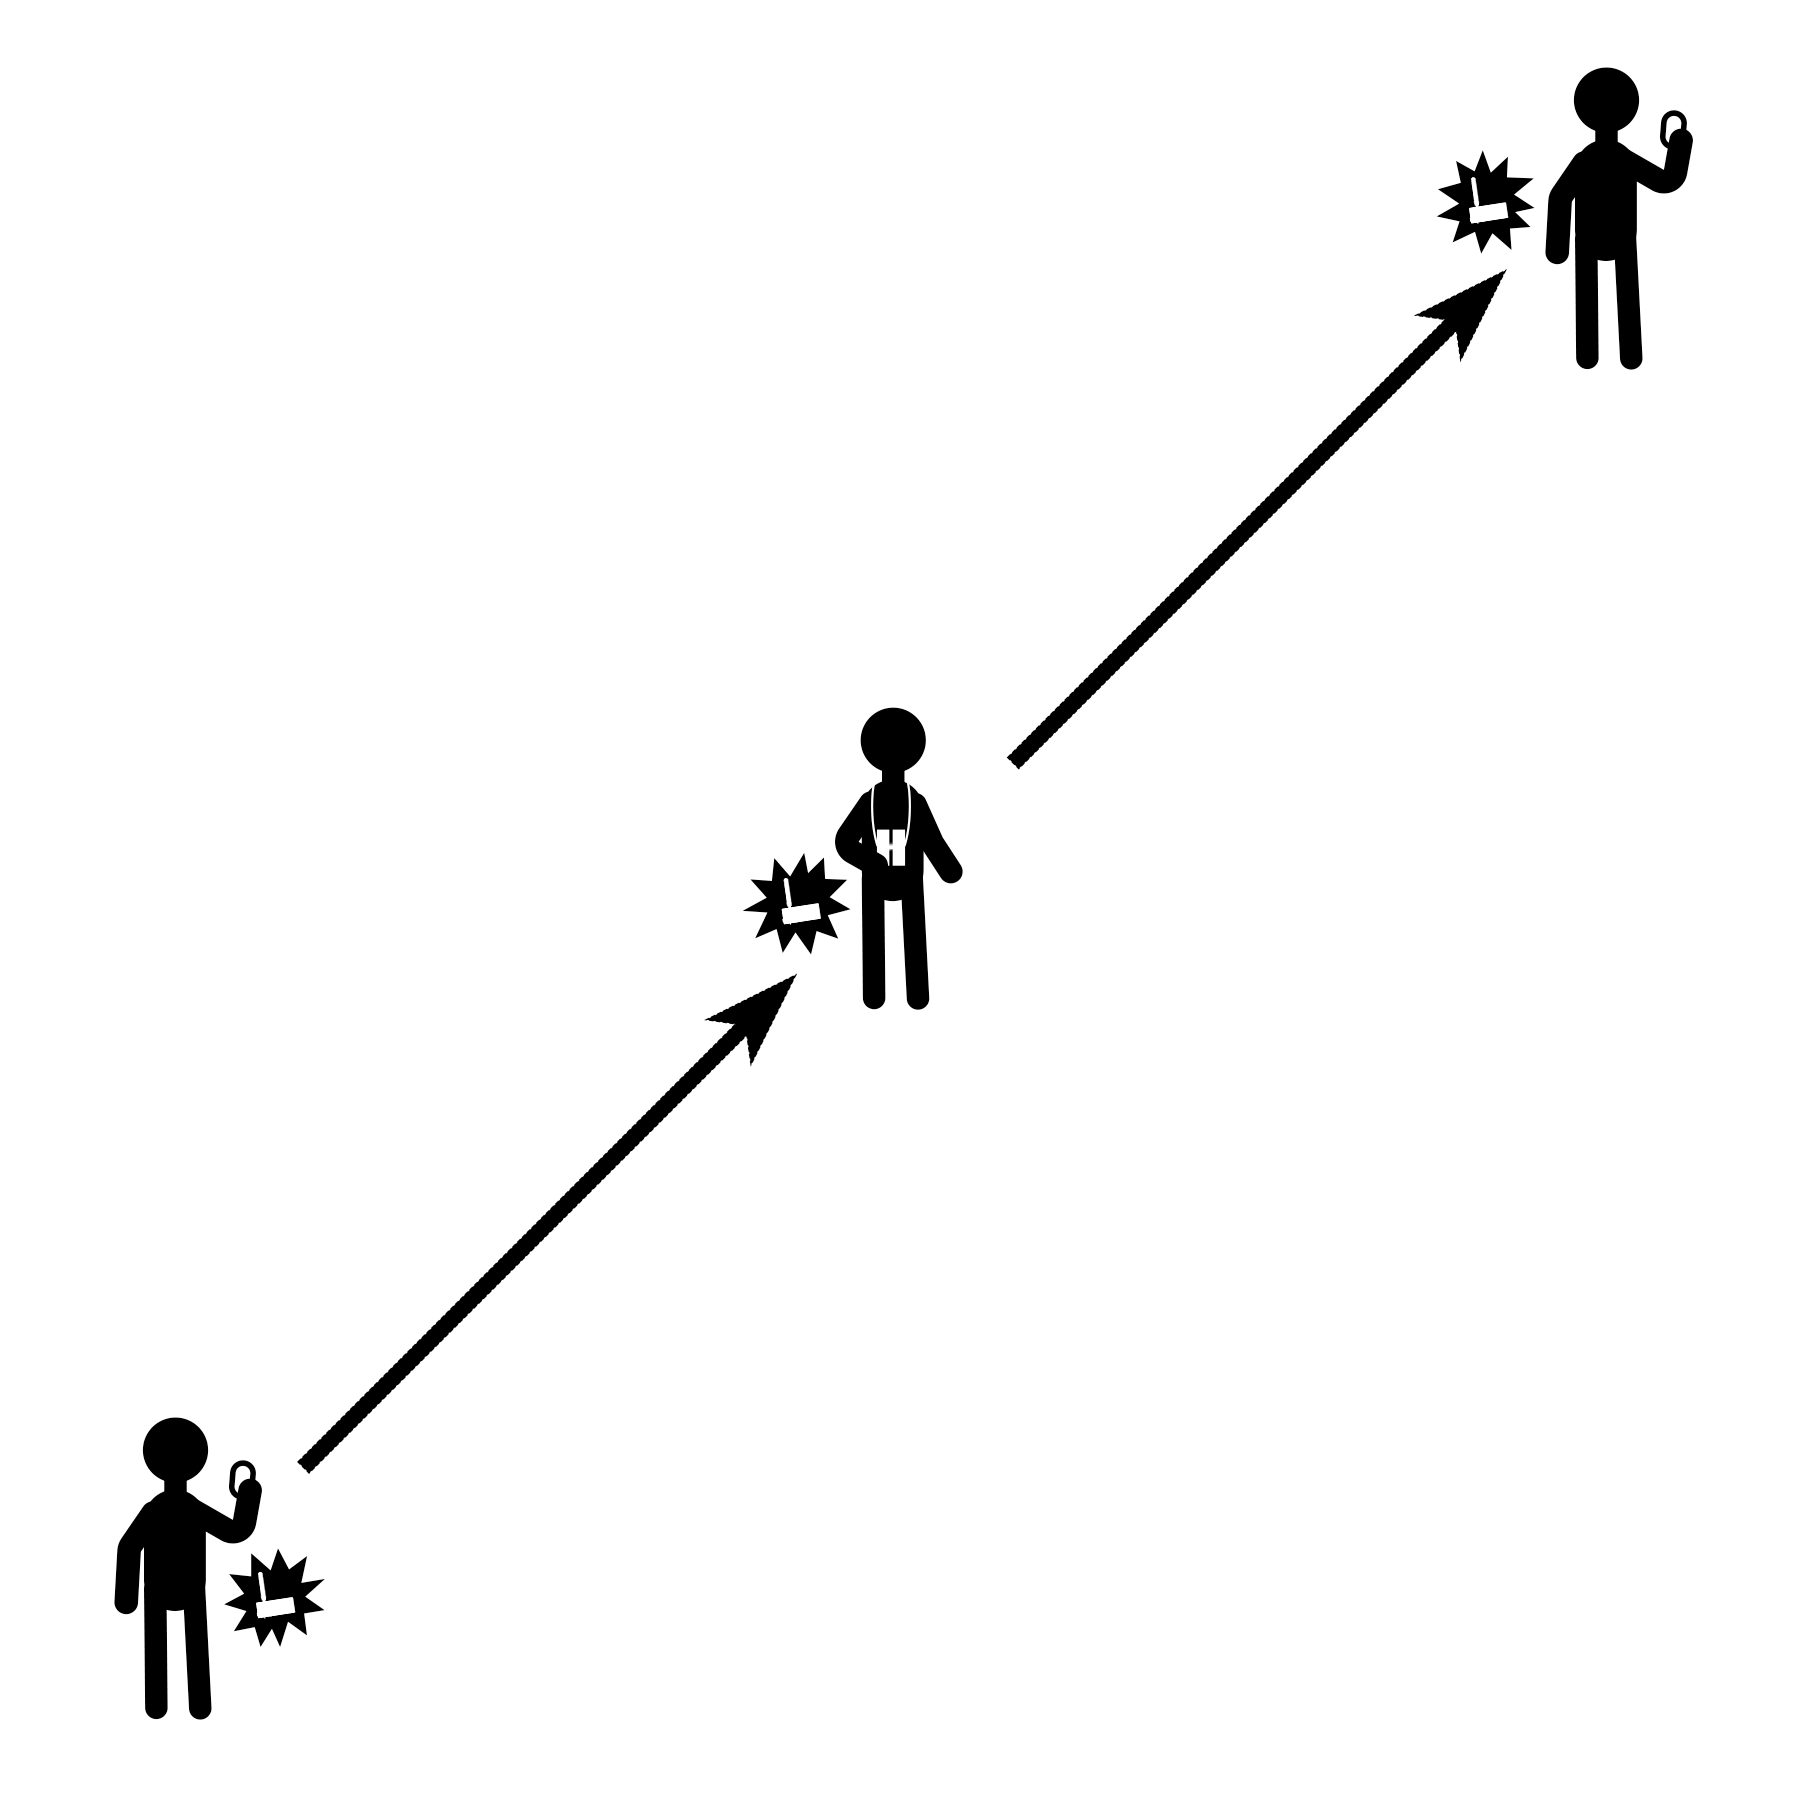
Each node in the Meshtastic network additionally acts as a relay for other nodes. For example, if Alice and Bob want to send messages to one another, but are physically too far apart to make a connection, their data can automatically be routed through a third user Carlos who is physically between and in range of both Alice and Bob. This means that even the most distant nodes on the network have the ability to communicate with all other nodes, even if they are not nearby.
Nodes can also be set up as standalone repeaters that simply route traffic through the network without being connected to a host device. This allows nodes to be operated in an isolated or otherwise fixed position, supplying connection to the greater network for others nearby. This can be an ideal configuration for solar-powered nodes that are elevated for line-of-sight connection, requiring little to no maintenance from the operator.
PRIVACY
By default, a new Meshtastic node is configured to use a general chat channel that everyone has access to. On the channel tab, you can create a new channel by typing in a name and optionally change the bandwidth. With this option you can choose to have your messages sent faster, but over a lower distance or vice versa. I prefer to keep the option set to allow for the longest distance and slowest speed. A private address for the new channel you created can be sent to others via a link or by scanning a QR code on the screen. Anyone who doesn’t have the private address cannot join the channel or decrypt the messages within it.
If you want, Meshtastic can share your current GPS coordinates with everyone else on the channel you're using. Sharing your location can be helpful if you're in a remote area or navigating a large crowd. If you're using Meshtastic from home, we recommend turning off GPS sharing so you don't dox yourself.
SUPPLIES
Setting up a Meshtastic node is relatively inexpensive, assuming you already have a computer you can use to interact with the radio. I recommend getting materials for two nodes so you can adequately test an end-to-end connection.
Currently, there are Meshtastic applications for both Android and iOS, though the iOS application is in beta. Alternatively, there is a Meshtastic-python library you can use to interface with a LoRa radio via PC, but you will likely need some prior Python language experience to make full use of it. Further, there is a serial interface and web interfaces to access Methtastic from a browser, though the latter may currently be unstable. There is no current turnkey application for PC use.
When you purchase your board, make sure to get one that operates in a frequency you are allowed to transmit on in the country you are operating in. In the United States, we're using 915MHz.
HELTEC LORA32 SETUP
Your LoRa radio comes with an antenna, which you'll want to connect before going further. If you power on your LoRa radio without an antenna attached, you may damage the circuitry.
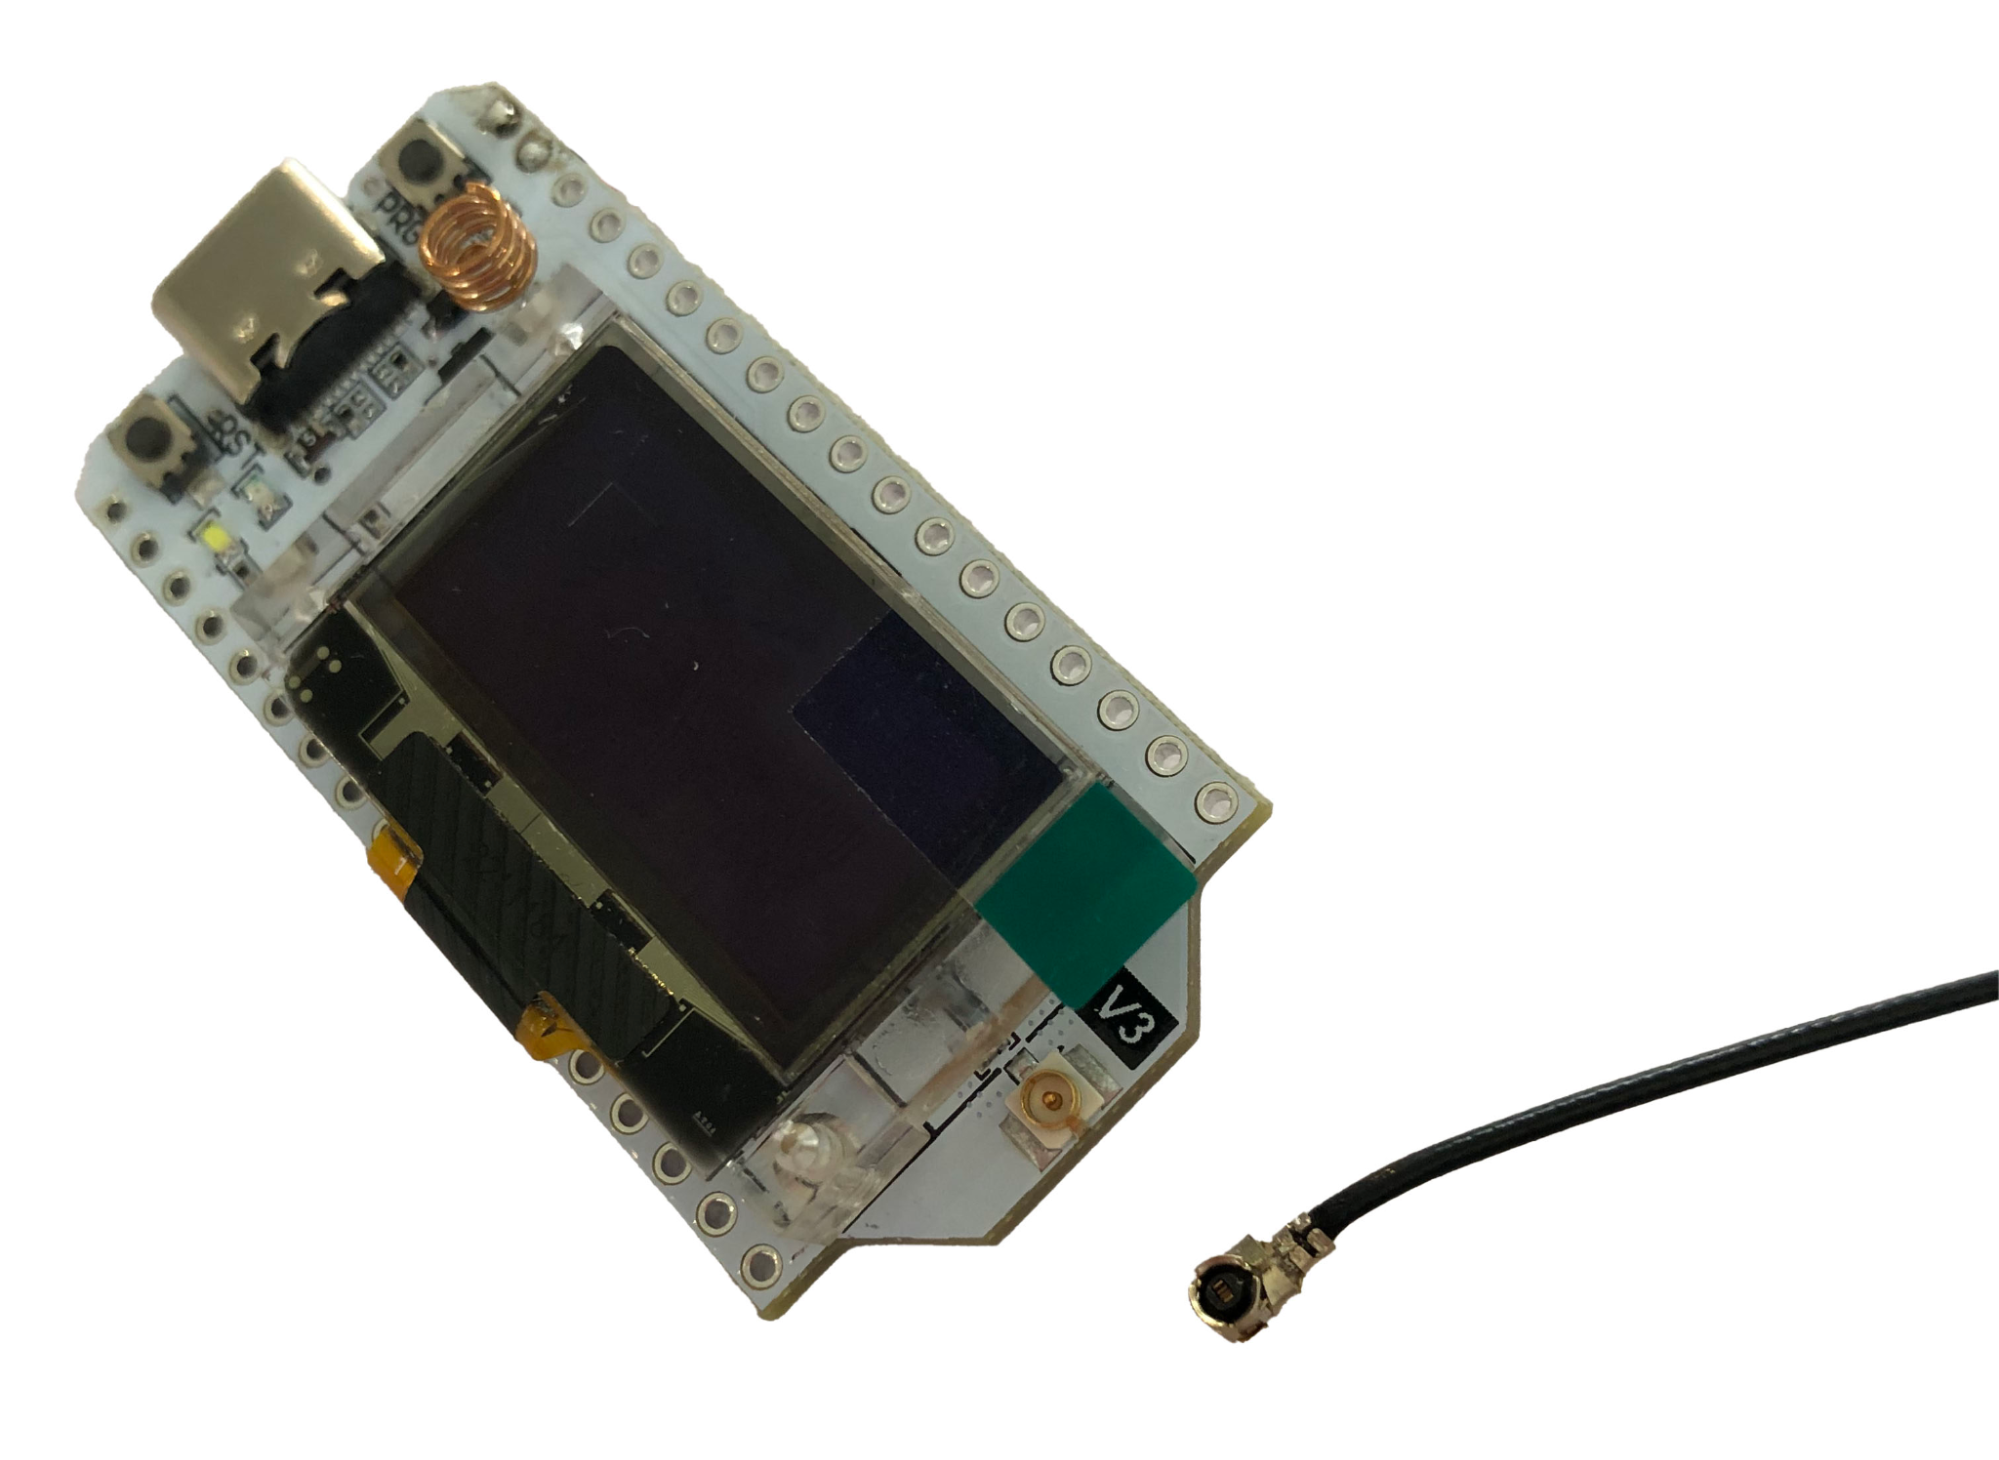
If you're using a Heltec LoRa32, your antenna uses an IPEX-1 connector. The port you'll connect it to is on the front of the device, to the right of the LCD screen.
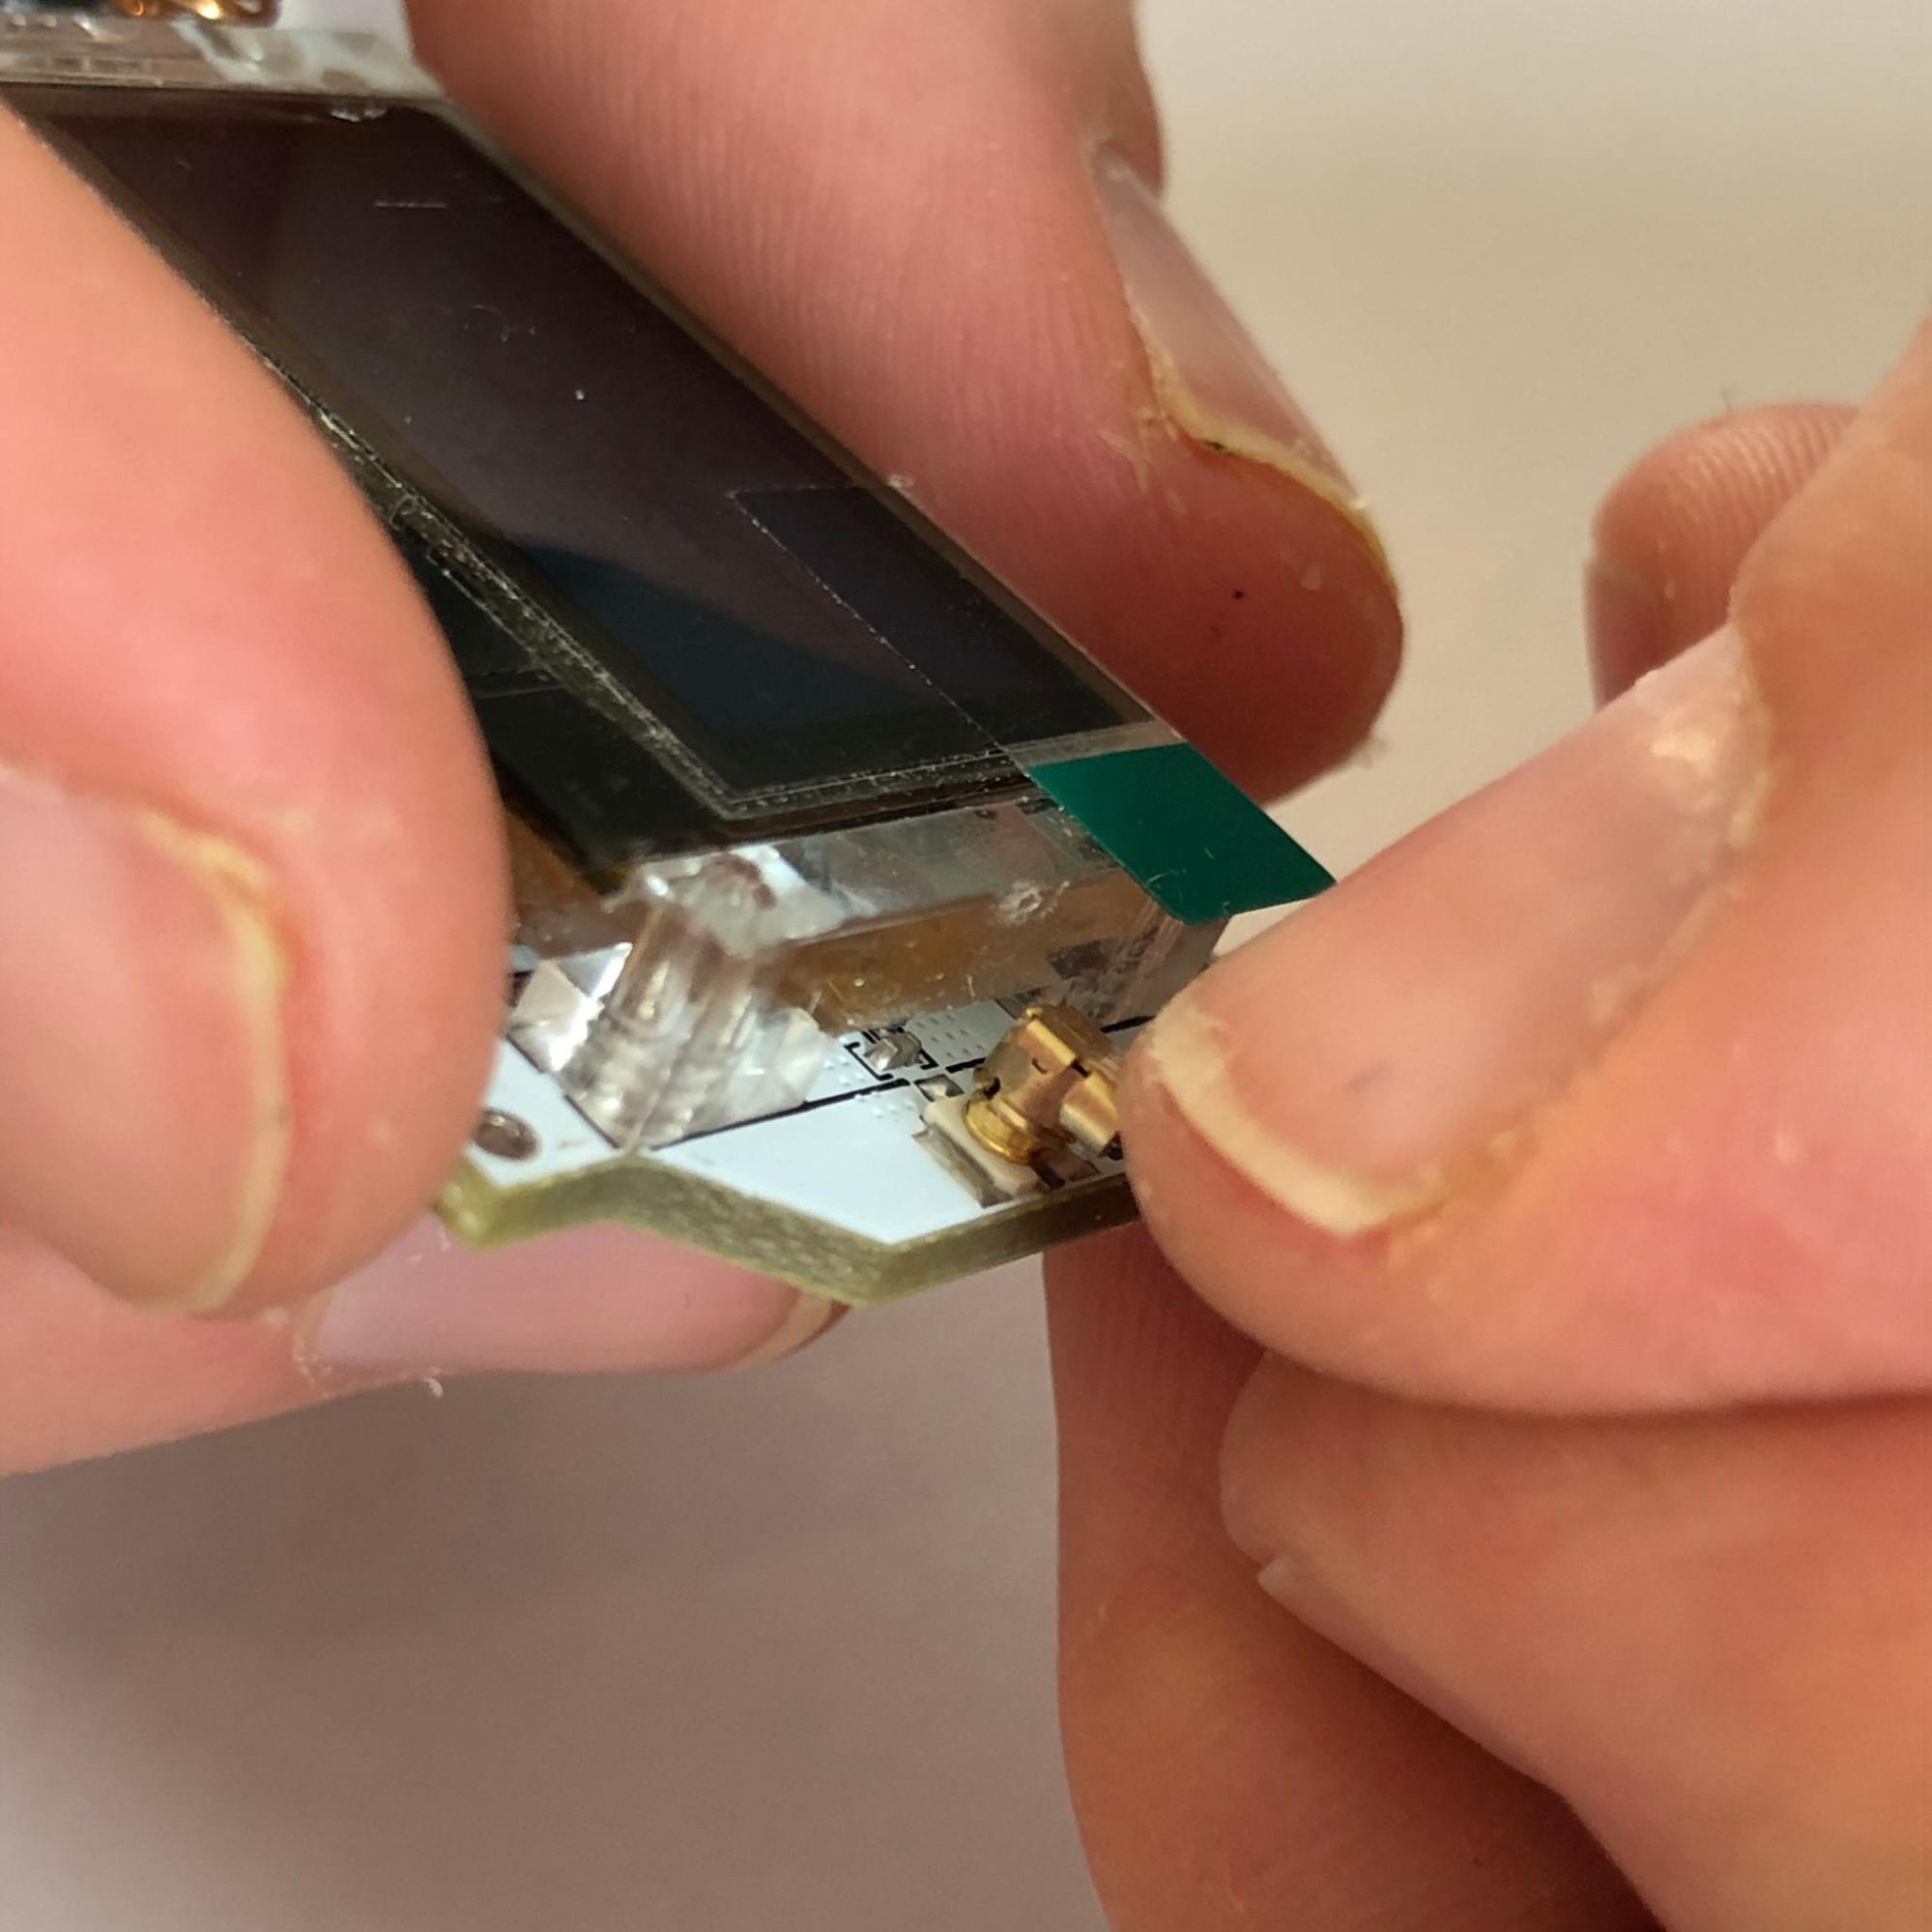
Line up the IPEX-1 connector with the port and try to snap it on with your thumb. It will probably take more pressure than you expect. Alternately, place your LoRa radio on a table and press the connector onto the port with the flat side of a ballpoint pen.
Connect a microUSB cable to your LoRa radio and plug the other end into a USB power source, such as a computer. You'll see the Meshtastic logo on the LCD screen, followed by a screen that looks like this:
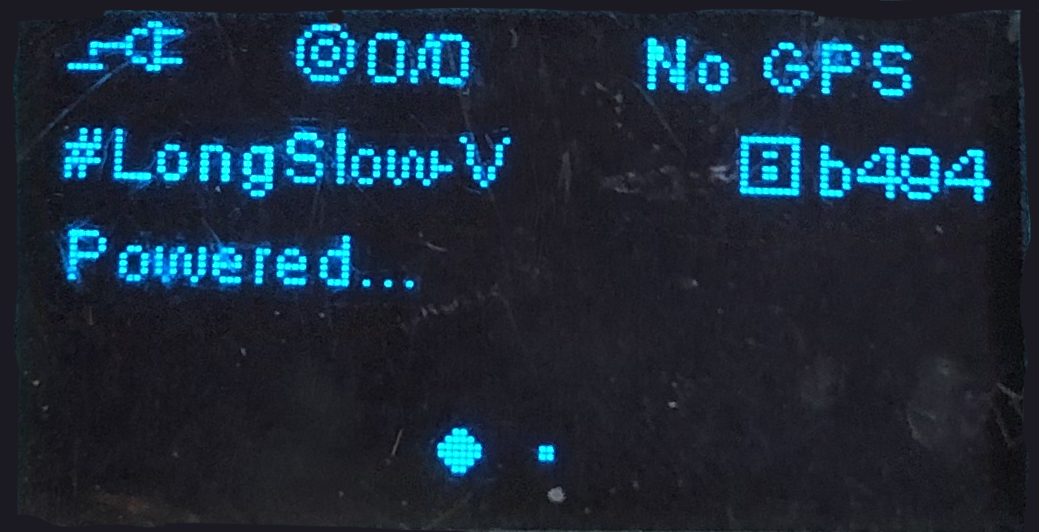
At the top right of the screen you'll see a 4-digit ID code for your device. In this case the device's ID is b494.
INSTALL PYTHON AND PIP
Before you flash the Meshtastic firmware to your LoRa device you'll need Python 3 and the pip package manager. To check whether you have them, first open a terminal window. (If you're using macOS, open the Terminal app. In Windows you can use PowerShell.)
Type the following command and press enter:
python3 -m pip -V
If Python 3 and pip are installed, you'll see a version number for both. If you get an error message, you'll need to install them.
Install Python 3 with pip on Debian-based Linux
Open a terminal window and run the following commands:
sudo apt-get update
sudo apt-get install python3
sudo apt-get install python3-pip
Install Python 3 with pip on macOS
https://docs.python-guide.org/starting/install3/osx
or https://iffybooks.net/link/bba2
Install Python 3 with pip on Windows
https://realpython.com/installing-python/#how-to-install-python-on-windows
or https://iffybooks.net/link/4f5e
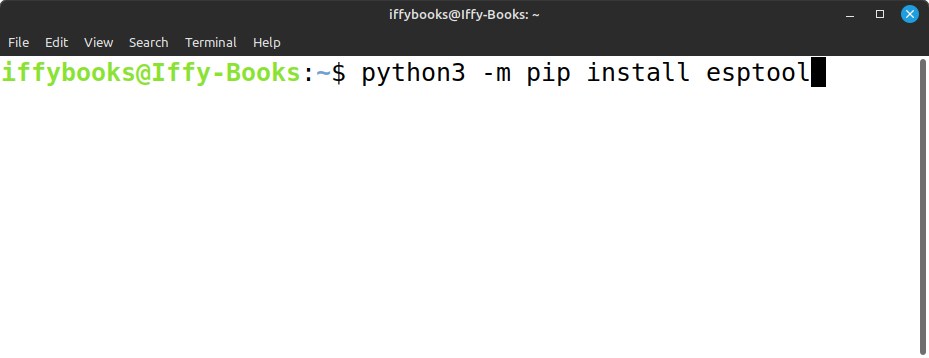
INSTALL ESPTOOL
Next you'll run the following command in a terminal window to install the esptool Python package. The same command should work for Linux, macOS, and Windows.
python3 -m pip install --upgrade esptool
FLASH MESHTASTIC FIRMWARE
TO LORA RADIO
You can find the latest Meshtastic firmware releases at the following URL:
https://github.com/meshtastic/firmware/releases
Scroll down until you find the latest release marked stable.
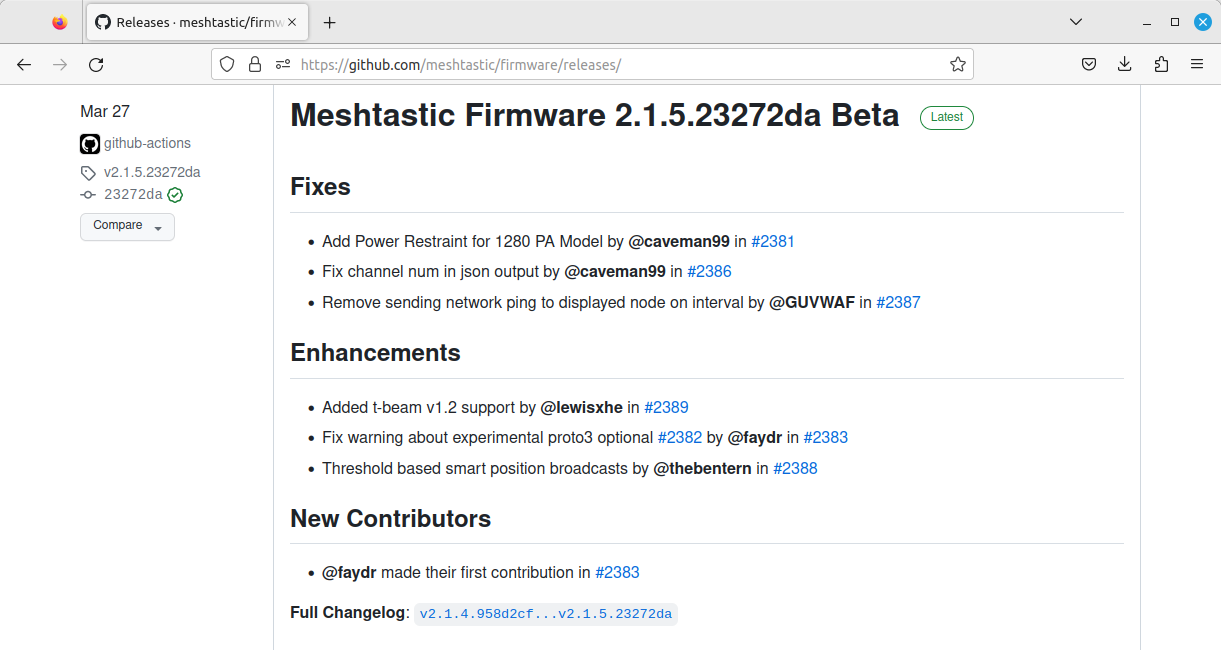
Click on the title of the release, in this case Meshtastic Firmware 2.1.5.23272da Beta.
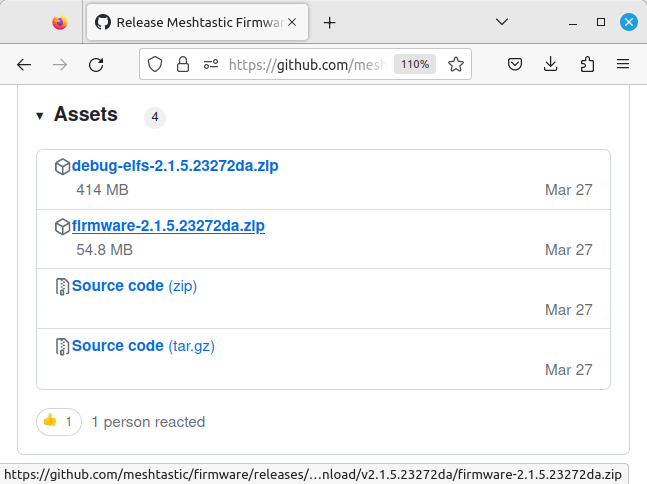
Scroll down and look for a link to a .zip file with firmware at the beginning of the filename (firmware-2.1.5.23272da.zip in the example below). Click the filename to download the firmware release.
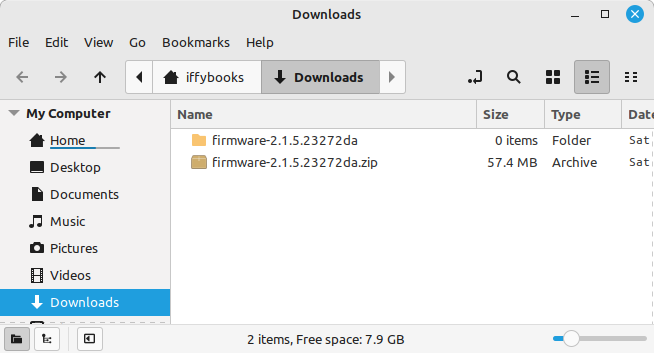
Find the .zip file you just downloaded. Right-click it and extract to the current directory.
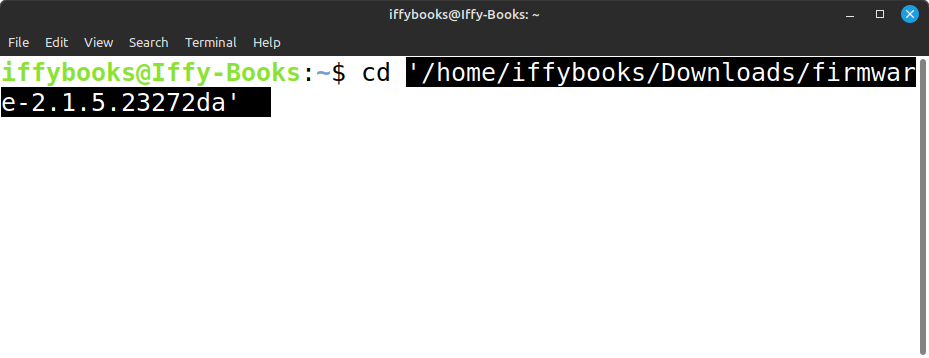
Open a terminal window and type cd followed by a space. Click on the firmware directory you just created and drag it onto the terminal window.
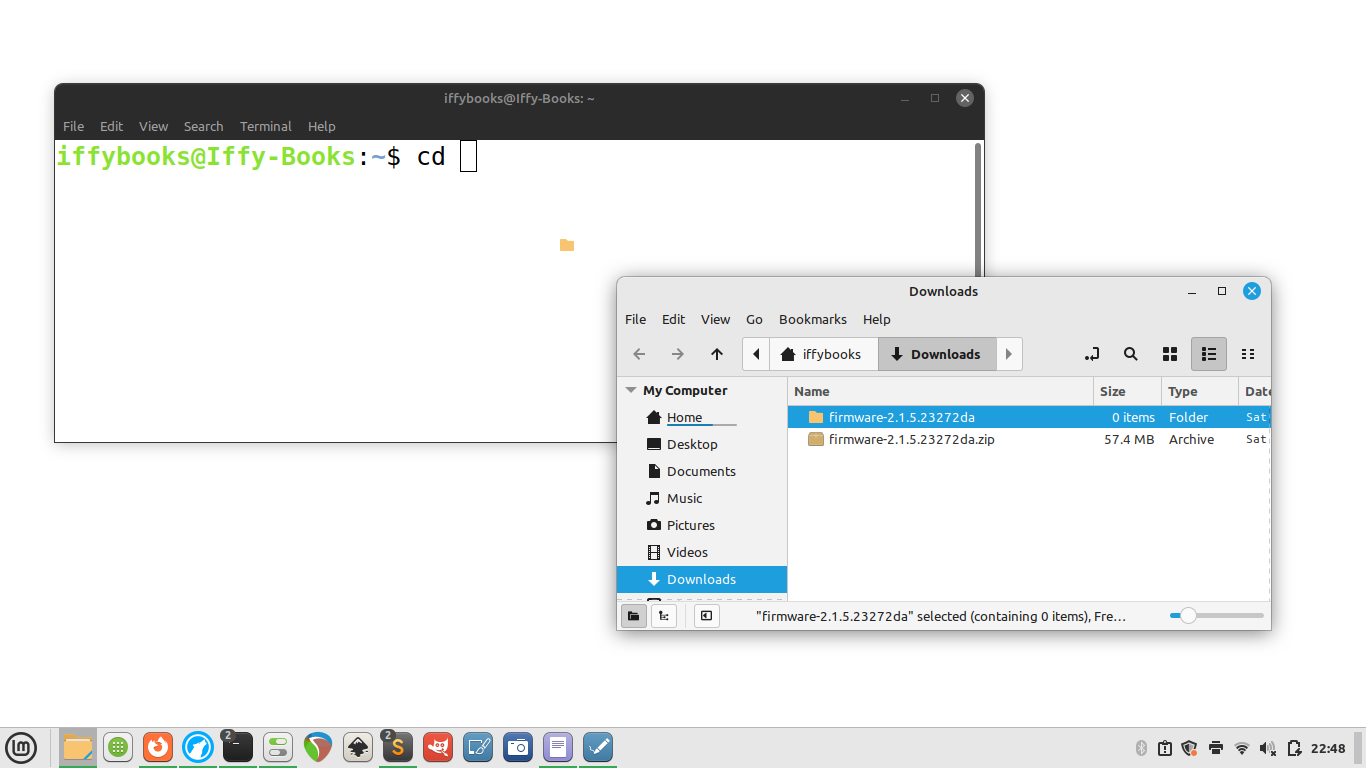
The directory's full pathname will appear in the terminal window. Press enter to change your working directory to the new firmware directory.
Type ls and press enter to see a list of files in the current directory.
Type the following in the terminal window, followed by a space:
./device-install.sh -f
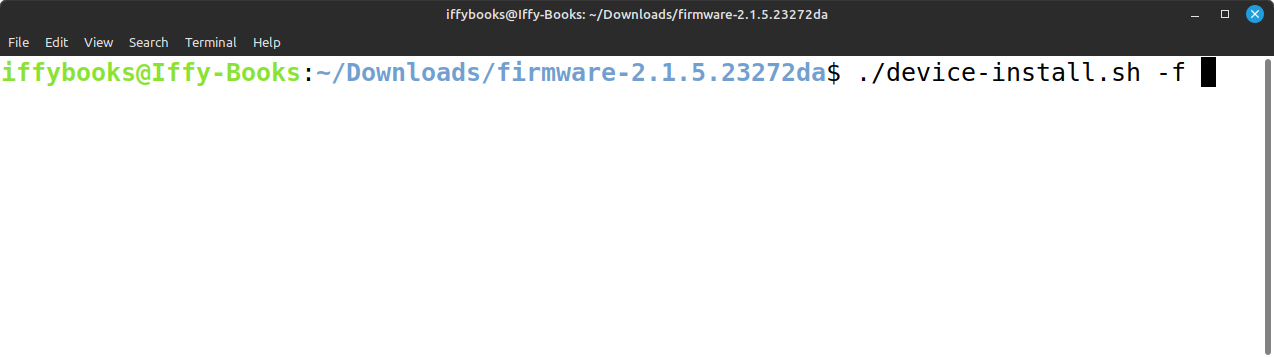
Open the firmware directory in File Explorer/Finder and find the file that starts with firmware-heltec-v3 and ends with .bin. The filename below is firmware-heltec-v3-2.1.5.23272da.bin.
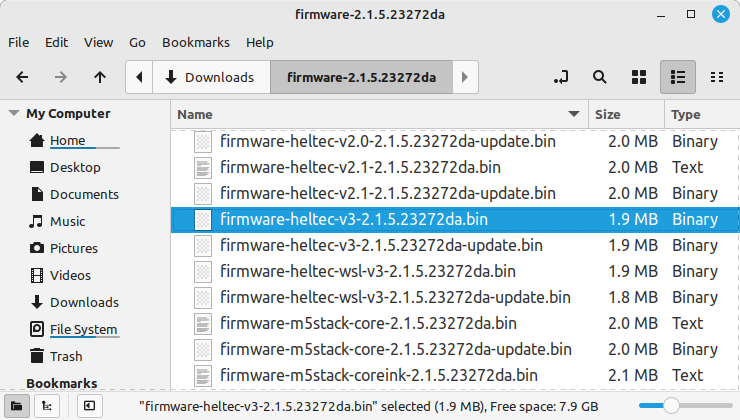
Drag the file into your terminal window to add the path to your command.
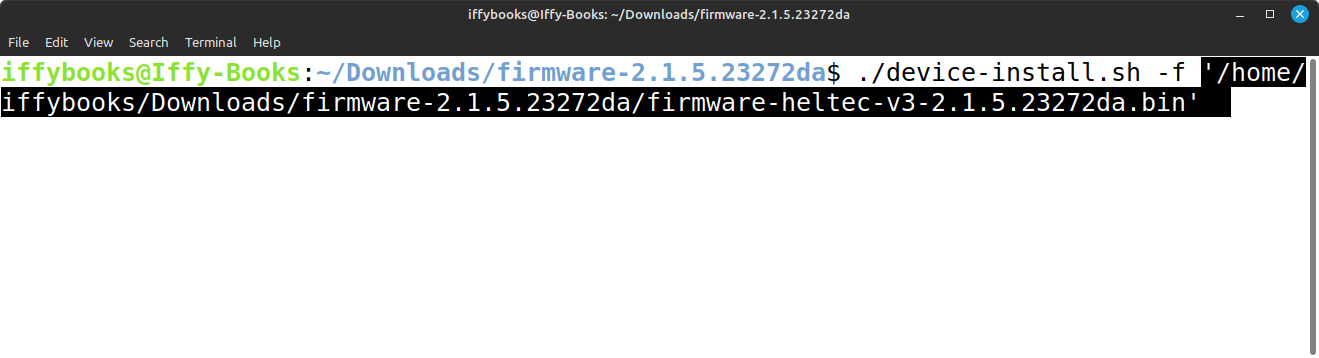
Here's the full command in the example above:
./device-install.sh -f '/home/iffybooks/Downloads/firmware-2.1.5.23272da/firmware-heltec-v3-2.1.5.23272da.bin'
Press enter to run the command and start flashing your LoRa radio.
If something goes wrong, refer to the "Flashing with the CLI" page on the Meshtastic website:
https://meshtastic.org/docs/getting-started/flashing-firmware/esp32/cli-script
INSTALL THE MESHTASTIC APP ON YOUR PHONE
iOS: Search for "Meshtastic" in the App Store and
install it.
Android: Go to the Google Play Store or the Amazon Appstore and search for "Meshtastic." Install the app.
Or download the .apk from GitHub and sideload it: https://github.com/meshtastic/Meshtastic-Android/
or https://iffybooks.net/link/5a11
PAIR WITH YOUR LORA RADIO (ANDROID)
Open the Meshtastic app and tap the plus sign (+) in the bottom right corner to start scanning for LoRa devices.
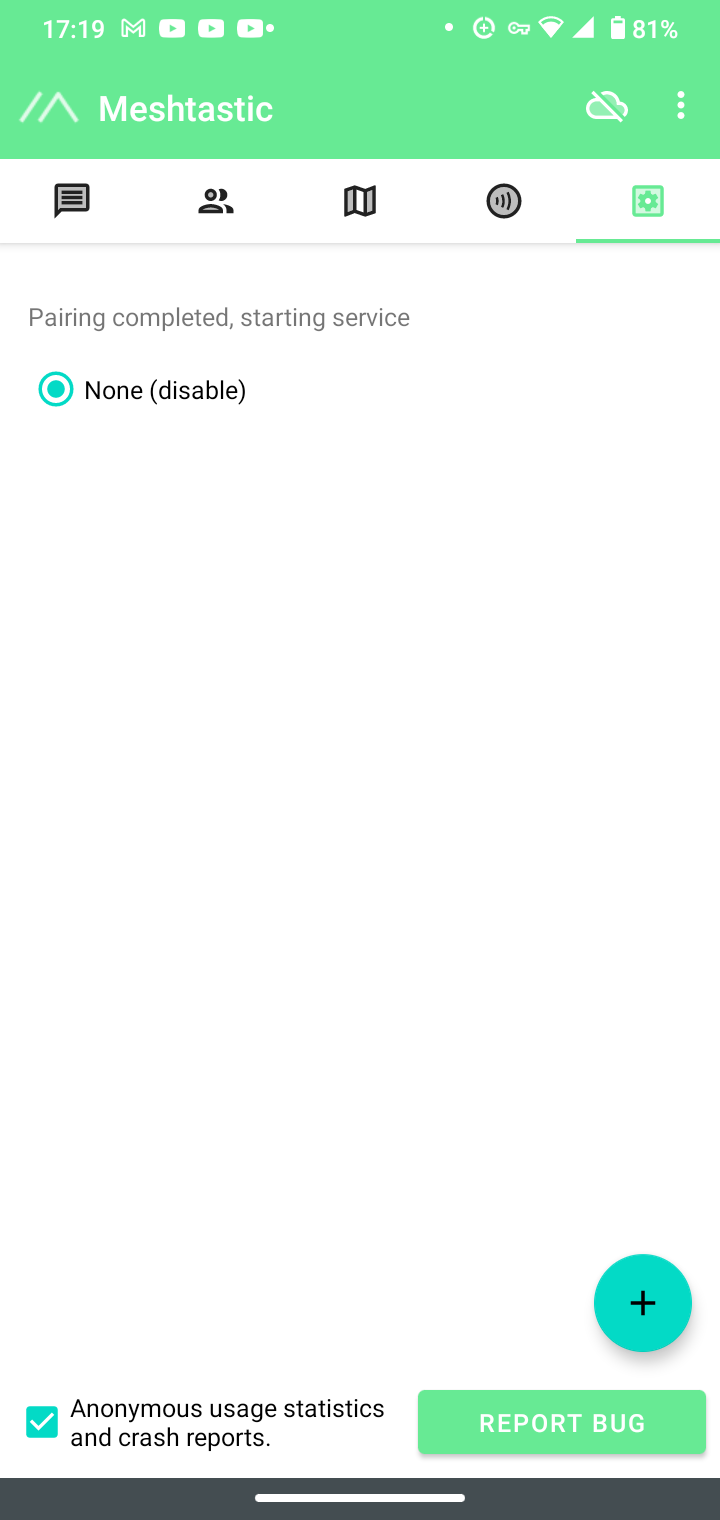
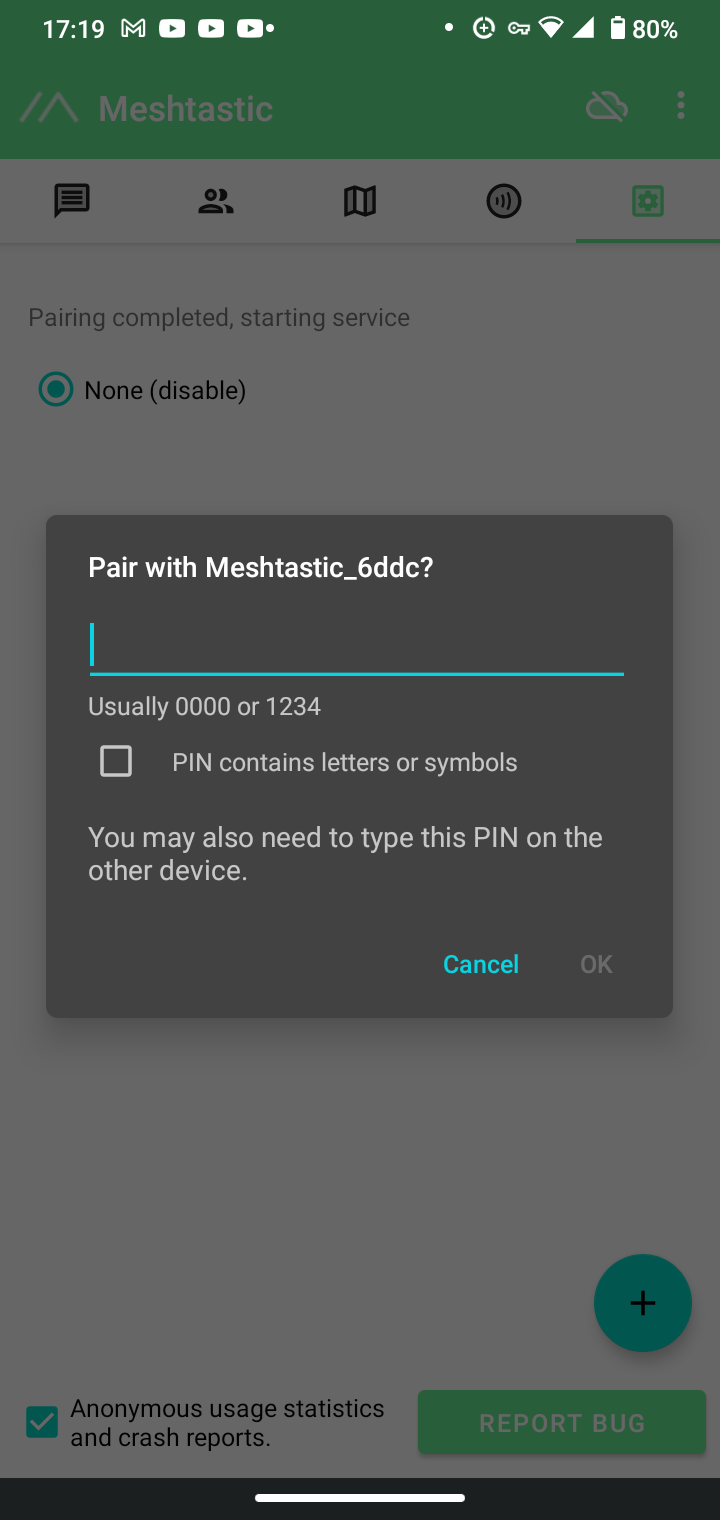
Find your device using its four-character ID. Tap the radio button next to it to start pairing.
Type the six-digit number from your LoRa device's screen and tap OK.
PAIR WITH YOUR LORA RADIO (iOS)
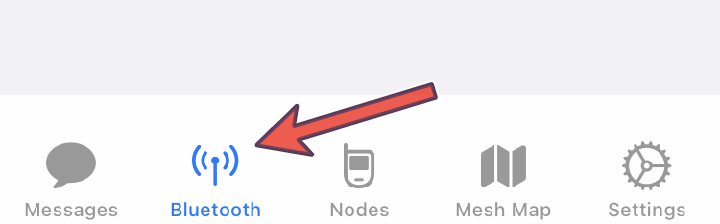
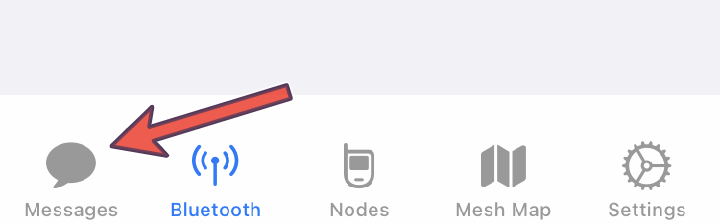
Tap the Bluetooth icon at the bottom of the screen. Find your LoRa device under Available Radios and tap it.
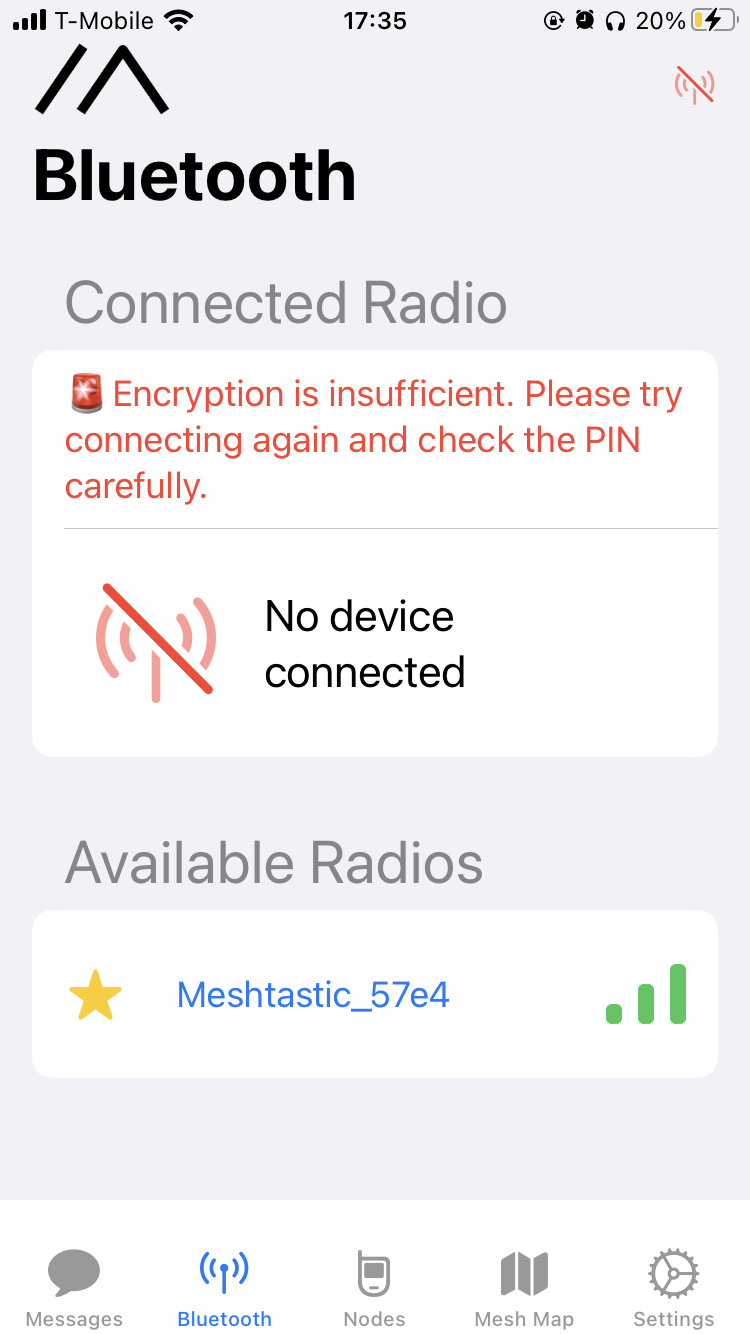
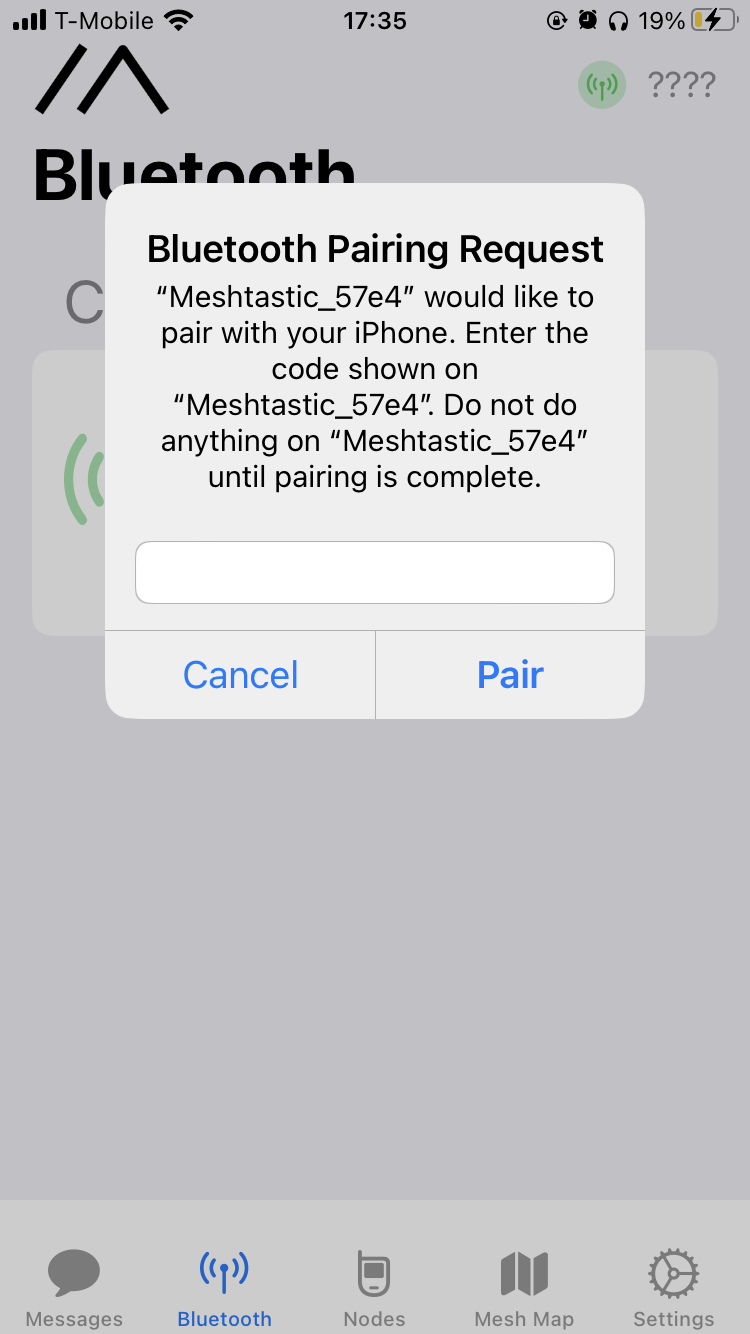
Type the six-digit number from your LoRa device's screen and tap Pair.
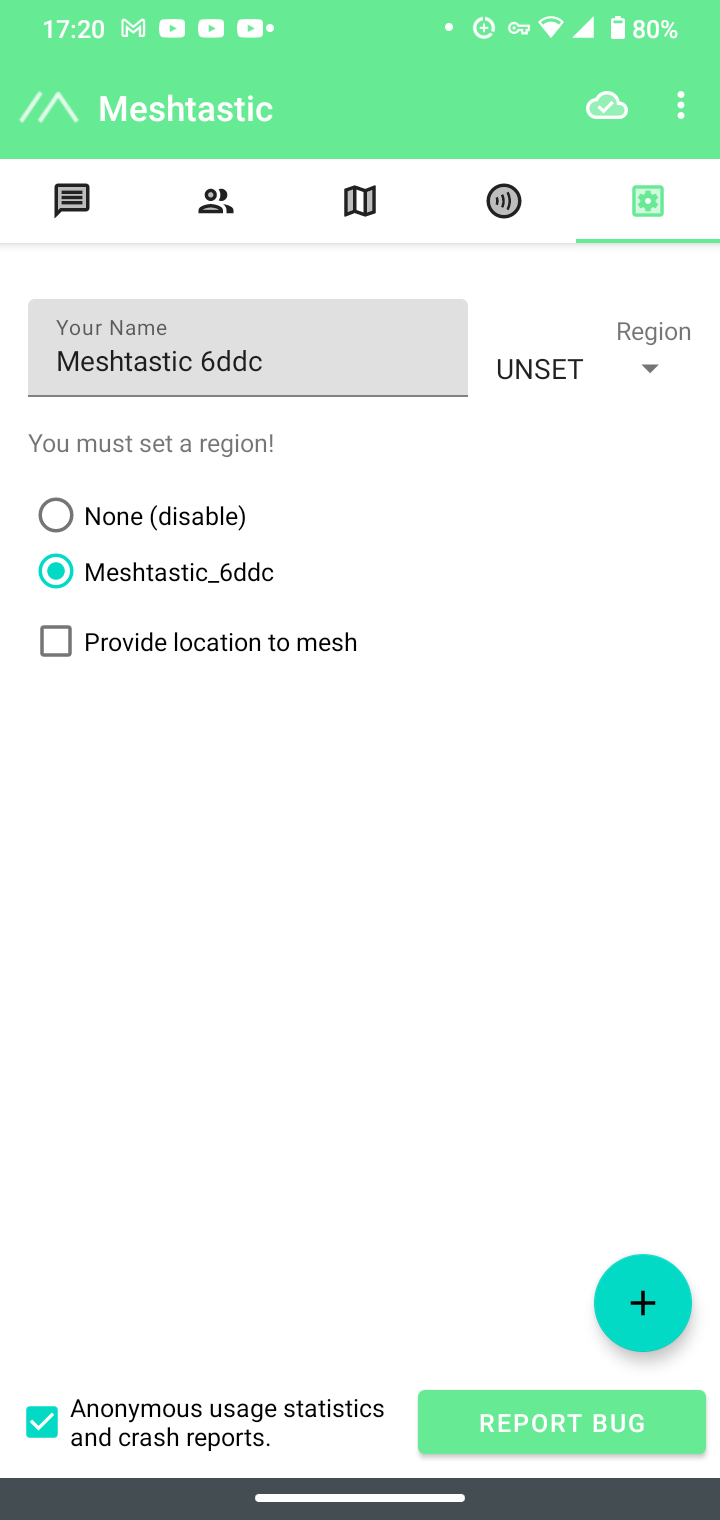
SET YOUR REGION (ANDROID)
Tap Region at the top right of the screen and select your region from the dropdown menu.
➡ |

SET YOUR REGION (iOS)
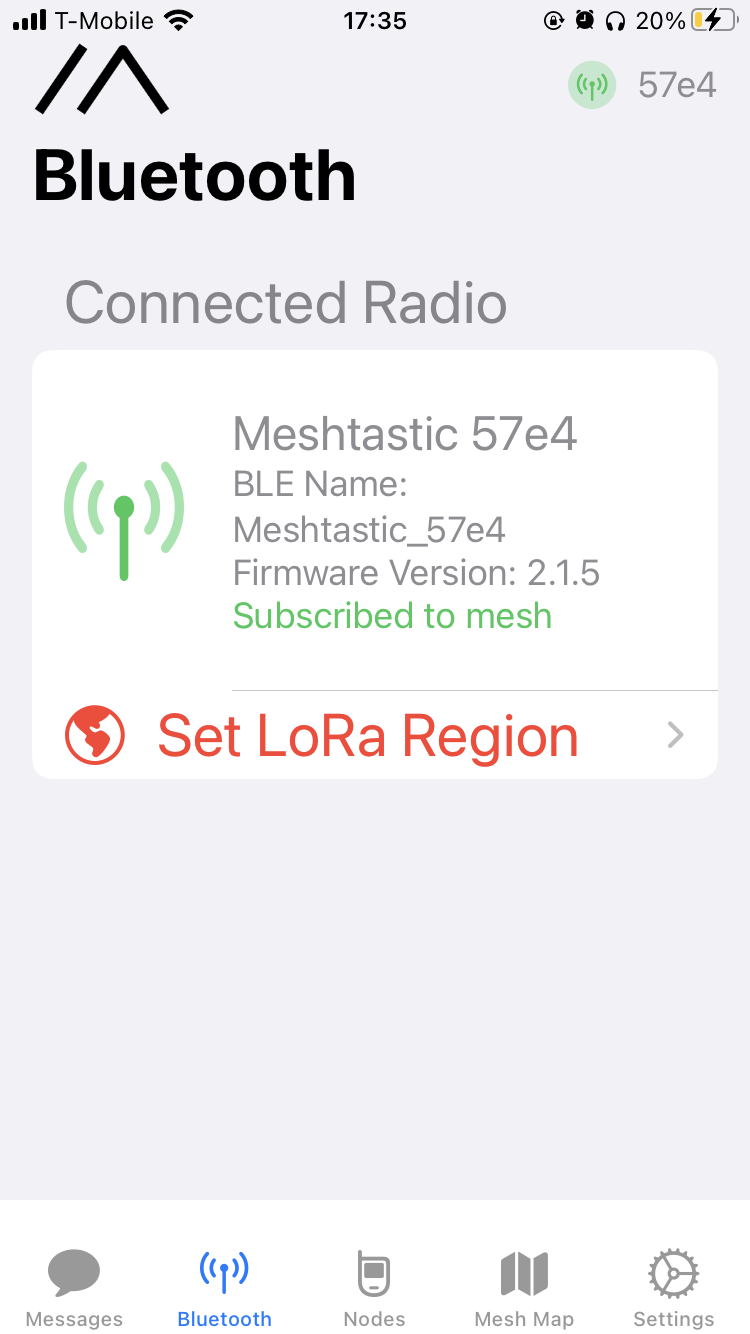
Tap the Bluetooth icon.
Tap Set LoRa Region.
Tap Please set a region and select your region from the dropdown menu.
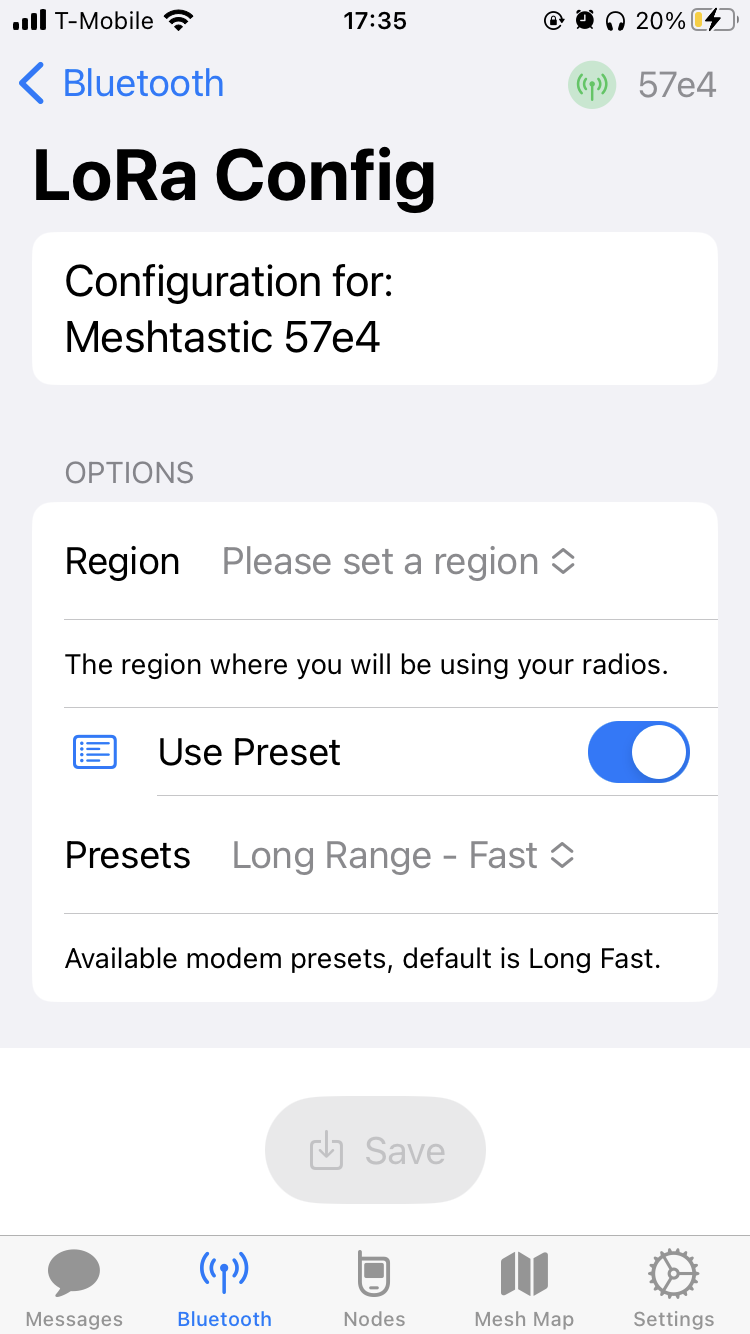
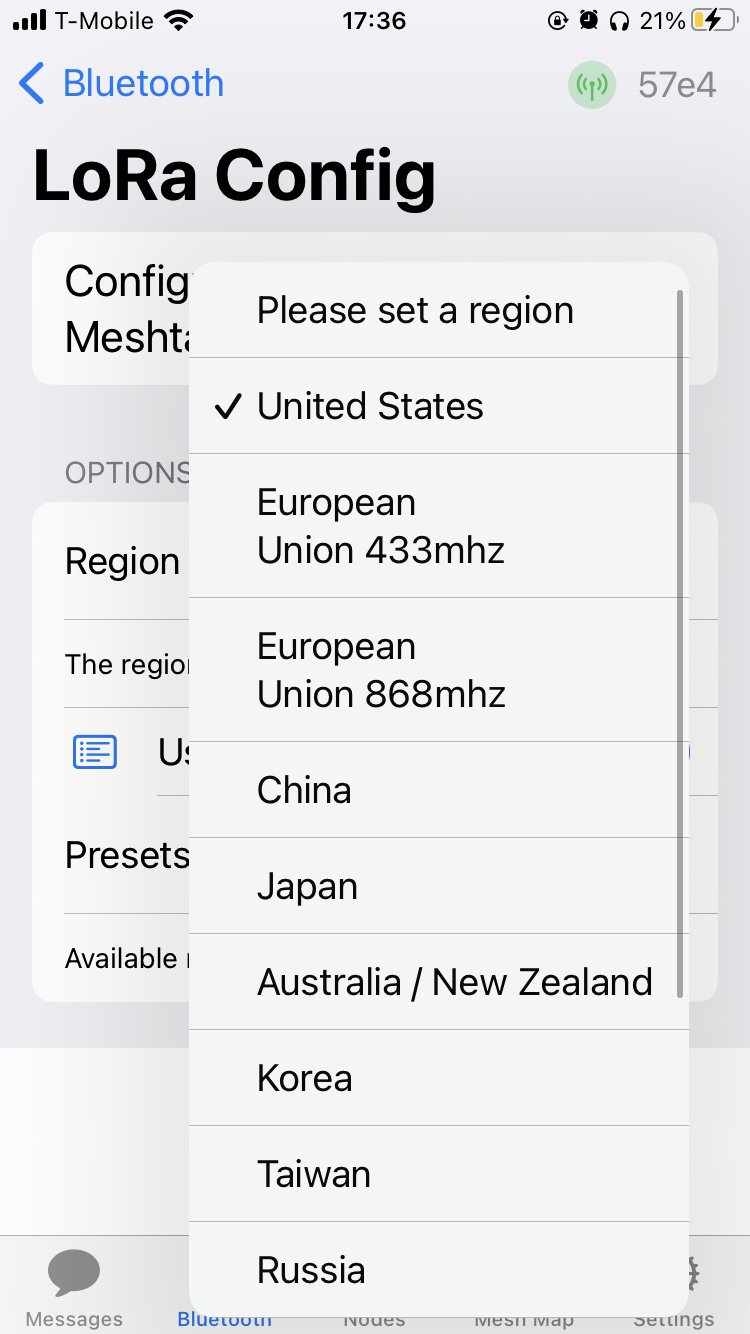
Tap Save to save and reboot.
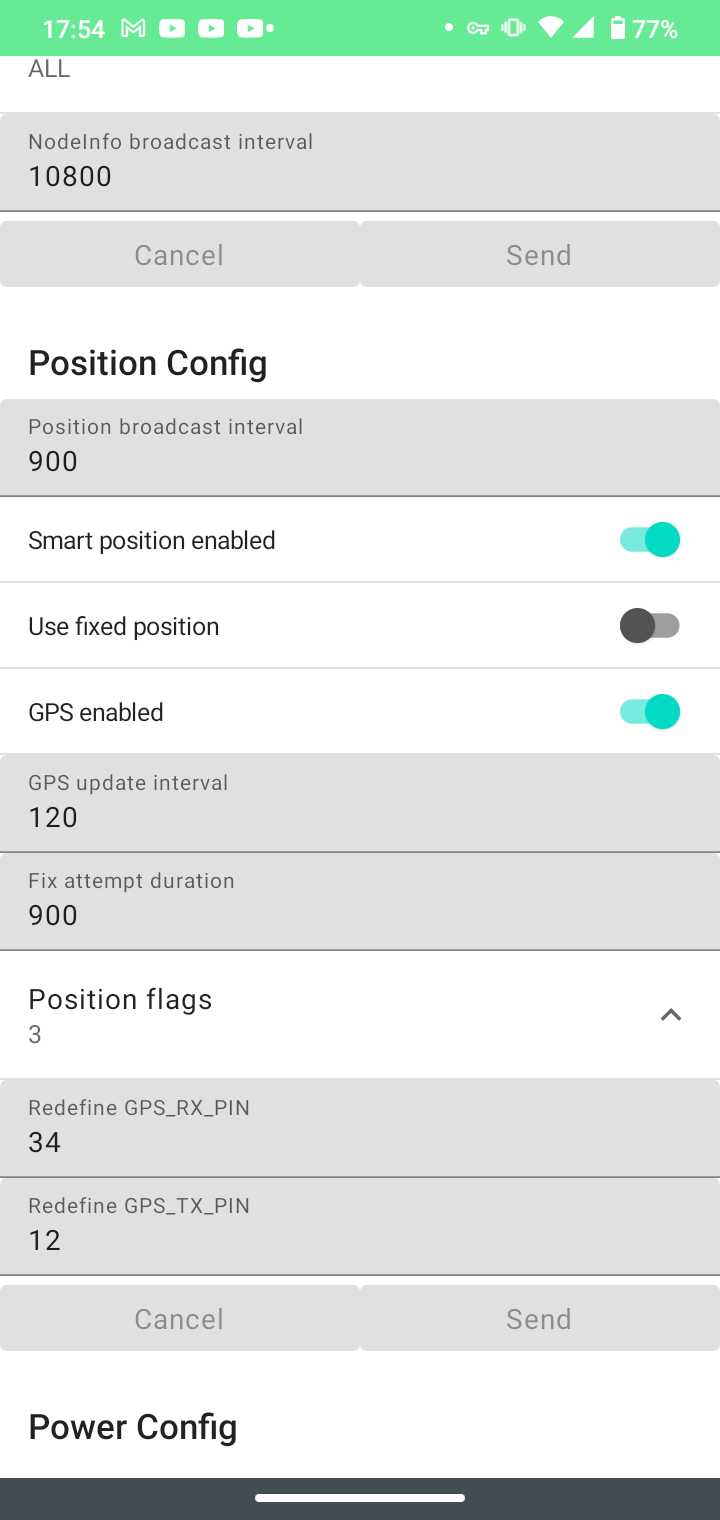
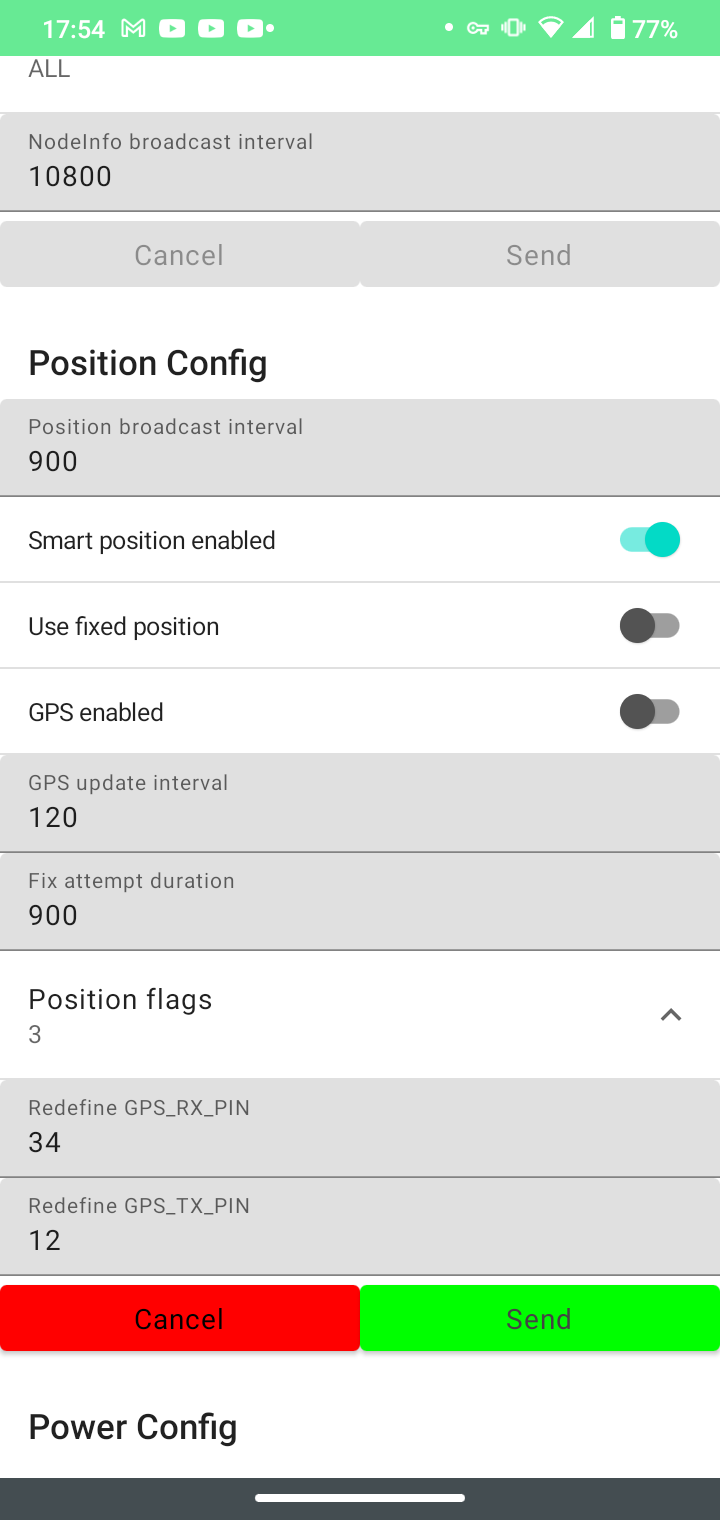
TURN OFF GPS LOCATION SHARING (ANDROID)
Tap the three dots at the top right corner of the screen, then tap Device settings.
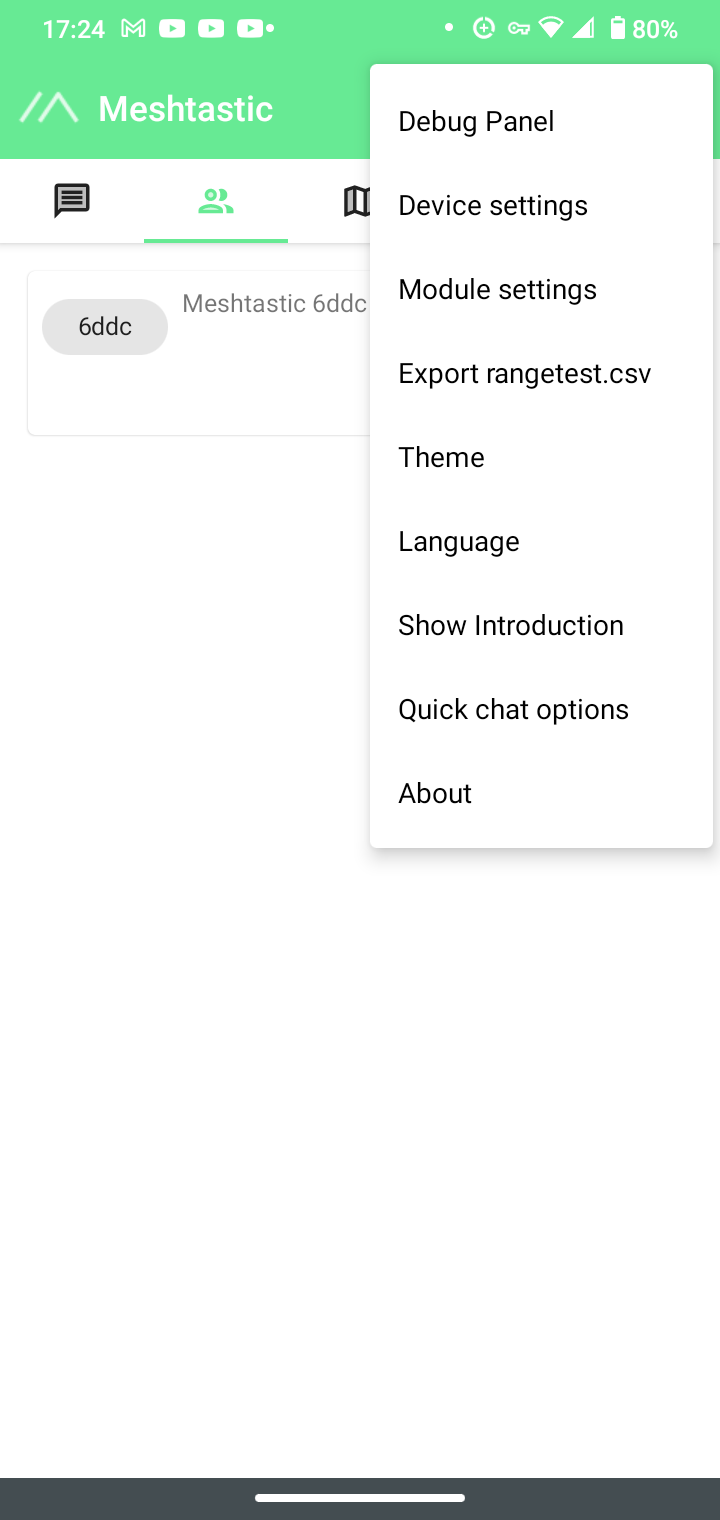
Scroll down to Position Config and deselect "GPS enabled." Tap Send to save and reboot your device.
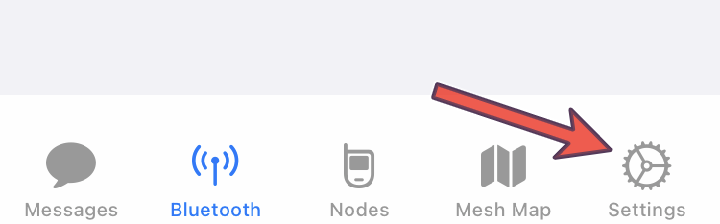
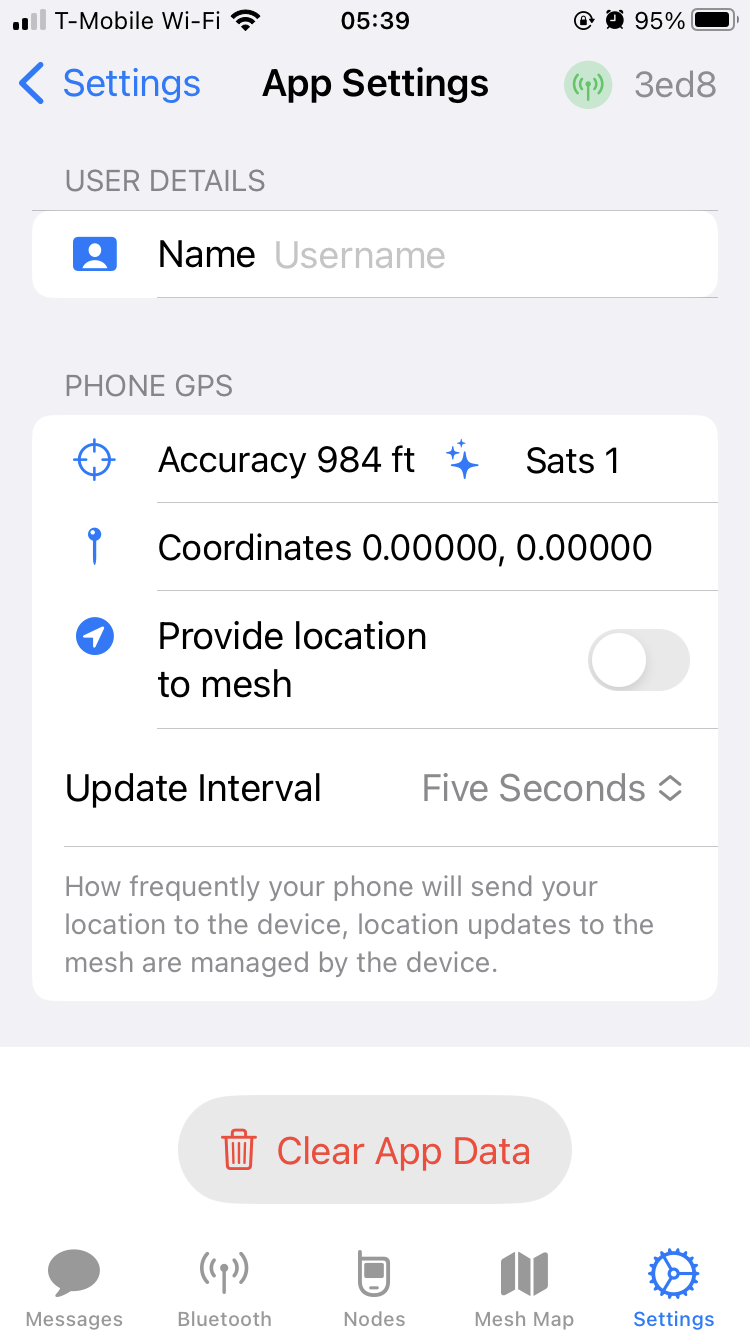
TURN OFF GPS LOCATION SHARING (iOS)
Open Settings.
Under Configure in the Settings window, make sure your LoRa device is selected. If it isn't, select it from the dropdown menu.
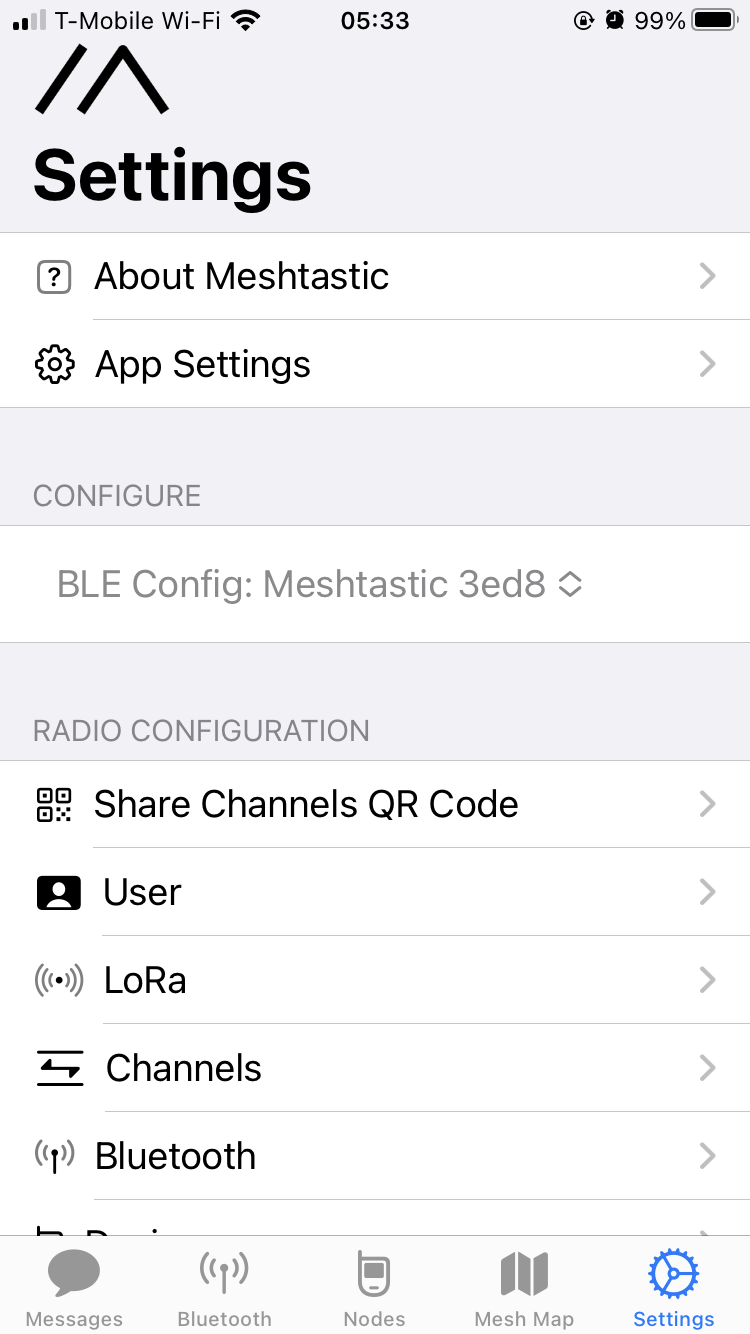
Tap App Settings. If the option Provide location to mesh is selected, deselect it.
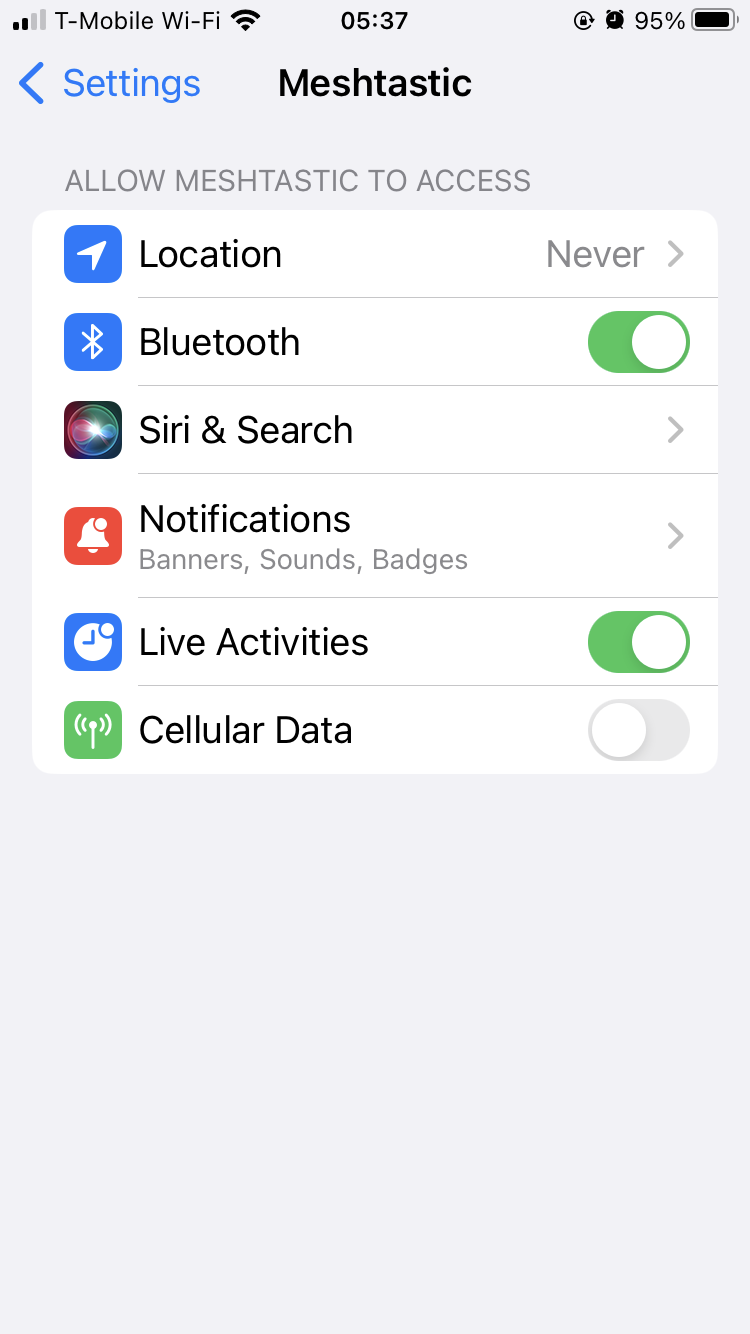
You can also disable location sharing at the OS level, just for good measure. Go to Settings in iOS, scroll down, and tap Meshtastic. Then make sure Location sharing is set to Never.
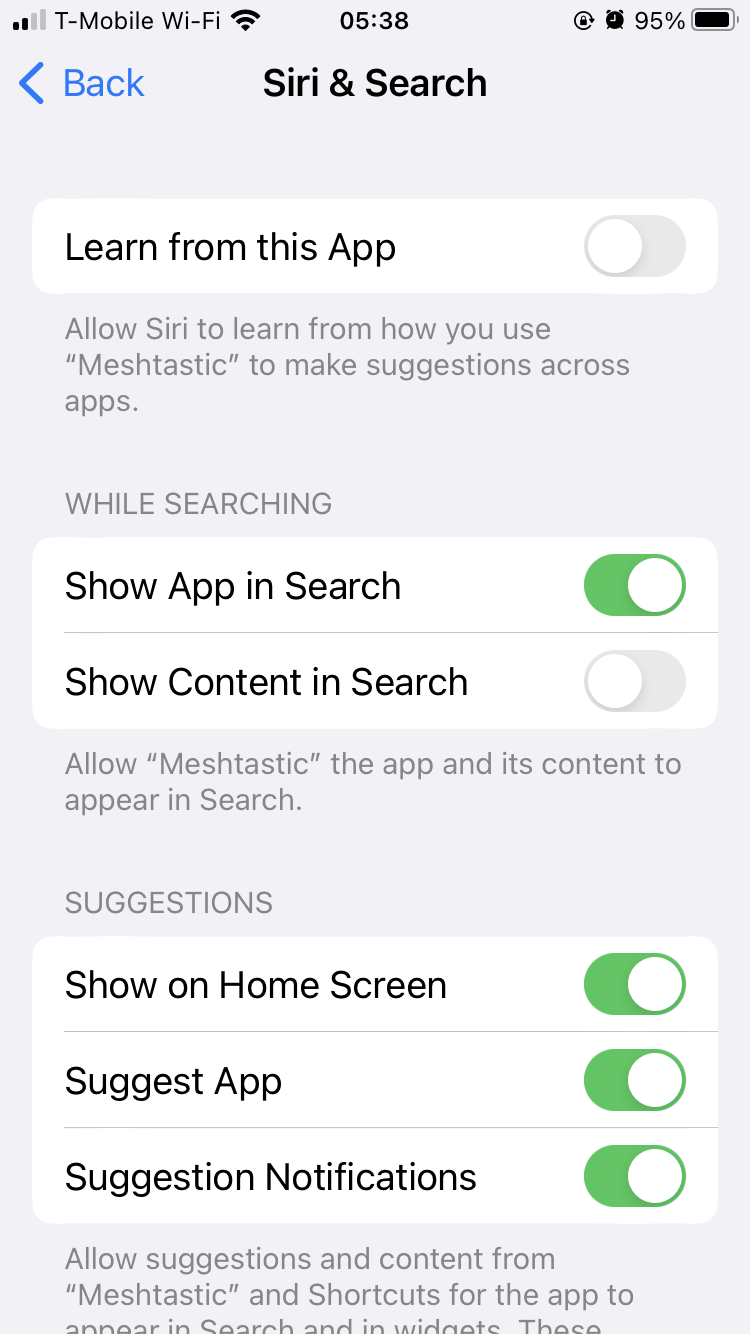
While you're here, tap on Siri & Search. To avoid leaking data needlessly, deselect Learn from this App and Show Content in Search.
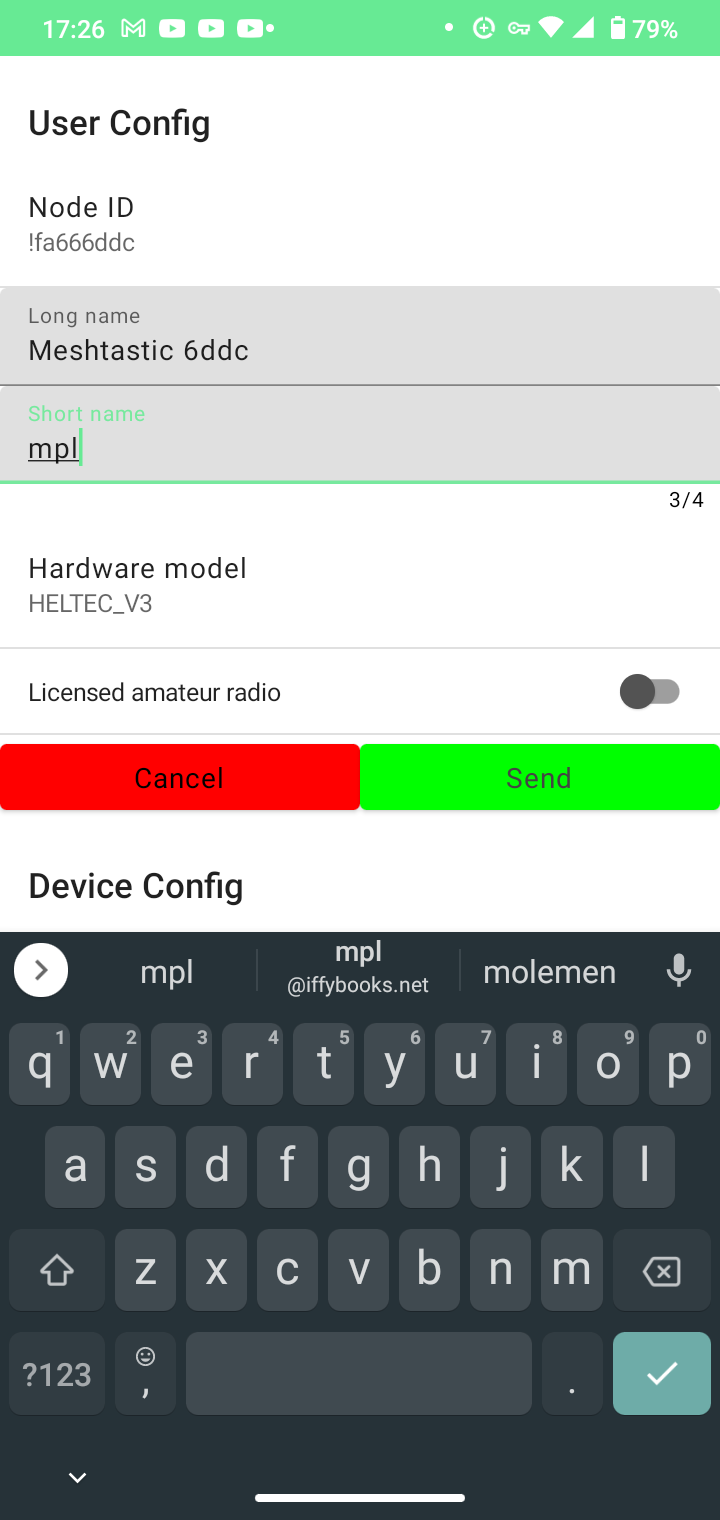
NAME YOUR LORA RADIO (ANDROID)
Go to Settings and enter a short name and long name for your LoRa radio (optional). Tap Send to save and reboot.
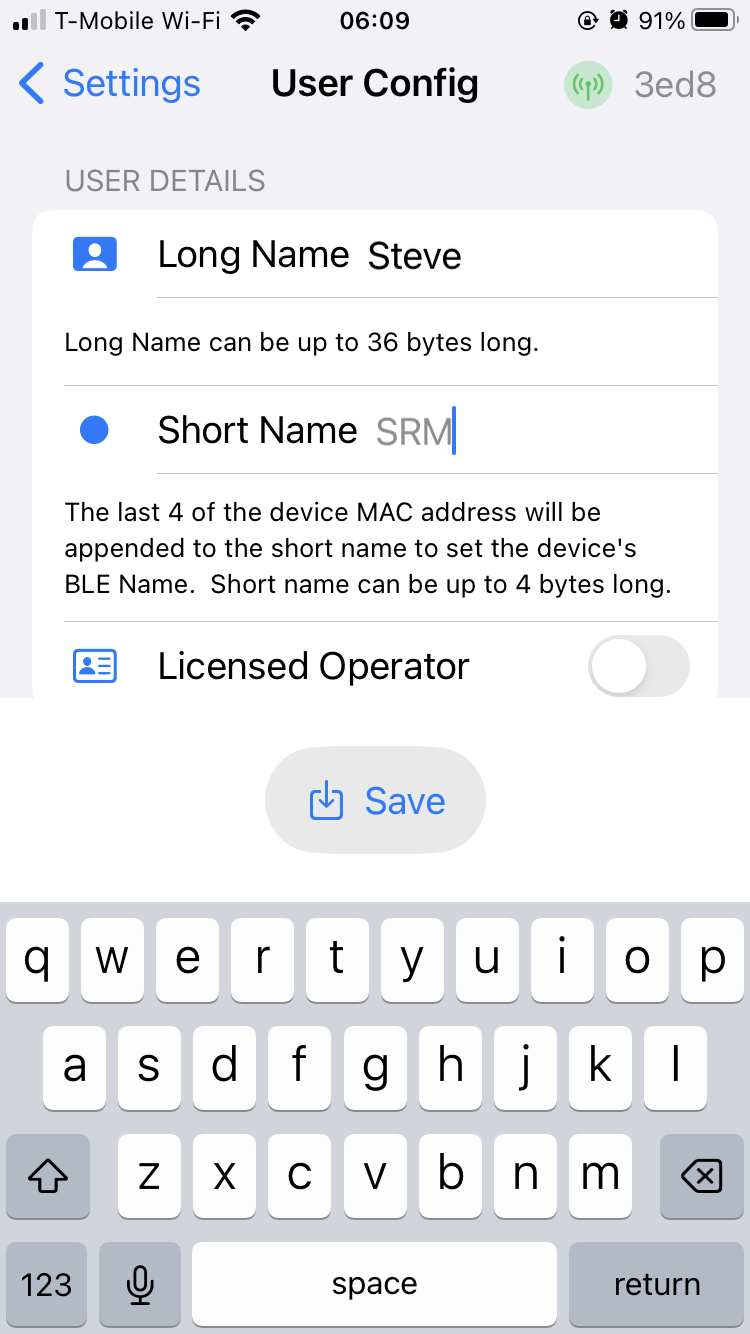
NAME YOUR LORA RADIO (iOS)
Go to the Meshtastic settings, then tap User. Enter a short and long name for your device (optional). Tap Save to save and reboot.
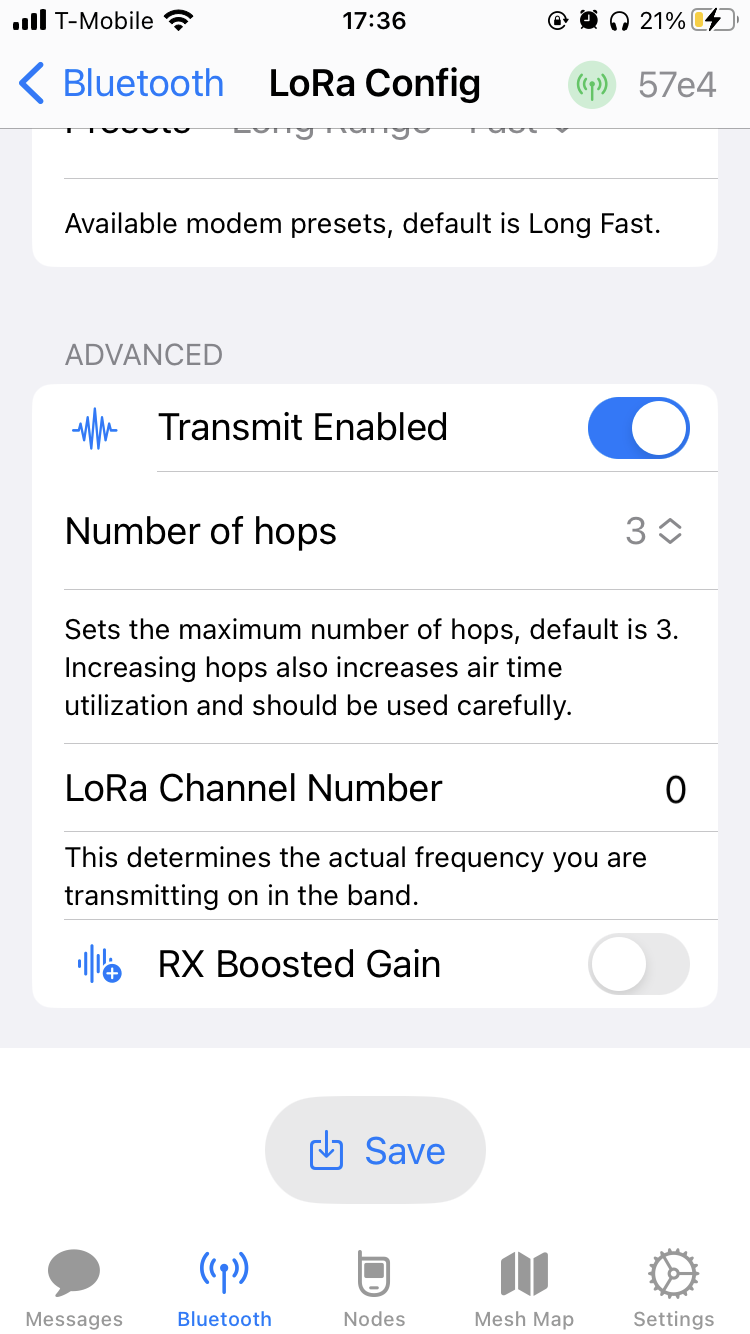
READ MORE ABOUT DEVICE
CONFIG OPTIONS
… at the following URL:
https://meshtastic.org/docs/settings/config
SEND A MESSAGE TO THE GROUP CHAT
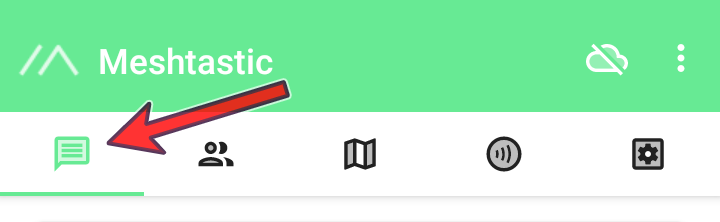
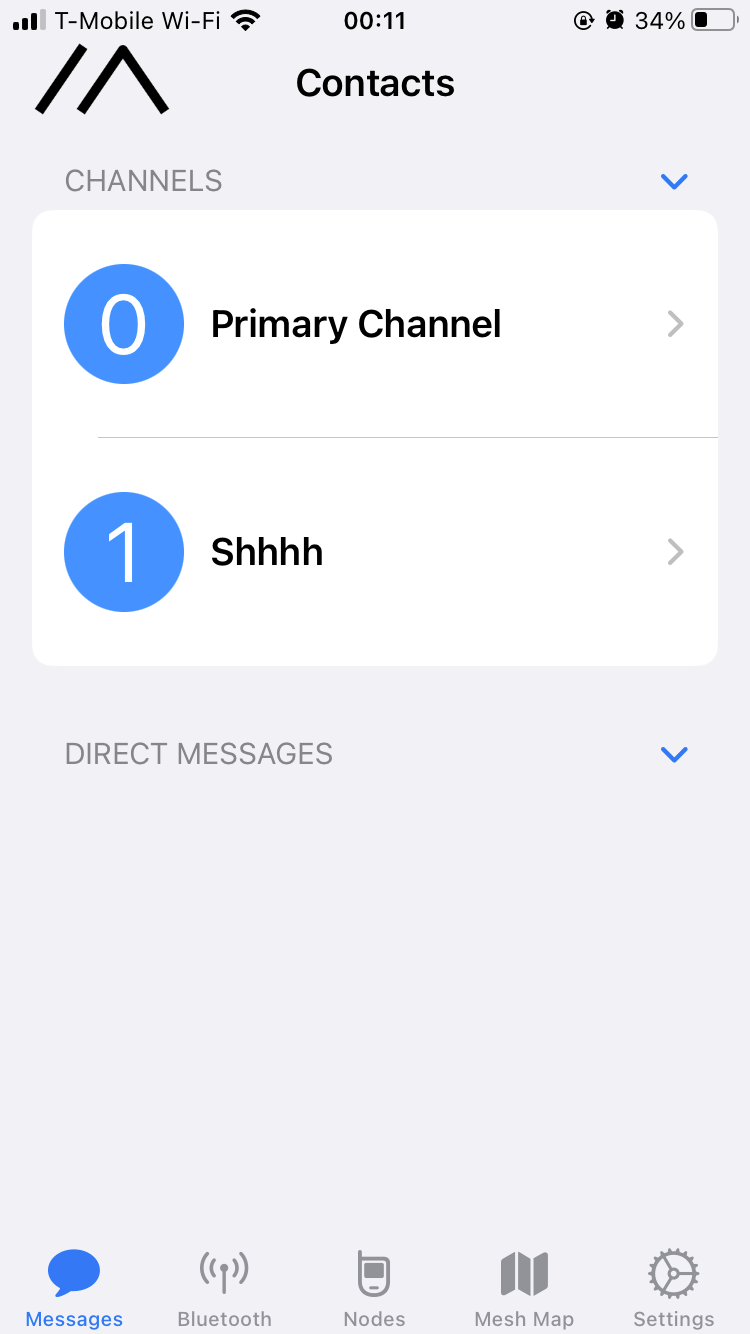
Tap the Messages icon.
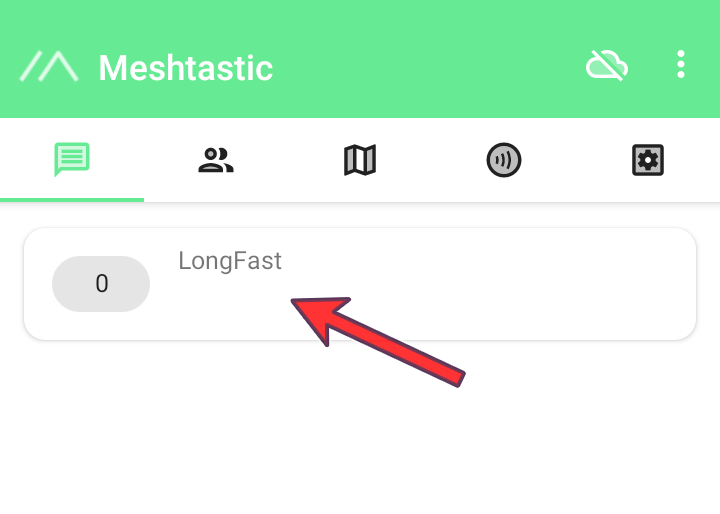
Then tap the icon for channel 0, which will take you to the primary channel (a.k.a. the group chat).
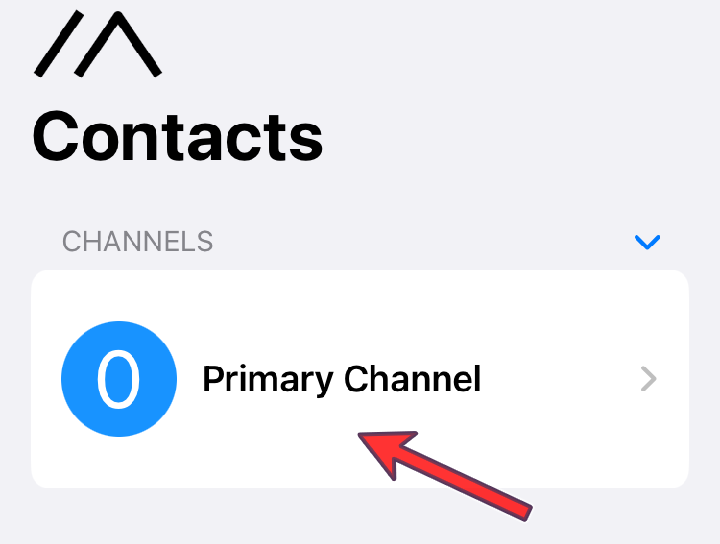
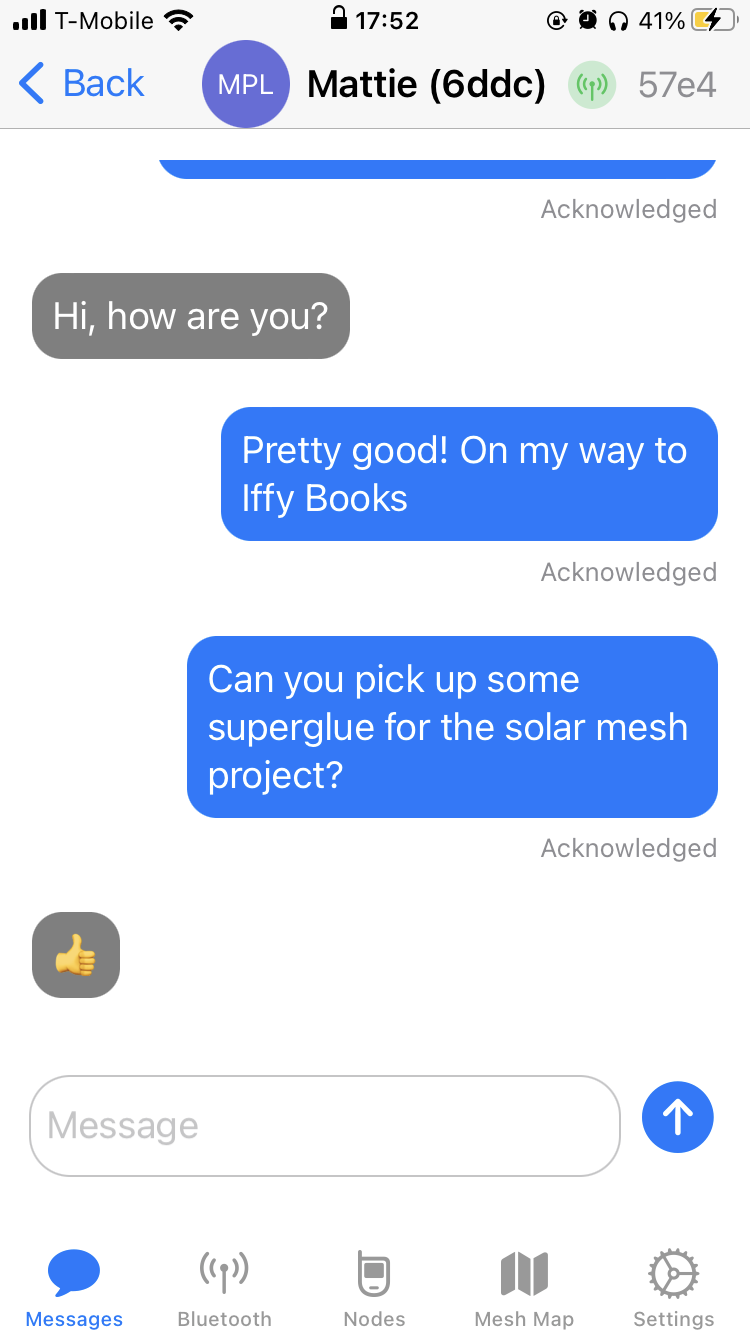
Type a message and tap the Send button.
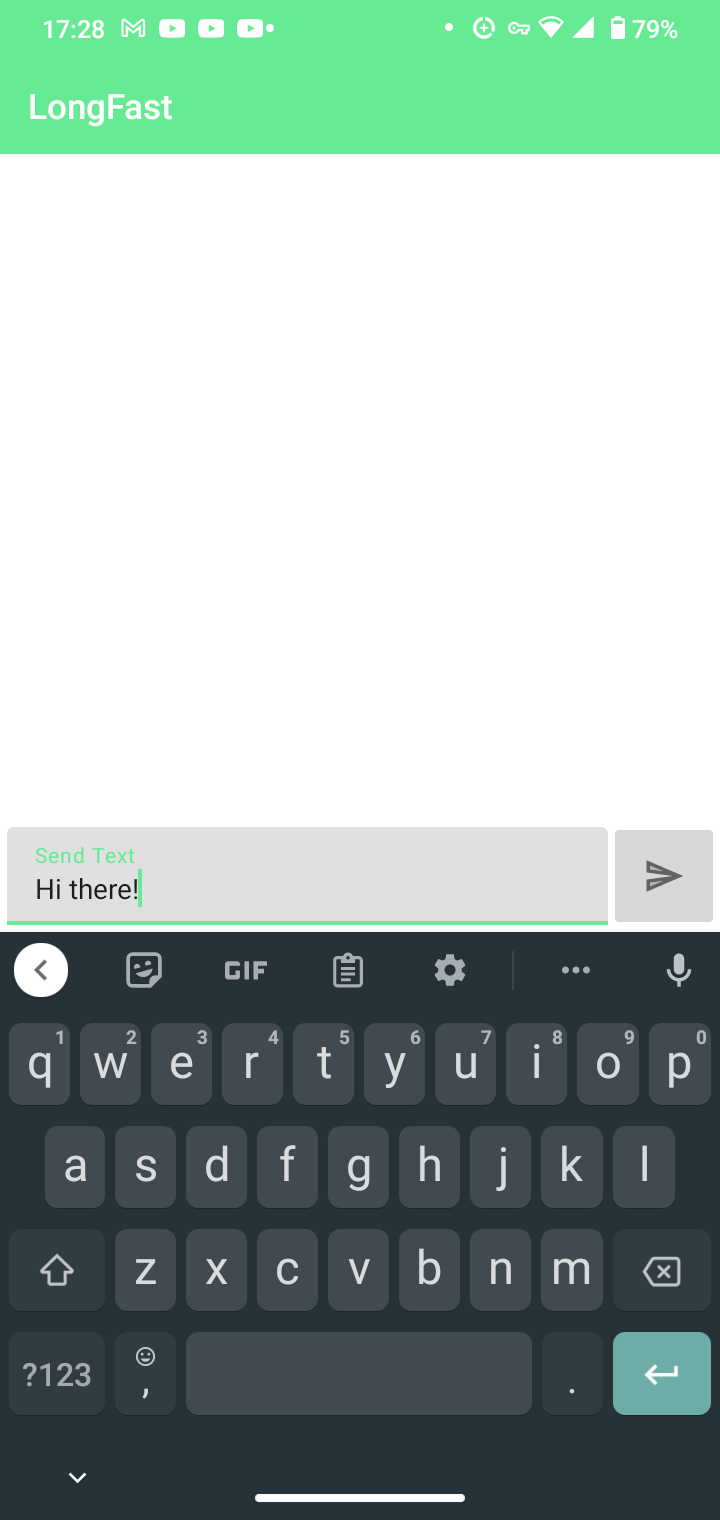
If your message is received and acknowledged, you'll see a check mark appear in the cloud icon under your message.
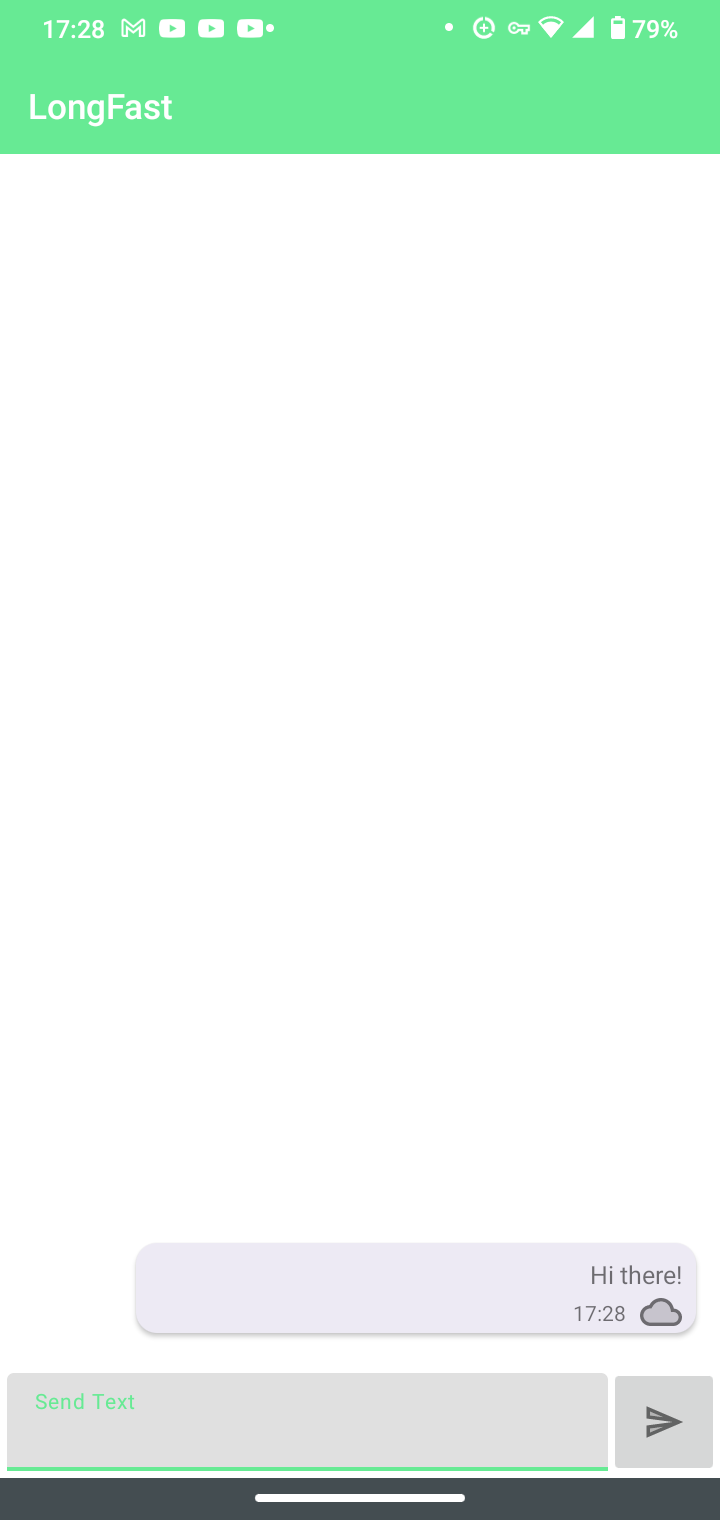

In the iOS app, you'll see the word "Acknowledged" appear under your message instead.
Note: Every now and then a message arrives successfully but the acknowledgment fails.
SEND A DIRECT MESSAGE
Once you've connected with someone in the primary channel, you can send a direct message (DM).
Tap the Messages icon. Under Direct Messages, tap the device you want to DM.
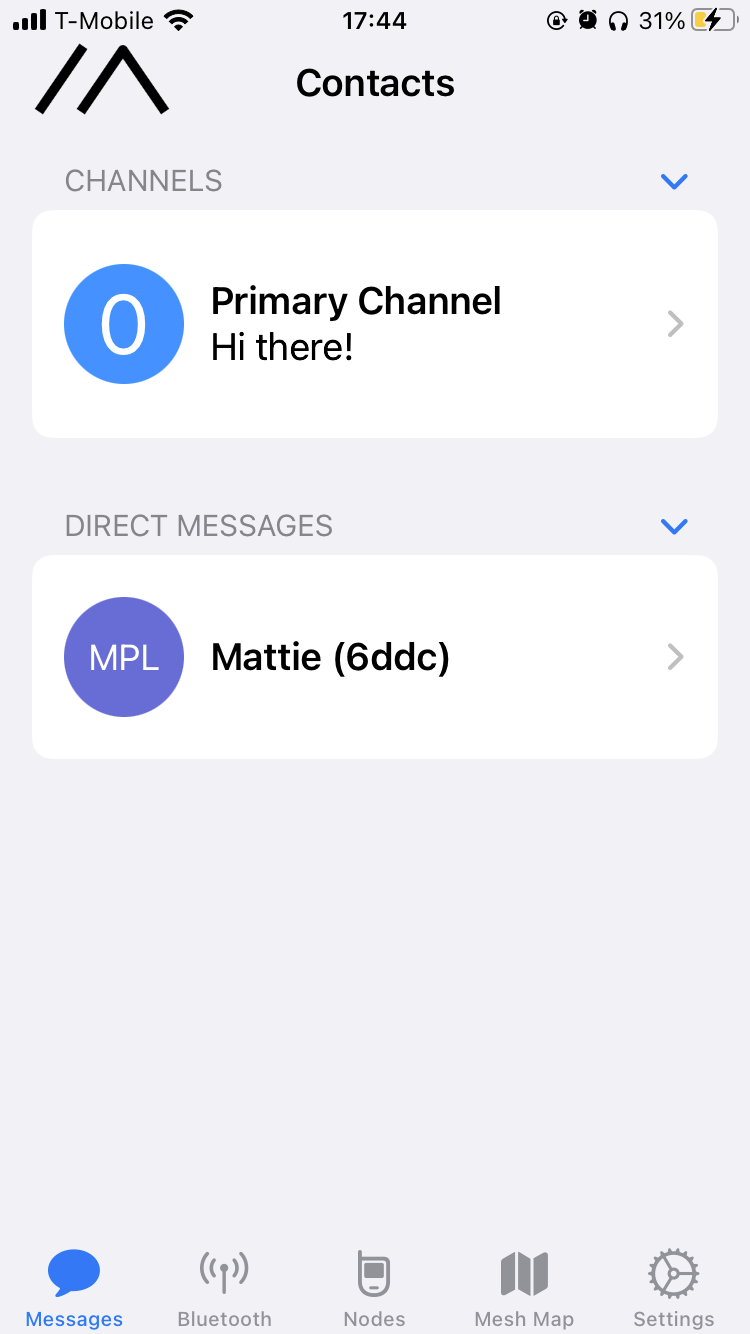
Type a message and tap Send.
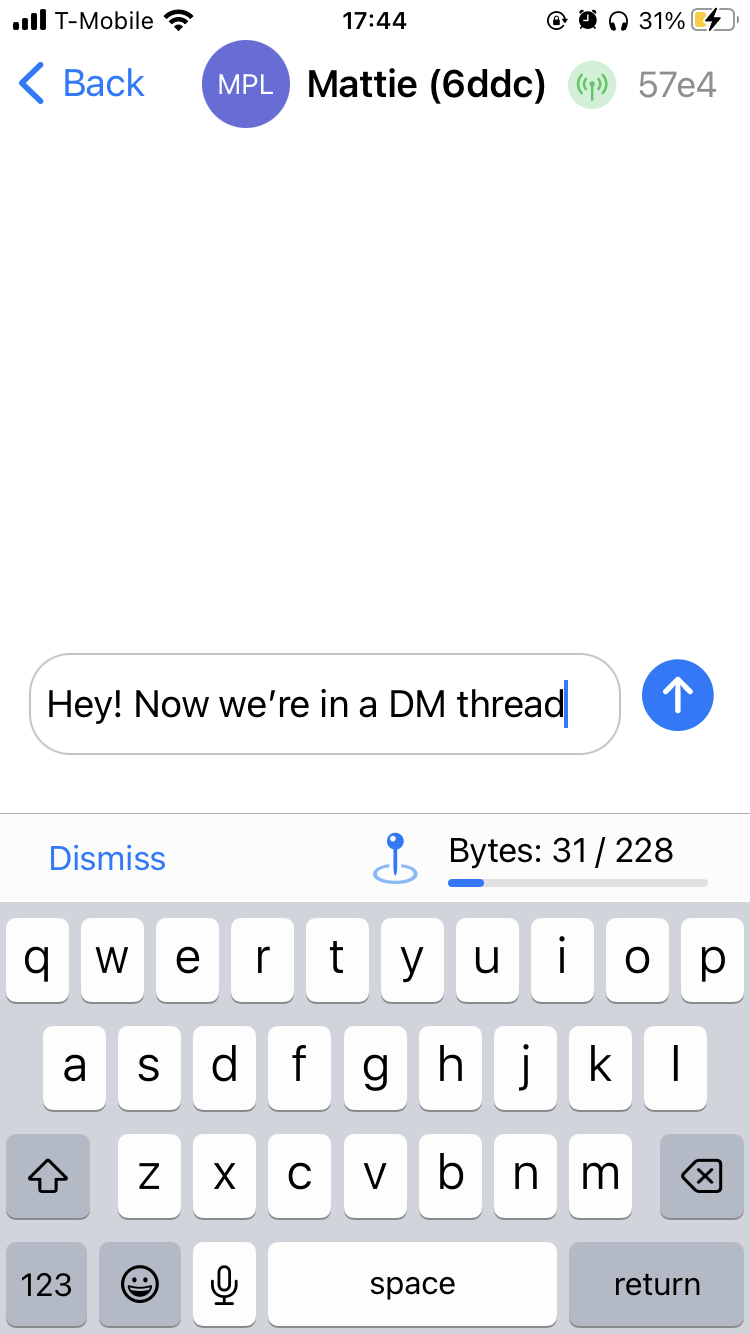
You're texting without the internet or cell network! Pretty neat!
It's important to note that Meshtastic DMs are encrypted using the same shared key as the group chat. That means anyone else on the channel can (in theory) read your messages.
If you want to chat privately with a friend, create a new shared encryption key and don't reveal it to anyone else. (Details in the next section.)
CREATE A NEW PRIVATE KEY
When you first set up Meshtastic, your messages are encrypted using a weak default key, which is widely known. Many Meshtastic users stick with the default key because they aren't concerned with privacy. To chat privately, you'll need to generate a new encryption key and share it with the person/people you're planning to chat with.
We recommend against creating and updating encryption keys using the iOS and Android apps. We've gotten unexpected results during testing, and it isn't worth the hassle.
Instead, we'll generate an encryption key using the command line. Then we'll use the Meshtastic Web Client to update the settings on your LoRa device.
Meshtastic uses AES-256 encryption, so you'll need a 256-bit key in Base64 format. To generate one, open a terminal window and run the following command. (To type the pipe character, hold shift and press backslash.)
cat /dev/urandom | head -c 32 | base64
The command above generates 32 bytes of random characters (equivalent to 256 bits), then converts it to the Base64 encoding format. The output will look something like this:
dqP9LPdBkE/bF5lsYCwsXfnNavx3Ikl5LsUoCu91F/4=
Highlight your new key in the terminal window, then right-click and select Copy. Now you can share the key with your friends!
Note: When distributing your shared encryption key with friends, it's best to use an encrypted channel such as Signal. Or post the key on CryptPad.fr and share the link via Signal.
LAUNCH THE MESHTASTIC WEB CLIENT
The quickest way to update your Meshtastic settings from a computer is to use the Meshtastic Web Client. Unfortunately you'll need to use a Chromium-based browser, such as Google Chrome. If you don't already have it, you can download it here:
Connect your LoRa device to your computer with a USB-C cable that supports data.
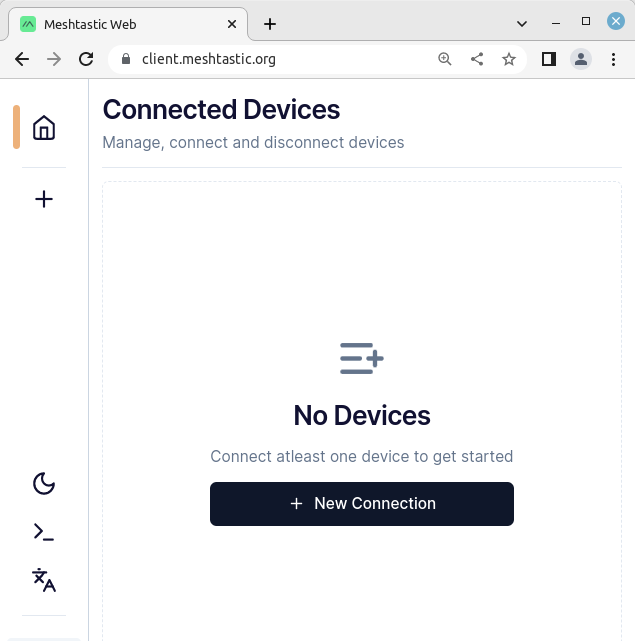
Open Chrome and go to the following URL:
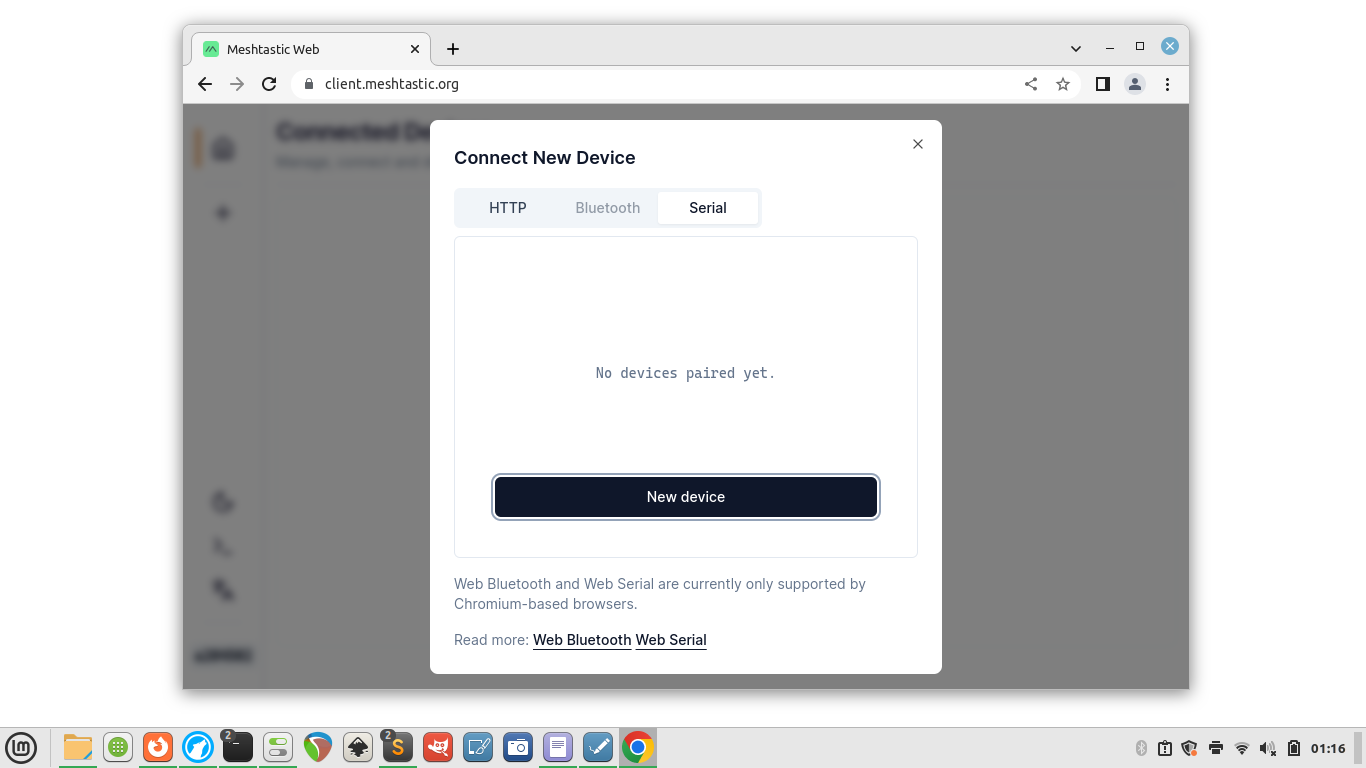
Click New Connection.
At the top of the Connect New Device window, click the Serial tab.
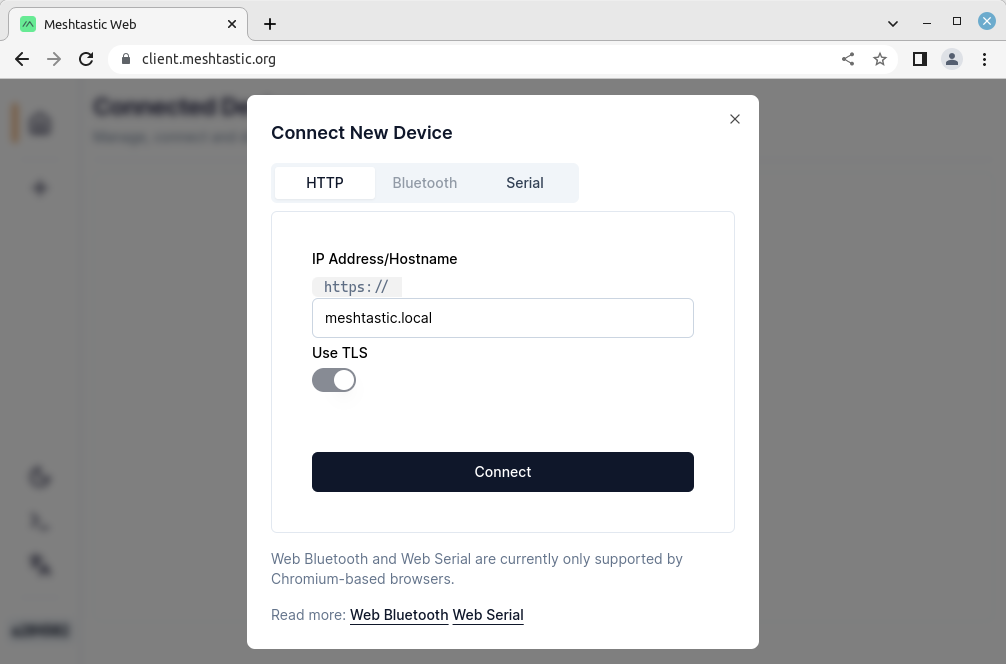
Click the New device button.
You'll see a prompt that reads "client.meshtastic.org wants to connect to a serial port." Scroll through the list and look for the USB serial port that corresponds to your LoRa device. Click the port to highlight, then click Connect.
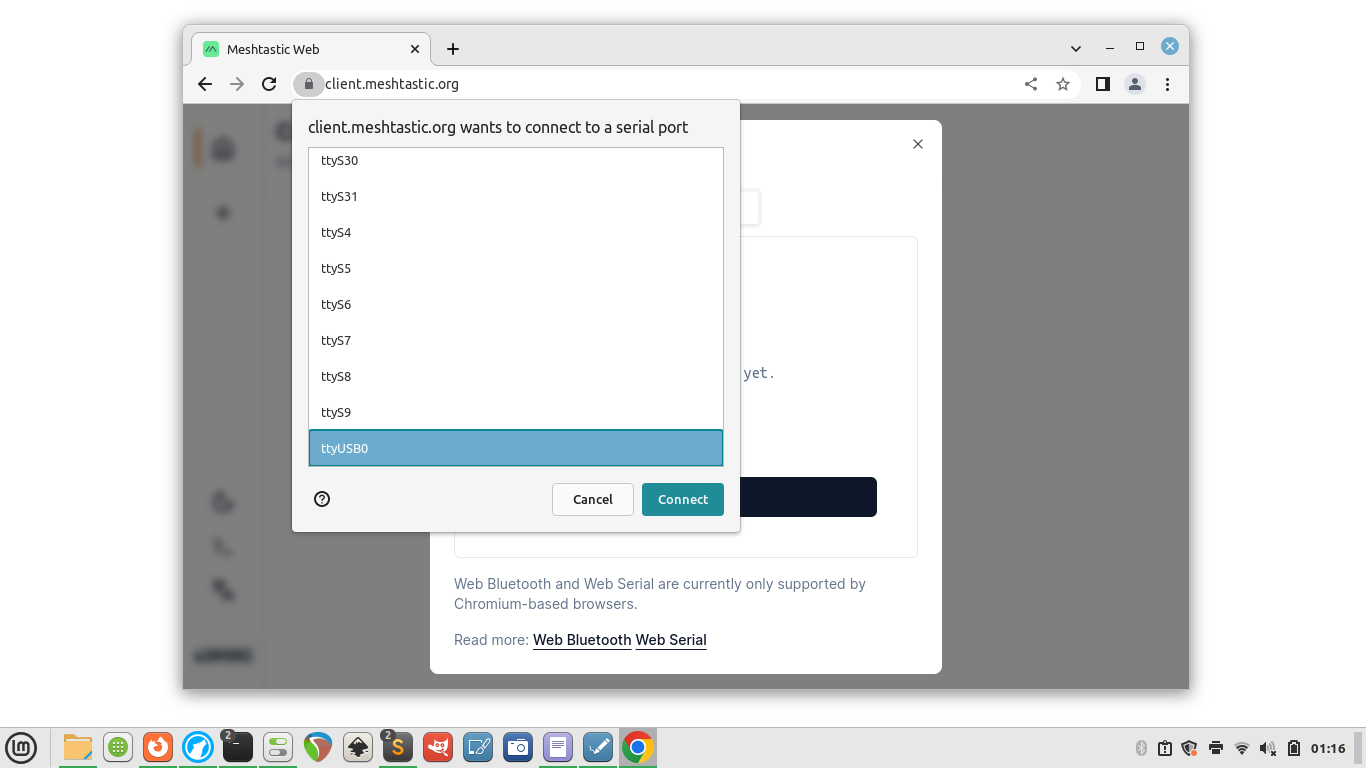
In the example above, the port is called ttyUSB0.
You'll see a new button with a non-descriptive title at the top of the window. Click on it to connect to your LoRa device.

Click X to close the Connect New Device window.
UPDATE YOUR SHARED ENCRYPTION KEY
In the Navigation column, click on Channels.
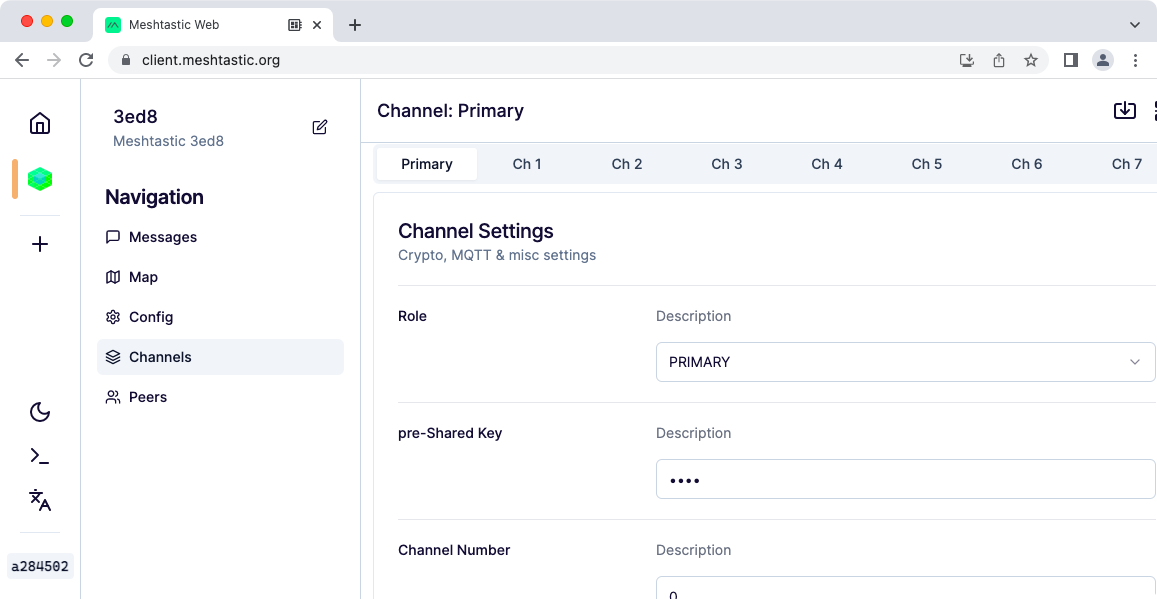
Let's keep using the default key on the primary channel and add a shared key on channel 1.
Click the Ch 1 tab to switch to channel 1. Highlight the text in the pre-Shared Key field and delete it, then paste in your new shared key.

Scroll down and give your channel a name (optional). When you're done, click Submit and your device will reboot.
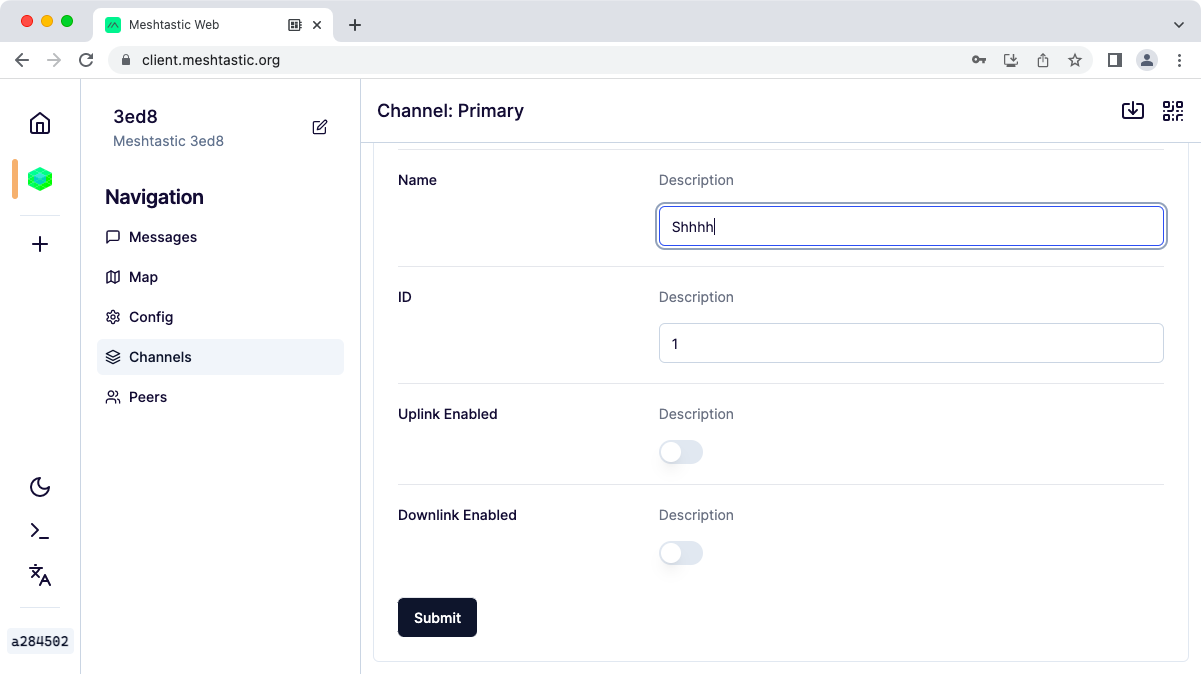
Go to Messages and you'll see your new channel.
INSTALL THE MESHTASTIC CLI
Meshtastic also has a command-line interface (CLI).
Open a terminal window and run the following commands to install the Meshtastic CLI. The same commands should work for Linux, macOS, and Windows.
python3 -m pip install --upgrade pytap2
python3 -m pip install --upgrade meshtastic
GET A LIST OF MESHTASTIC NODES
Run the following command to see a list of Meshtastic nodes on the network:
meshtastic --nodes
SEND A MESSAGE FROM THE
COMMAND LINE
Connect your LoRa radio to your computer with a USB cable and run the following command to send a message to the primary channel:
meshtastic --sendtext "Hello out there\!"
SEND A MESSAGE EVERY 10 MINUTES
Here's a brief shell script you can use to send the same message every 10 minutes (600 seconds):
while :
do
meshtastic --sendtext "Hello out there\!"
sleep 600
done
LEARN MORE
Read about Meshtastic's broadcast algorithm:
https://meshtastic.org/docs/overview/mesh-algo