
- This event has passed.
🔁 Cassette Tape Loop Workshop
Learn to make physical audio loops with used cassette tapes! No experience needed.
For the workshop we’ll be using cassettes with screws in the corners, which are easier to take apart but less common than the ones fastened with glue. We’ll have regular cassette tapes for $1 each if you want to keep experimenting at home.
Register:
Step 1: Choose a used cassette tape.
Step 2: Rewind the tape and record a minute or two of music, your voice, and/or percussion sounds. Then eject it.
Step 3: At the bottom of the cassette there’s a small area where the magnetic tape is exposed. Use a paperclip or pencil to pull the tape out an inch or so, then cut the tape with scissors. The recording you just made is now on the smaller spool, while the bigger spool contains whatever was originally on the tape.
Step 4: If you’re using a glued-together cassette (no screws), carefully separate the plastic shells using a pry tool. Ask the instructor for help. If you have a cassette with screws, use a tiny screwdriver to unscrew all four corners.
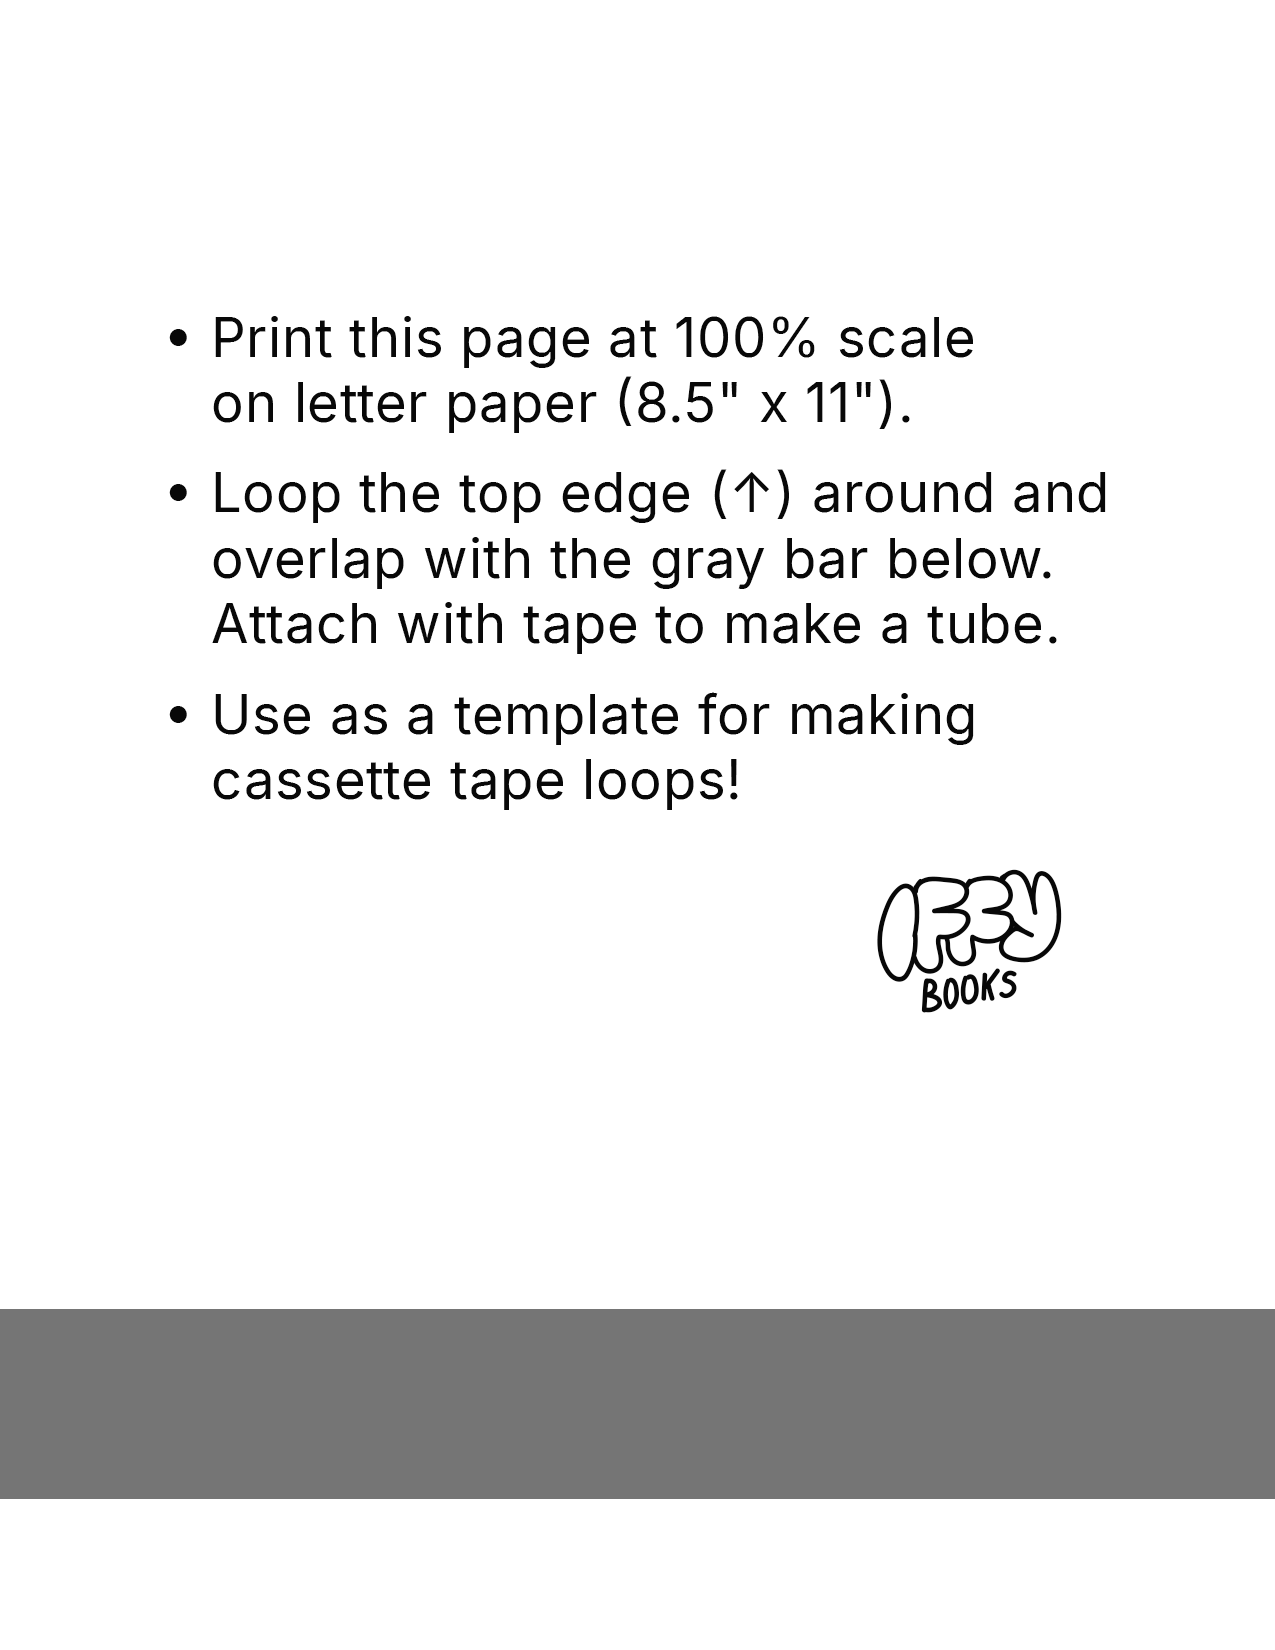
Step 5: Print and assemble tape loop template. (Link)
Step 6: Cut several 9″–10″ lengths of cassette tape.
Step 7: Wrap a length of tape around your template tube and attach the ends with a tiny drop of superglue. To avoid using too much glue, you may want to apply it using the tip of a needle.
Step 8: Put your loop into a cassette shell and screw the corners together.
Step 9: Load the tape into a tape player and press play!