Why host a website at home?
- You control what you post.
- You can definitively take down your website by unplugging it.
- Commercial hosting starts around $5 per month, so hosting at home may(?) be cheaper in the long run.
- Learning about networking is fun, and useful for future projects.
In this project you’ll learn to set up an Armbian-based web server on a single-board computer, using Apache HTTP Server to serve your website.
Then you’ll set up a firewall and turn on port forwarding on your home router, exposing your web server to the open web. Last you’ll set up a script to update your domain registrar when your home IP address changes.
The examples in this zine use the Orange Pi Zero 3 (OPZ2W), an inexpensive single-board computer that uses very little power.
You’ll need to set it up within an Ethernet cable’s reach of your home router.
As you’re learning to use Armbian, tutorials written for Ubuntu (a more common version of Debian) will typically work.
Here’s what’s included in the home web server kit at Iffy Books:
• Orange Pi Zero 3 single-board computer (1 GB memory)
• 20W power supply
• 6″ USB-C to USB-C cable
• Micro HDMI adapter $1.40
• 4″ zip tie
• 2 rubber bands
Available separately:
• micro SD card (16GB or larger, preferable to use a card with a fast data rate) (32GB card available for $8)
• Ethernet cable (available for $3)
• HDMI cable (6″ cable available for $3.50)
• USB keyboard with USB-A plug ($3–$5 at a thrift store)
• Extension cord (helpful but not required)
Flash Armbian to an SD card
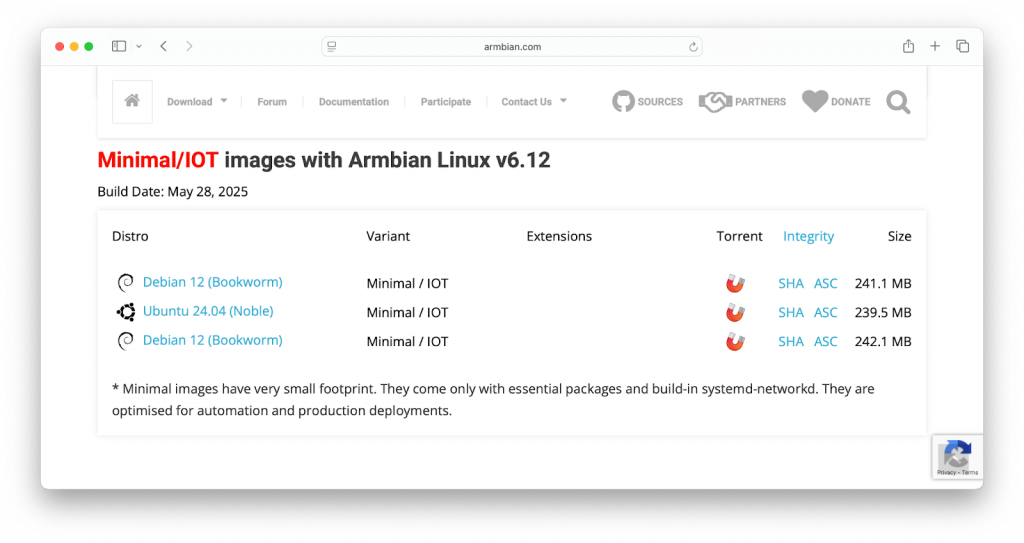
❏ Next you’ll download the Armbian operating system image for your single-board computer. If you’re using an Orange Pi Zero 3, go to the following URL:
https://www.armbian.com/orange-pi-zero-3
Debian 12 (Bookworm) Minimal / IOT
❏ Now go to https://etcher.balena.io and download balenaEthcher, which you’ll use to flash the Armbian image onto your microSD card. balenaEtcher is available for macOS, Windows, and Linux.
❏ Insert your microSD card into your microSD card reader and plug it into your computer’s USB port. (If your computer only has a USB-C port, use the USB-C to USB-A adapter included in your kit.)
❏ Open balenaEtcher, click Flash from file, and select the .img disk image file you just extracted.
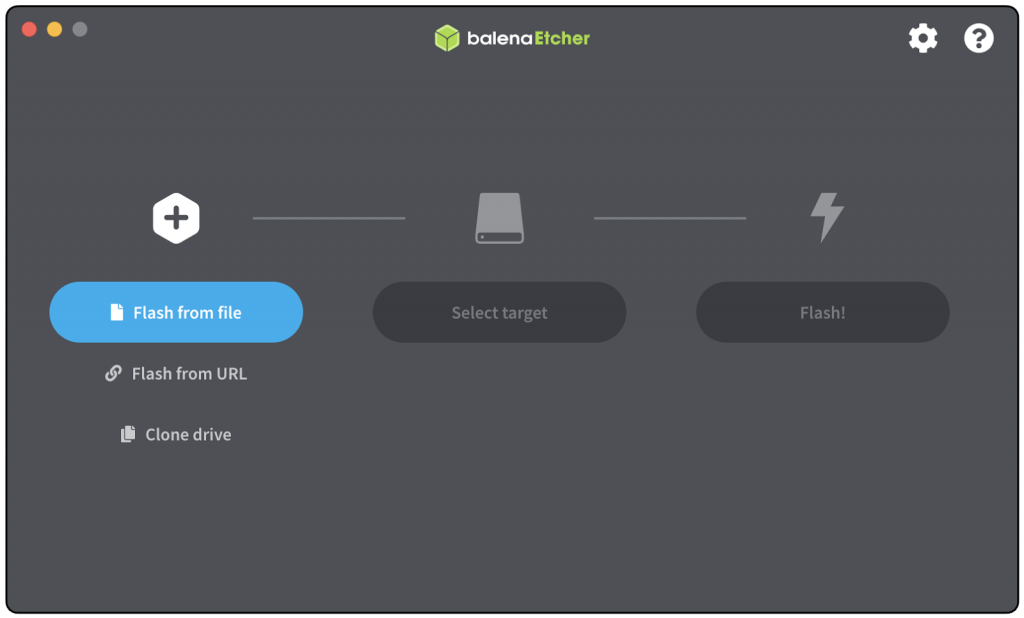
❏ In balenaEtcher, click Select target and select your microSD card.
❏ Click Flash! to write the Armbian disk image to your microSD card, which will take 5 minutes or so.
Set up your hardware
❏ Insert the flashed microSD card into the card slot on your single-board computer. The printed side of the microSD card should be facing away from the board.
❏ Find the USB-C power cable and connect it to your USB power supply. Plug the other end of the cable into the outer USB-C port.
❏ Connect a USB keyboard to USB-A port.
❏ Plug the Micro HDMI adapter into the Micro HDMI port.
❏ Connect an HDMI cable to the Mini HDMI to HDMI adapter. Plug the other end into the HDMI port on your monitor or TV.
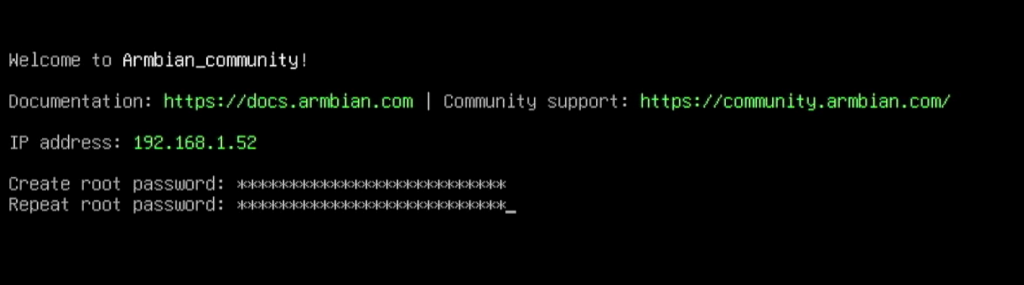
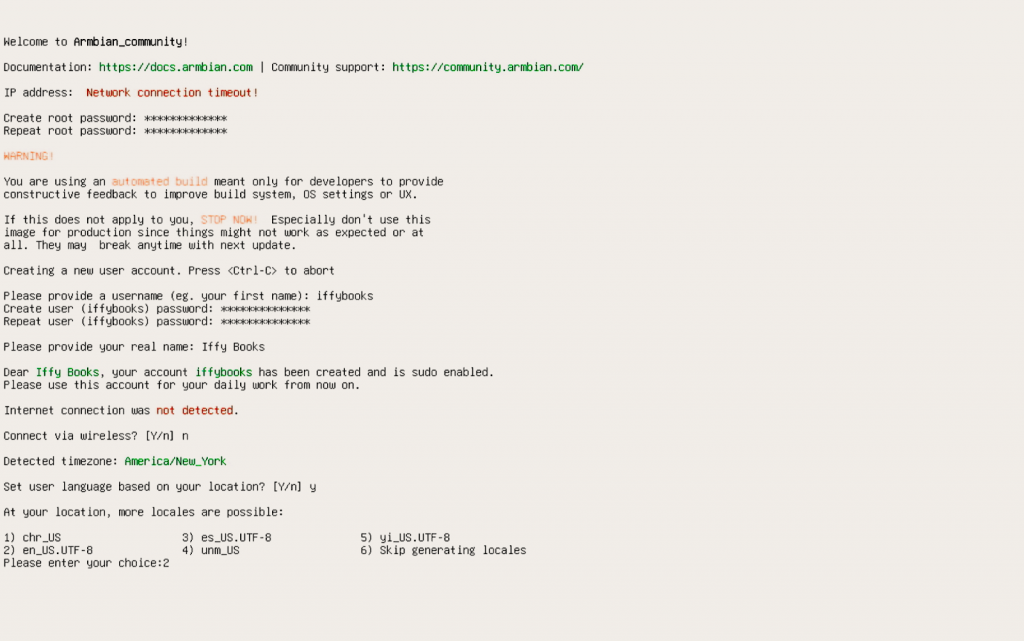
Set root password
❏ Set up your single-board computer, keyboard, and monitor somewhere close to your home router.
❏ Plug your computer’s USB power supply into a wall outlet.
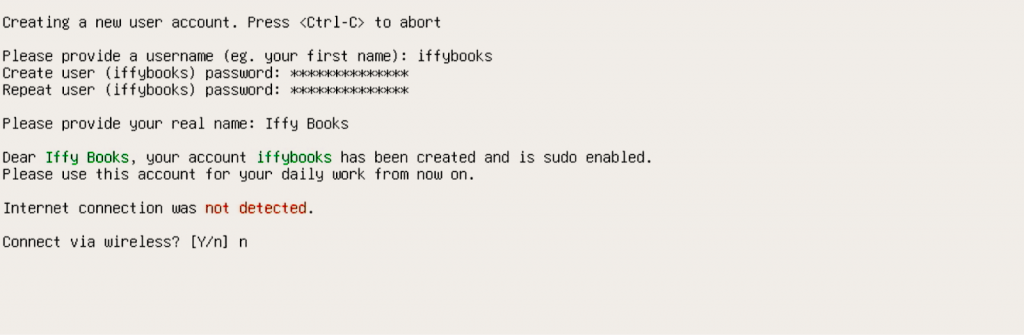
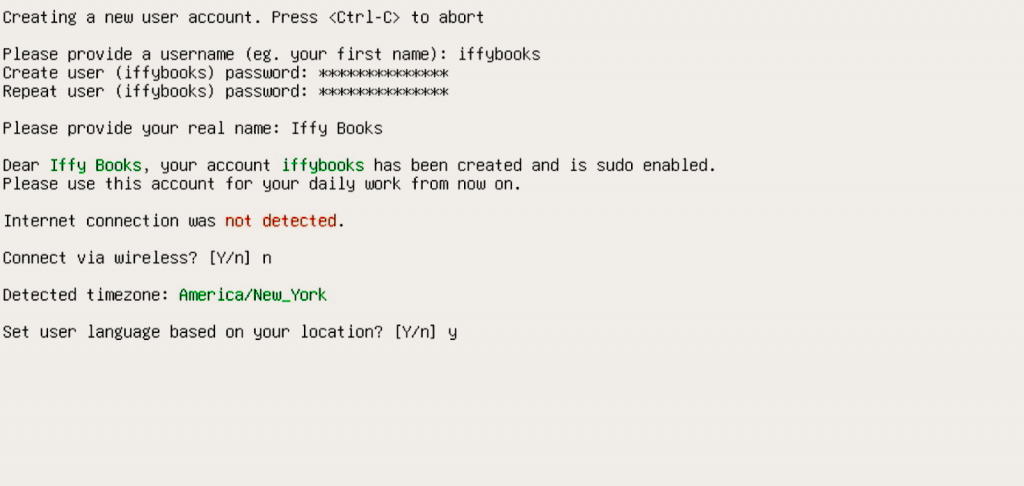
❏ Create a root password.
Create non-root user and set password

Connect to your router with Ethernet
Enter your “real name”

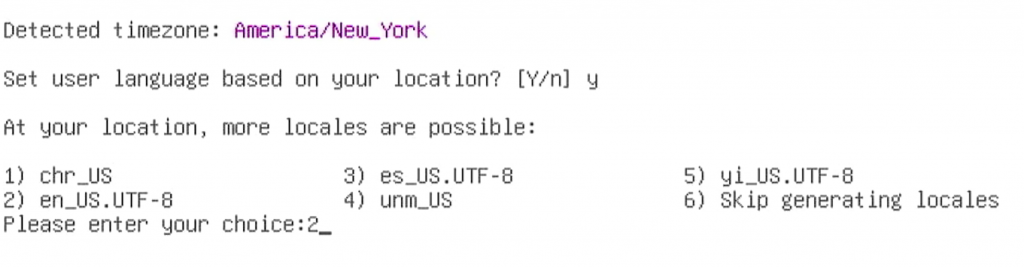
Set your locale to en_US.UTF-8
Reboot
sudo systemctl reboot

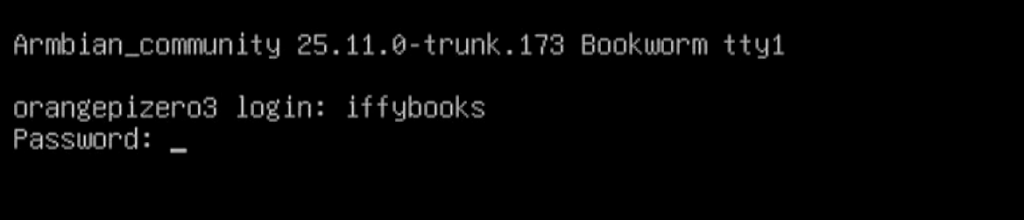
Log in with your non-root username and password
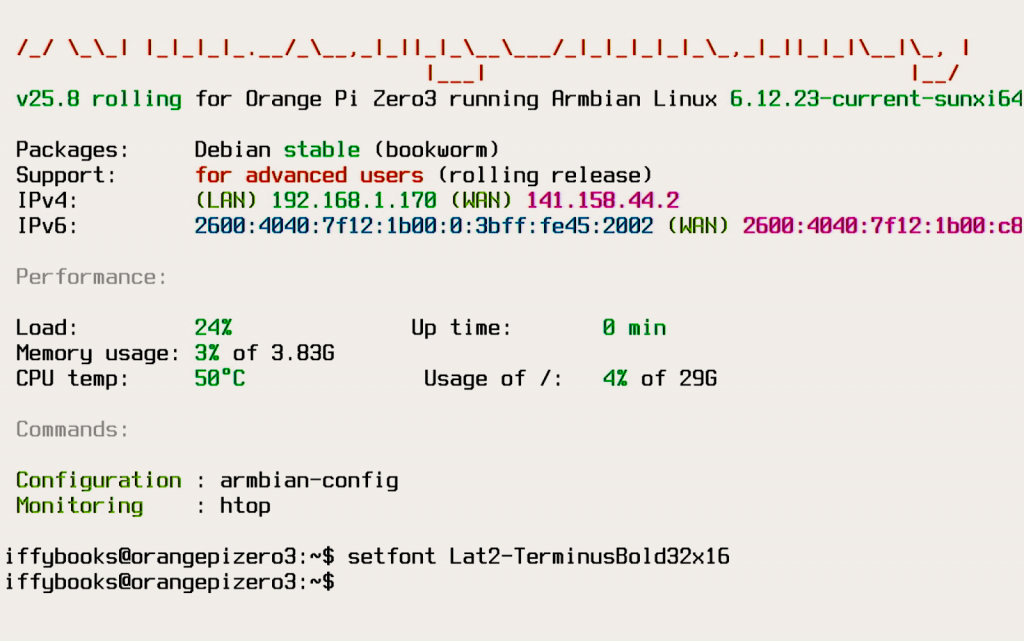
Make the text bigger with setfont (optional)
If the onscreen text is too small to read comfortably, follow the steps below to increase the size. Otherwise you can skip to the next section.
setfont Lat2-TerminusBold32x16
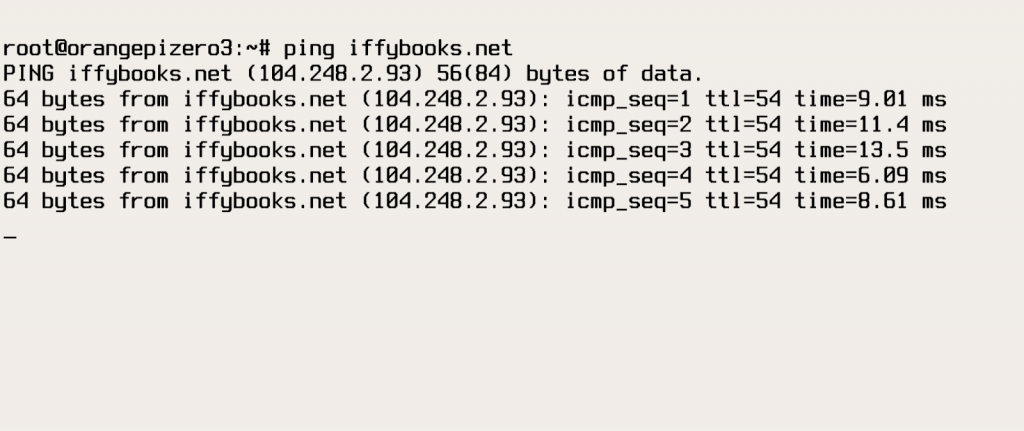
Check your internet connection

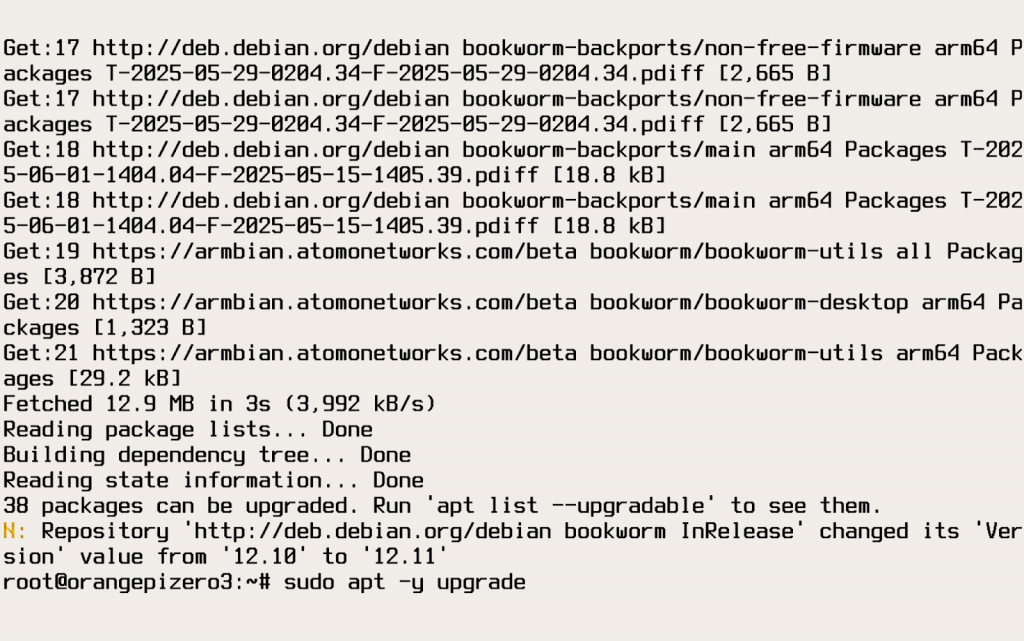
▶ Update your software
❏ Now that you’re connected to the internet, you’ll want to update your software packages. This step is important because some packages may need updates for security reasons.
sudo apt-get update

sudo apt-get -y upgrade
Enable bash history
touch ~/.bash_history
sudo chown $USER:$USER ~/.bash_history

Set up a firewall
A firewall is a piece of software that restricts access to your device over the network. In this section you’ll install and configure the firewall program ufw, short for Uncomplicated Firewall, which will monitor network requests and permit or deny each one depending on rules you set up.
sudo apt-get install ufw
sudo ufw default deny incoming
sudo ufw default allow outgoing
sudo ufw allow 80/tcp
sudo ufw allow 443/tcp
sudo ufw enable
Install apache2 web server
sudo apt install apache2
Reboot
sudo systemctl reboot
Check server status
Log in with your user account.
systemctl status apache2
Press q to quit!
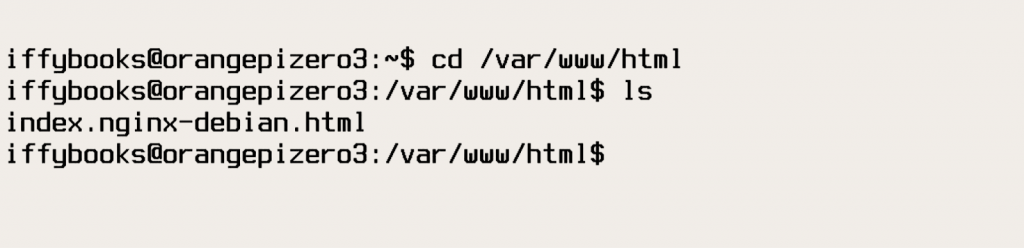
Set permissions for website files
sudo chown -R $USER:$USER /var/www/html
sudo chmod -R 755 /var/www
Expose web server to the network
cd /etc/apache2/
sudo nano ports.conf
Update “Listen 80” to “Listen 0.0.0.0:80”
ctrl+X to exit
Make a basic test page
cd /var/www/html/
mv index.html index-old.html
sudo nano index.html
Type out a basic HTML document.
Press ctrl+X to exit, then enter y to confirm the filename.
Check your test page on the local network

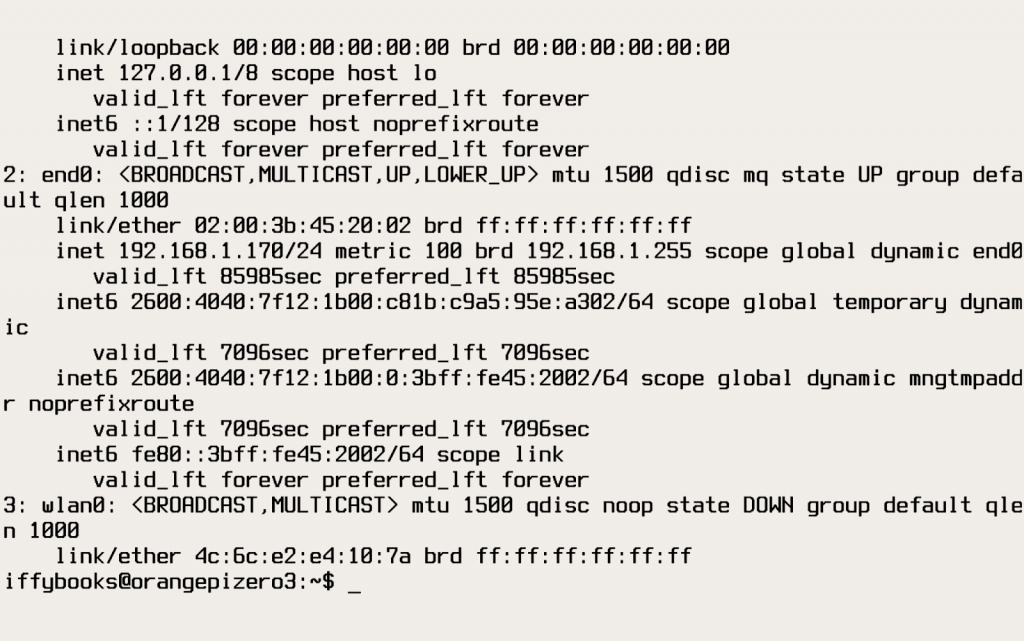
Give your server a static IP address
sudo armbian-config
== Network
== Basic network setup
== end0
== Configure
== static Set IP manually
== OK to confirm MAC address
== OK to confirm IP address
== OK to set default route
== OK to set gateway
== OK to set DNS servers
== Back
== Exit
Set up port forwarding on your router
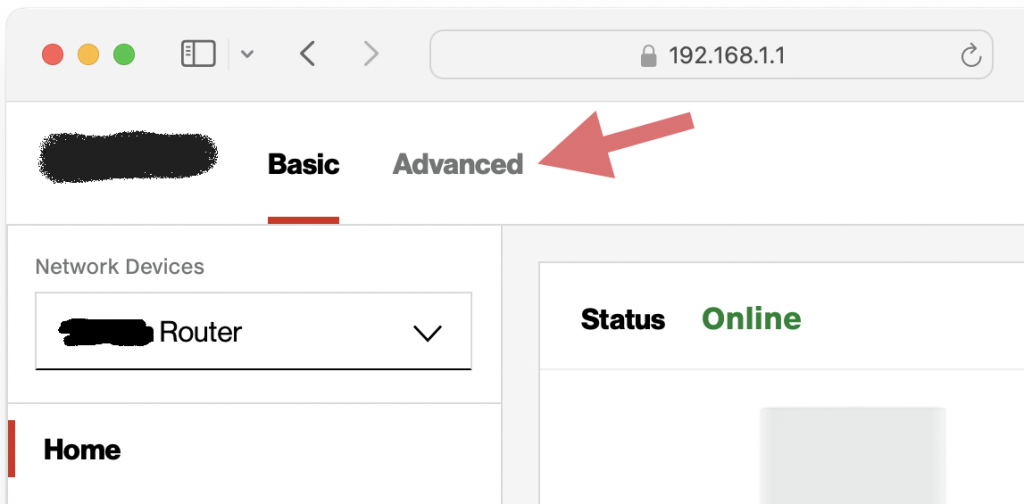
❏ Open a web browser on a desktop computer and enter the IP address for your home router’s admin panel. There’s a good chance the IP address is 192.168.1.1. Press enter, then log in with your admin password. (The admin password may be printed on the back of your router, depending on your ISP.)
❏ If your ISP is V*******, you’ll need to click Advanced at the top of the window to switch to the advanced admin panel.
❏ Navigate to Security & Firewall, then Port Forwarding.
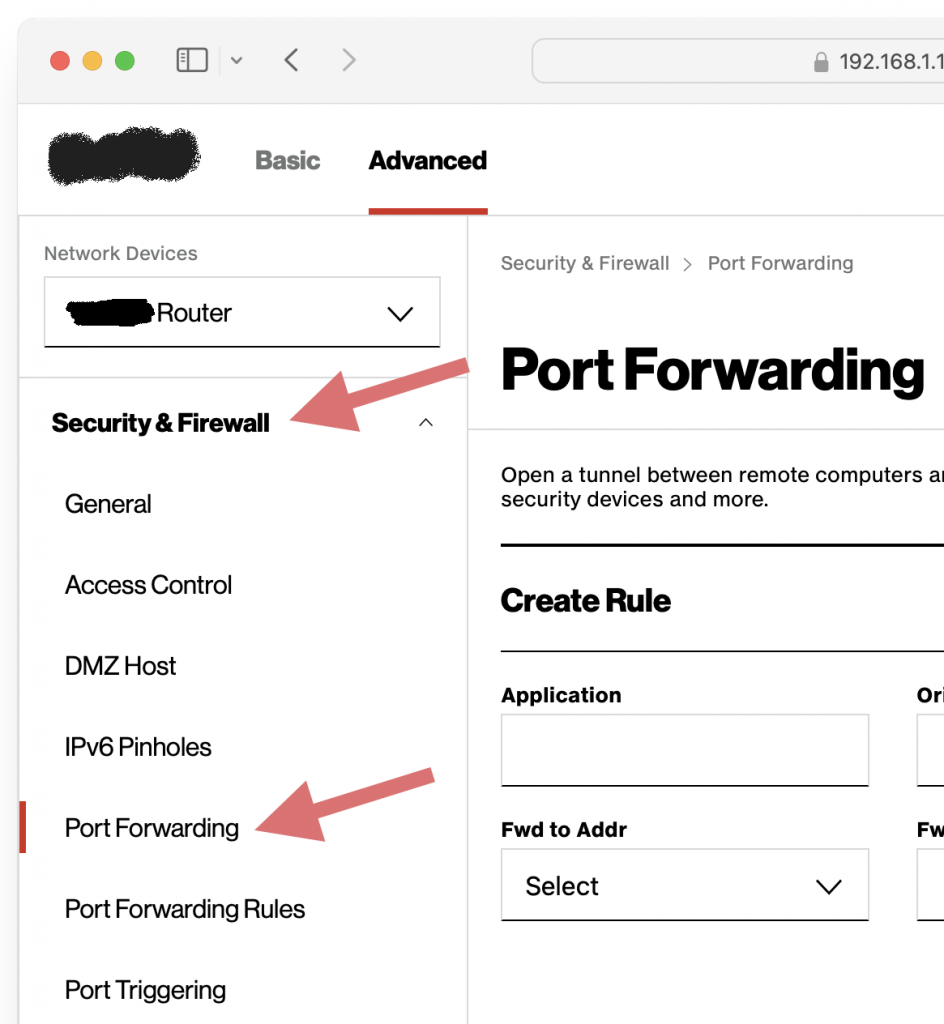
❏ Under Application, give your server a name. The example is called Zine Gallery Server. For Original Port and Forward to Port, enter 80. Protocol should be set to TCP. Under Fwd to Addr, type the static IP address you chose for your server. Under Schedule, Select Always.
❏ When you’re done, click Add to list to create your port forwarding rule. Then click Apply Changes.
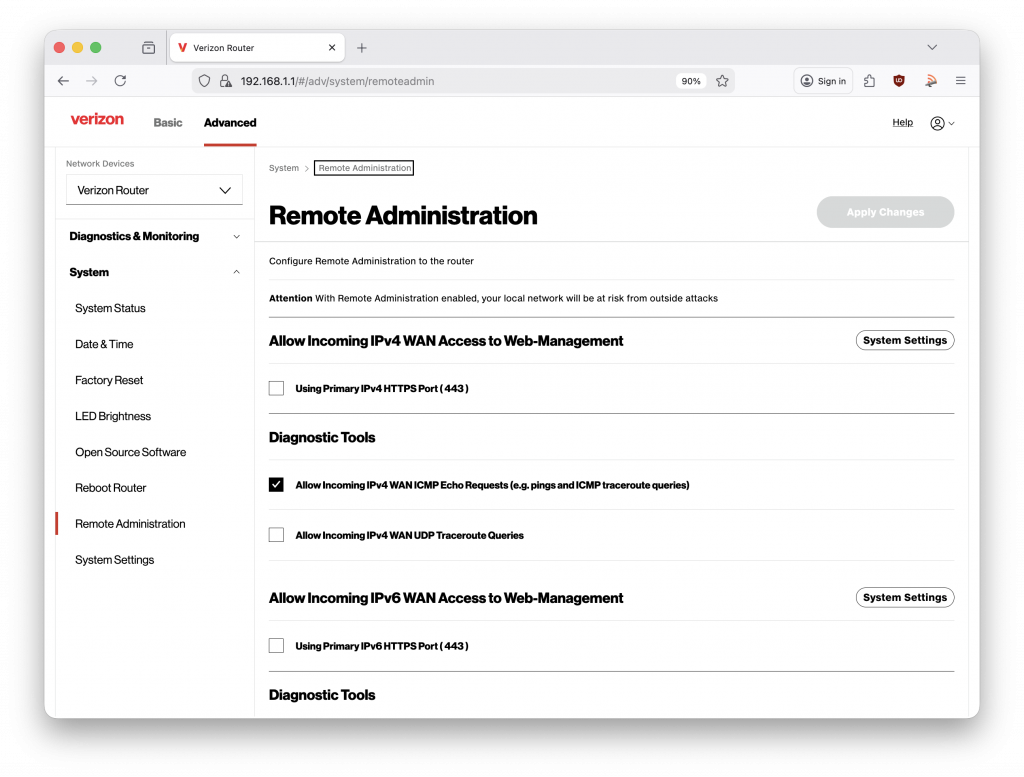
Turn off remote administration on your router
System > Remote Administration
Test your website on the Internet
❏ To confirm port forwarding works, go to ipchicken.com and find your home IP address.
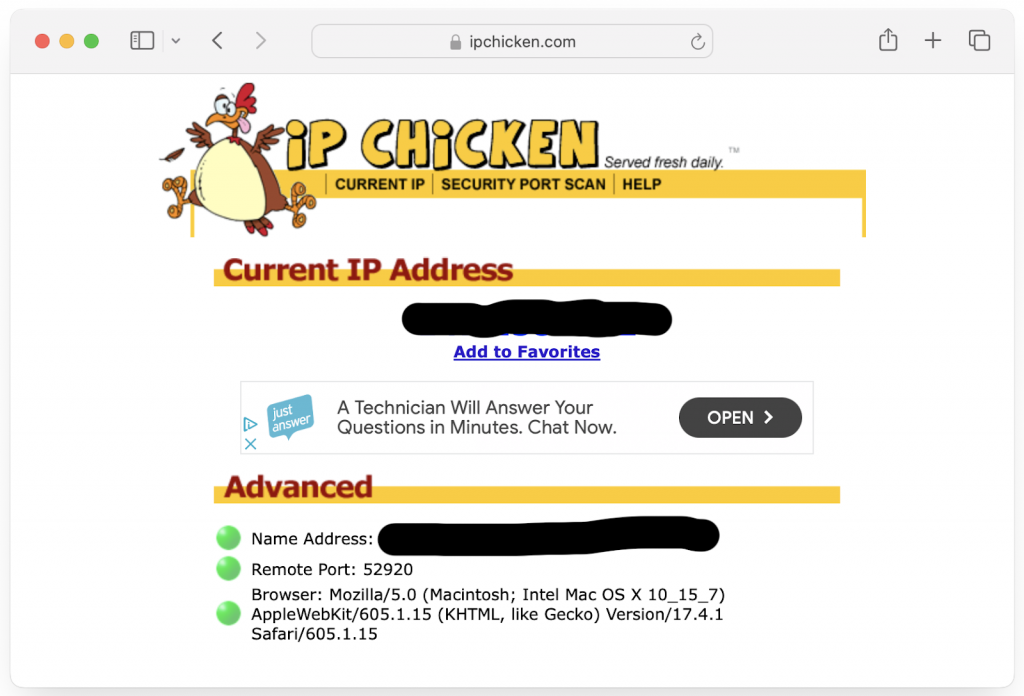
❏ Copy and paste your home IP address into the URL bar and press enter, and you should see your website.
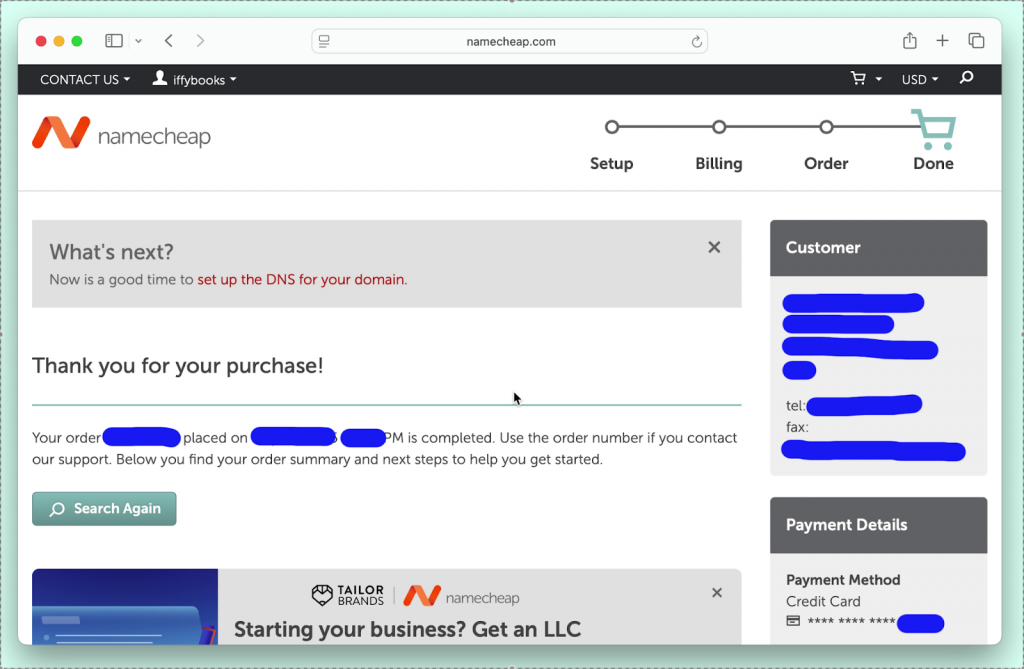
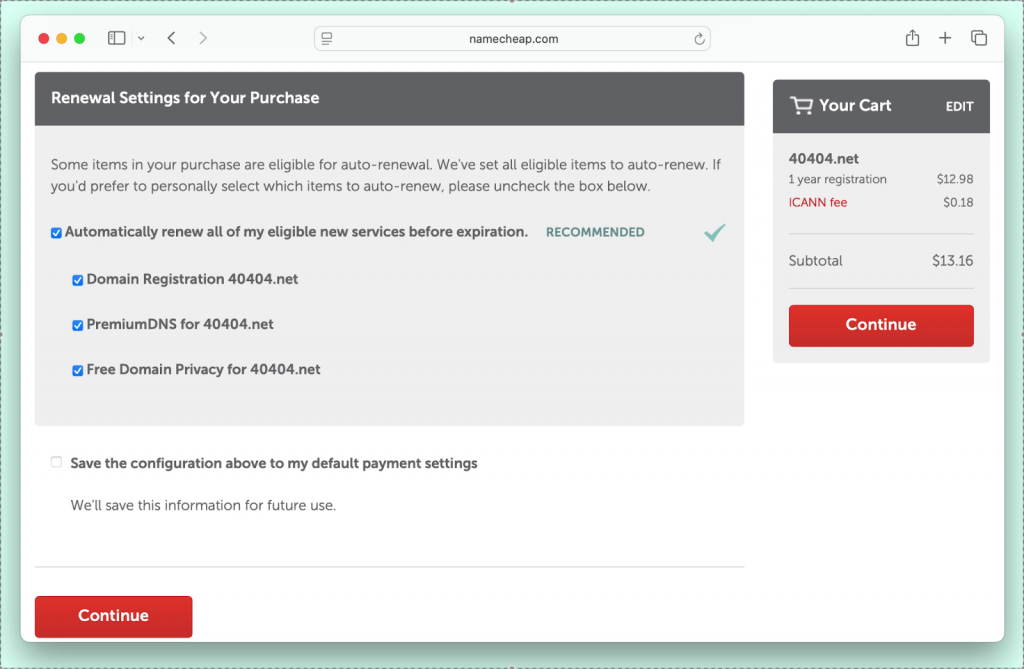
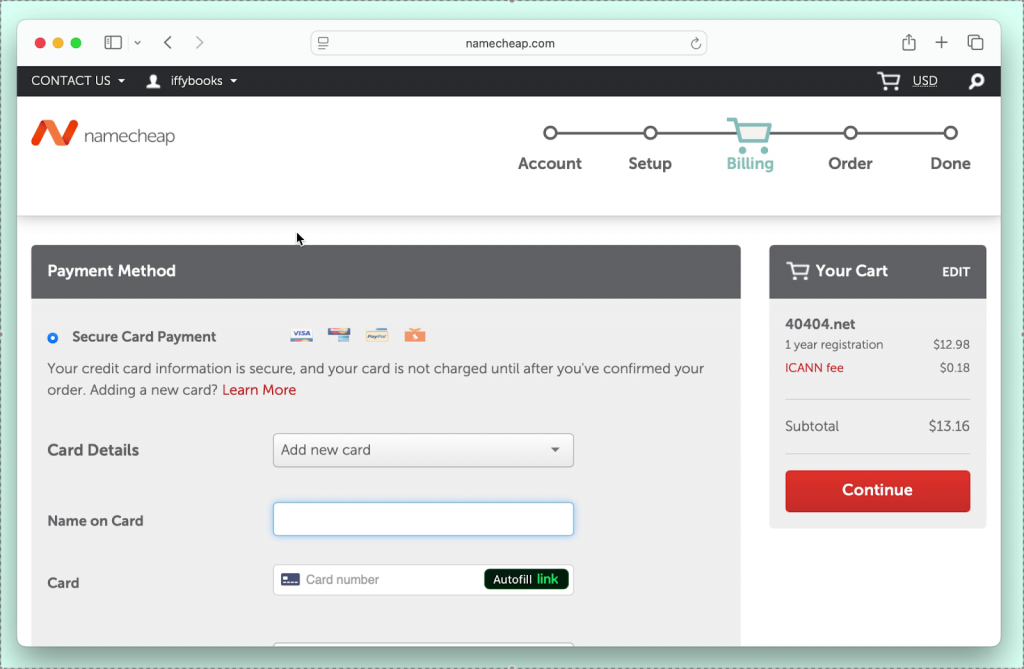
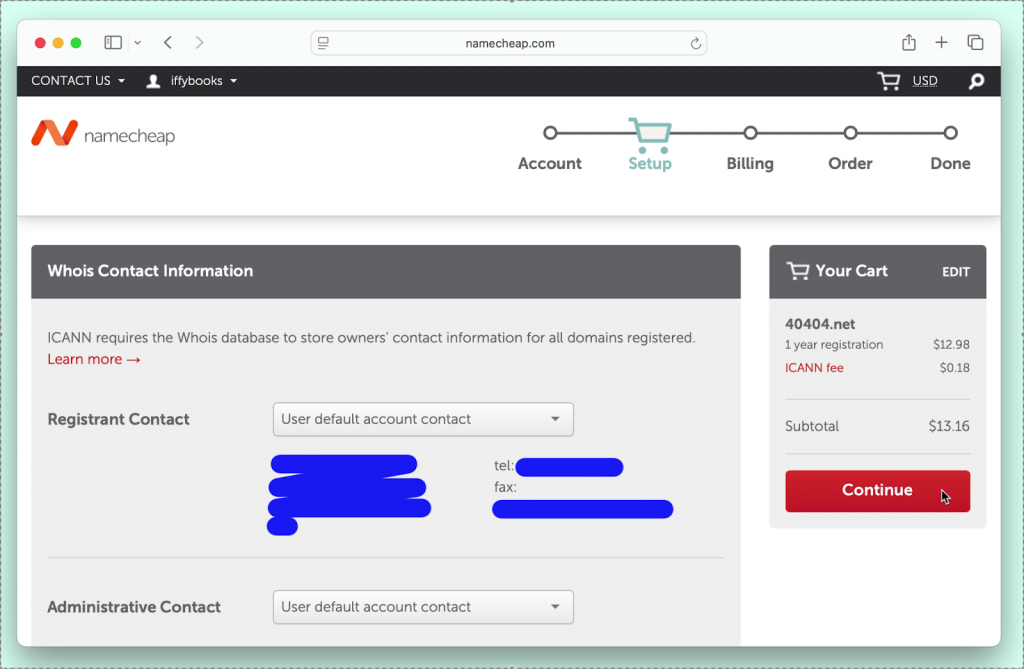
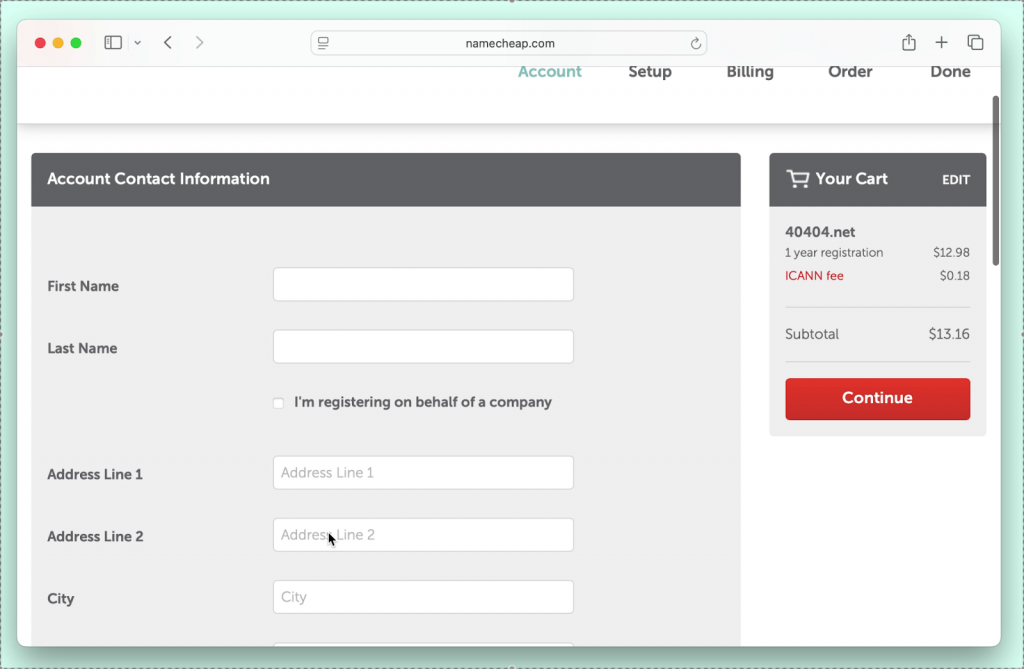
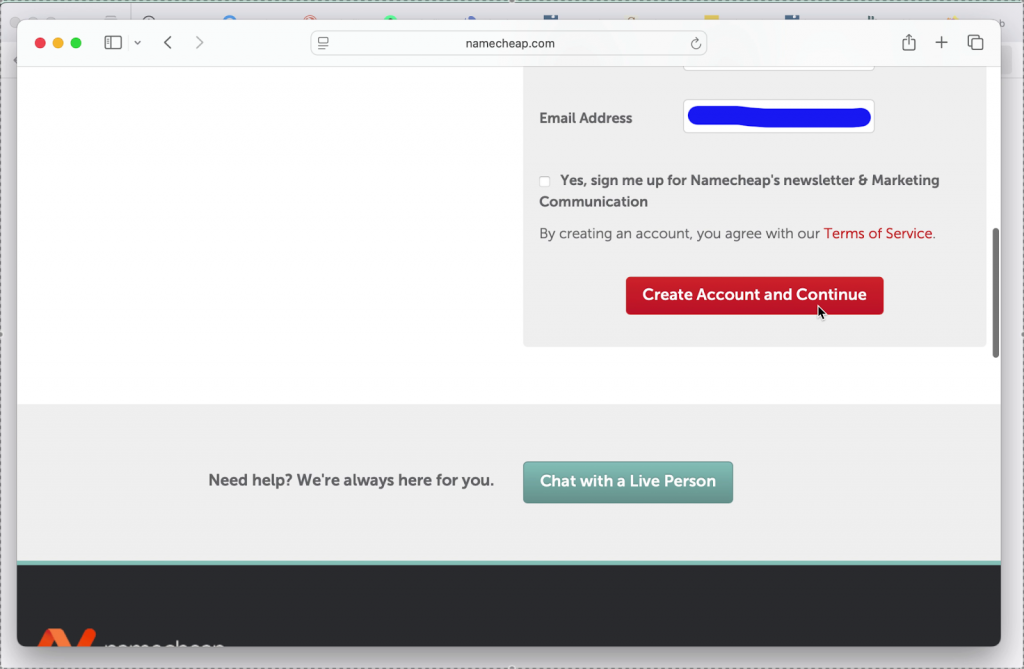
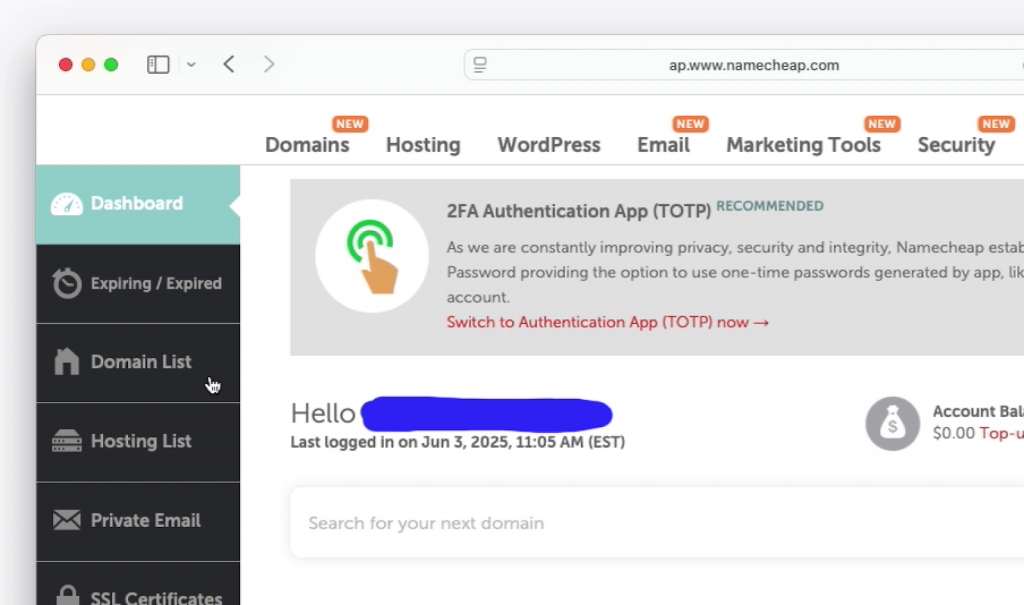
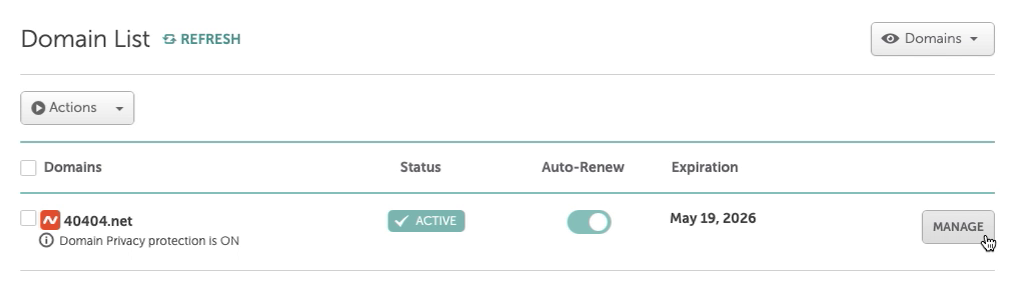
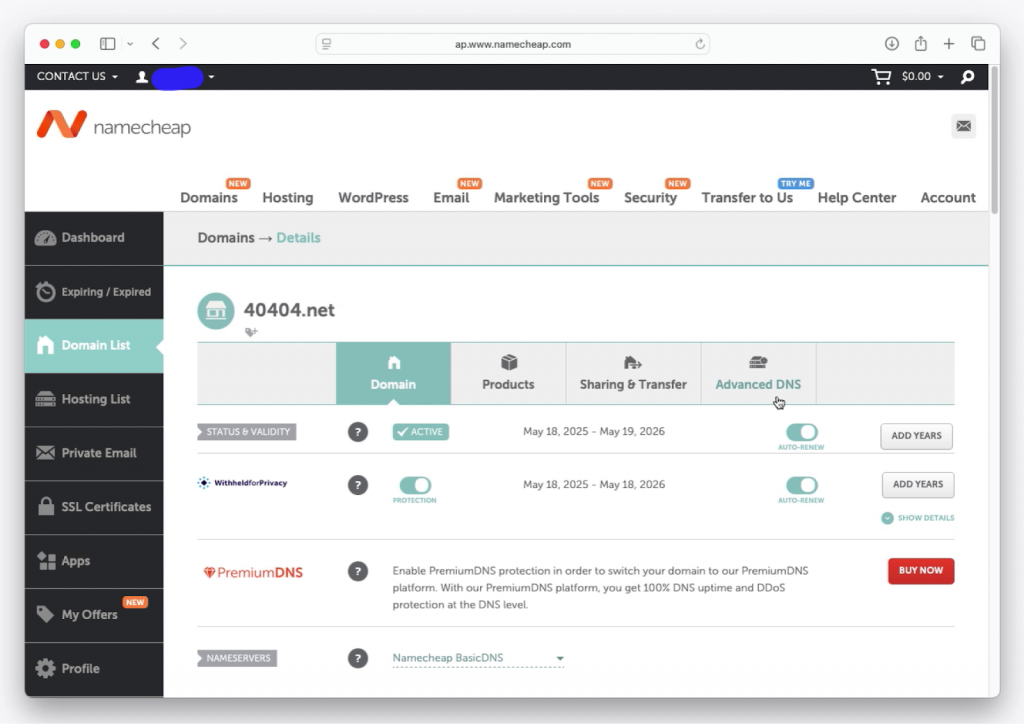
Register a domain
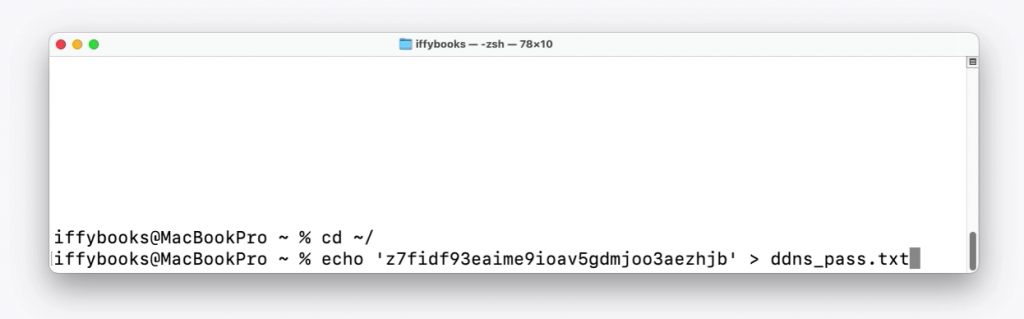
Get DDNS password

..

..
(replace with image from OPZ3)
Set up IP address update script
sudo apt-get install curl
cd ~/
curl –ipv4 icanhazip.com > old_ip_address.txt
echo ‘yourDDNSpassword’ › ~:ddns_pass.txt.png
https://iffybooks.net/ip_address_check.py.txt
crontab -e
Add the following line:
*/5 * * * * python3 ~/ip_address_check
sudo systemctl reboot
Set up TLS certificate with Certbot
== sudo apt-get install snapd
== sudo snap install –classic certbot
== sudo ln -s /snap/bin/certbot /usr/bin/certbot
== sudo certbot –apache
== Type Y to agree to the TOS
== Enter your full domain (including subdomain if you’re using one)
== Success!
== sudo certbot renew –dry-run
== Success!
== sudo systemctl reboot
▶ Use to top to check system status
sudo
q to quit
▶ Use free to check available RAM
sudo
▶ Use df to check free disk space
sudo
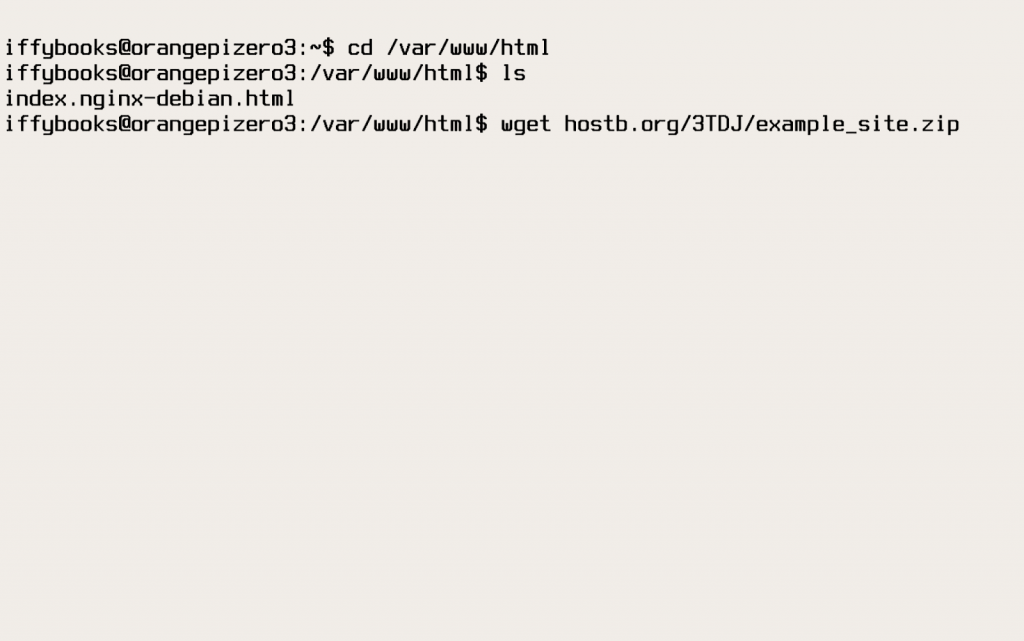
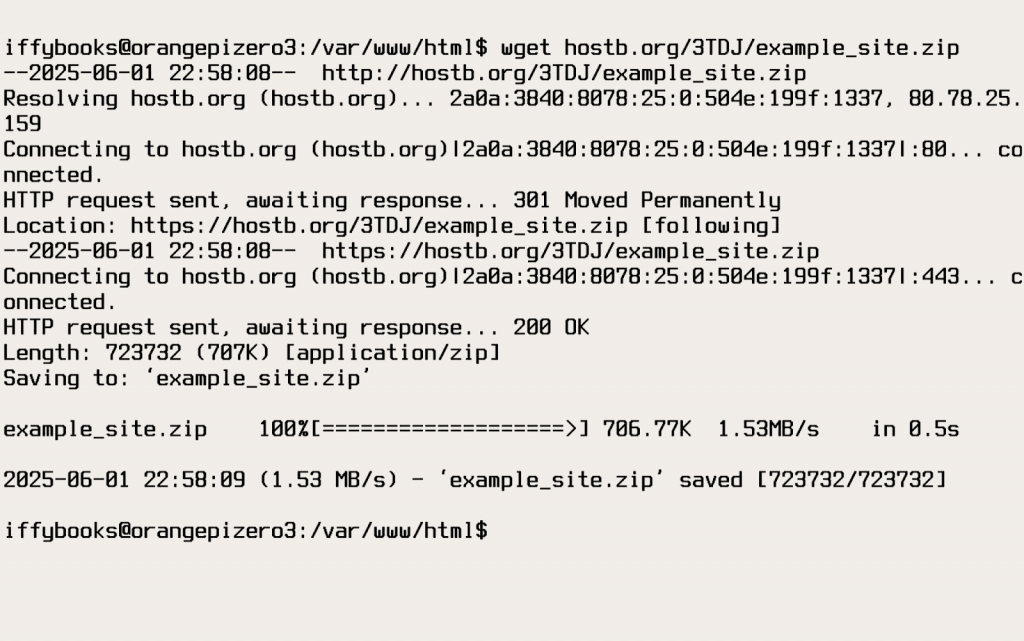
▶ Transfer website files using a file locker


Anti-Copyright 2024-’26
Iffy Books
404 S. 20th St., PHL
iffybooks.net