➡️ Thonny IDE
➡️ Example code
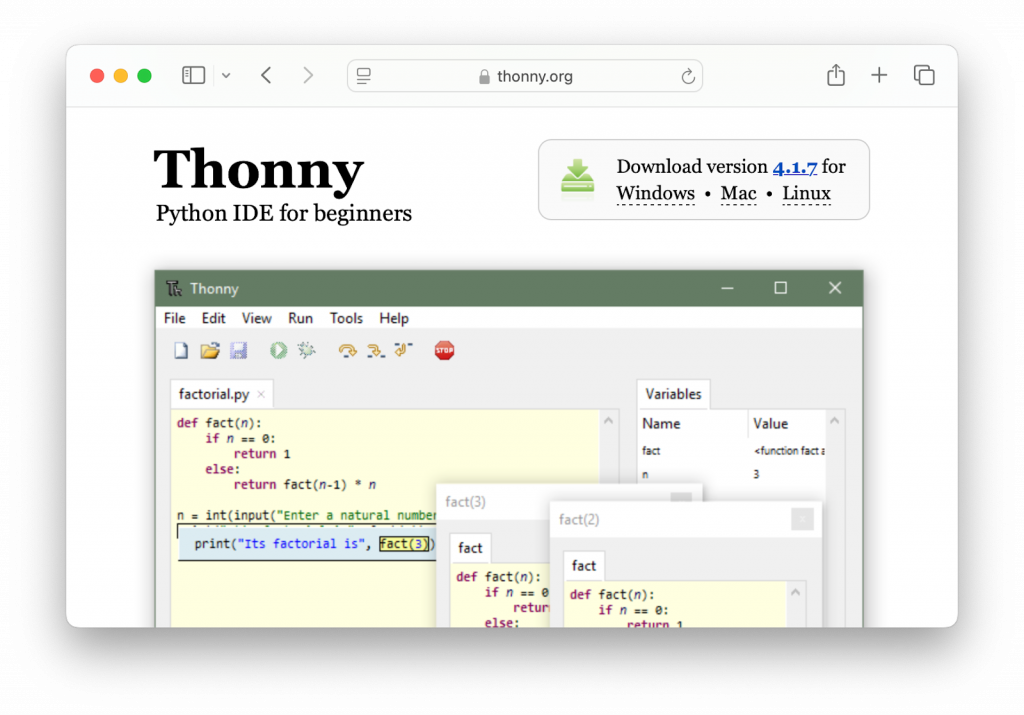
Install Thonny
For this project we’ll use Thonny, a free and open-source integrated development environment (IDE) for the Python programming language. We’re using Thonny because it’s beginner-friendly and has built-in support for Pi Pico boards.
Note: If you don’t have install privileges on your system, you can complete this project with any text editor that supports plaintext files, such as Notepad on Windows or TextEdit on macOS. (In TextEdit you’ll need to open the preferences and turn smart quotes off.)
Go to the URL below. Click the download link for your operating system (Windows/macOS/Linux) and install Thonny.
https://thonny.org
Install MicroPython firmware
Next you’ll install the CircuitPython firmware on your Pi Pico, which makes it possible for the device to run CircuitPython code.
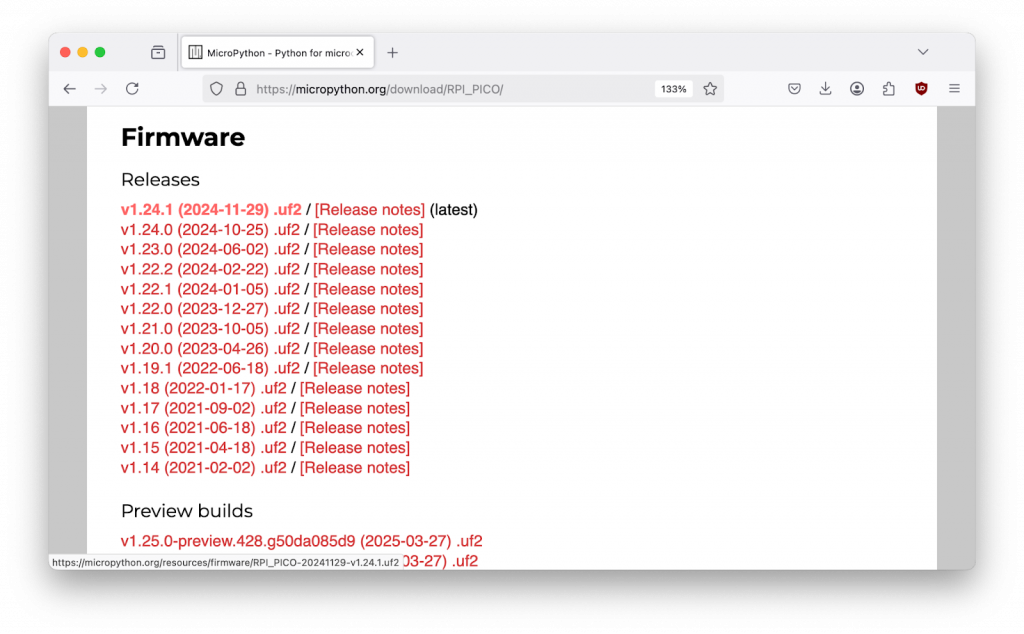
Open a web browser and go to the following URL:
https://micropython.org/download/RPI_PICO

Download the most recent firmware release.
Plug a micro USB cable into your Pi Pico.
Note: Some micro USB cables provide power but don’t have the wires needed to transfer data. If you have trouble with the next step, try using a different cable.
While holding down the BOOTSEL button on your Pi Pico, plug the other end of the USB cable into your computer.
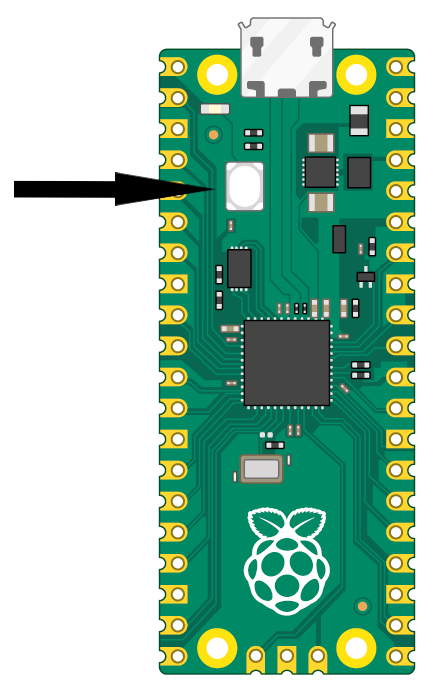
You should see a drive called RPI-RP2 appear in your file manager (a.k.a. macOS Finder/Windows File Explorer).
Go to your Downloads folder and drag the .uf2 firmware file you downloaded to the RPI-RP2 drive.
The RPI-RP2 drive will disappear, which means the MicroPython firmware was installed successfully.
Copy and paste starter code into Thonny
Go to the following URL and copy the whole code block:
https://iffybooks.net/thrash-bot-code.py.txt
Paste the code into a new document in Thonny. Save the file to your Pi Pico with the following name: main.py
Solder header pins to Pi Pico
Line up three header pins with the pin holes on each side of the microUSB port, so that VBUS, GP0, and GND on your Pi Pico each has a header pin. (If you have a breadboard handy, you can use it to hold the header pins in place while you solder. Or stick them down into a ball of Play-Doh.)
Apply flux paste to each joint and solder the header pins in place.
Attach servo motor to Pi Pico
• The red wire from your servo motor goes to VBUS on your Pi Pico board
• Yellow goes to GP0
• Brown goes to GND
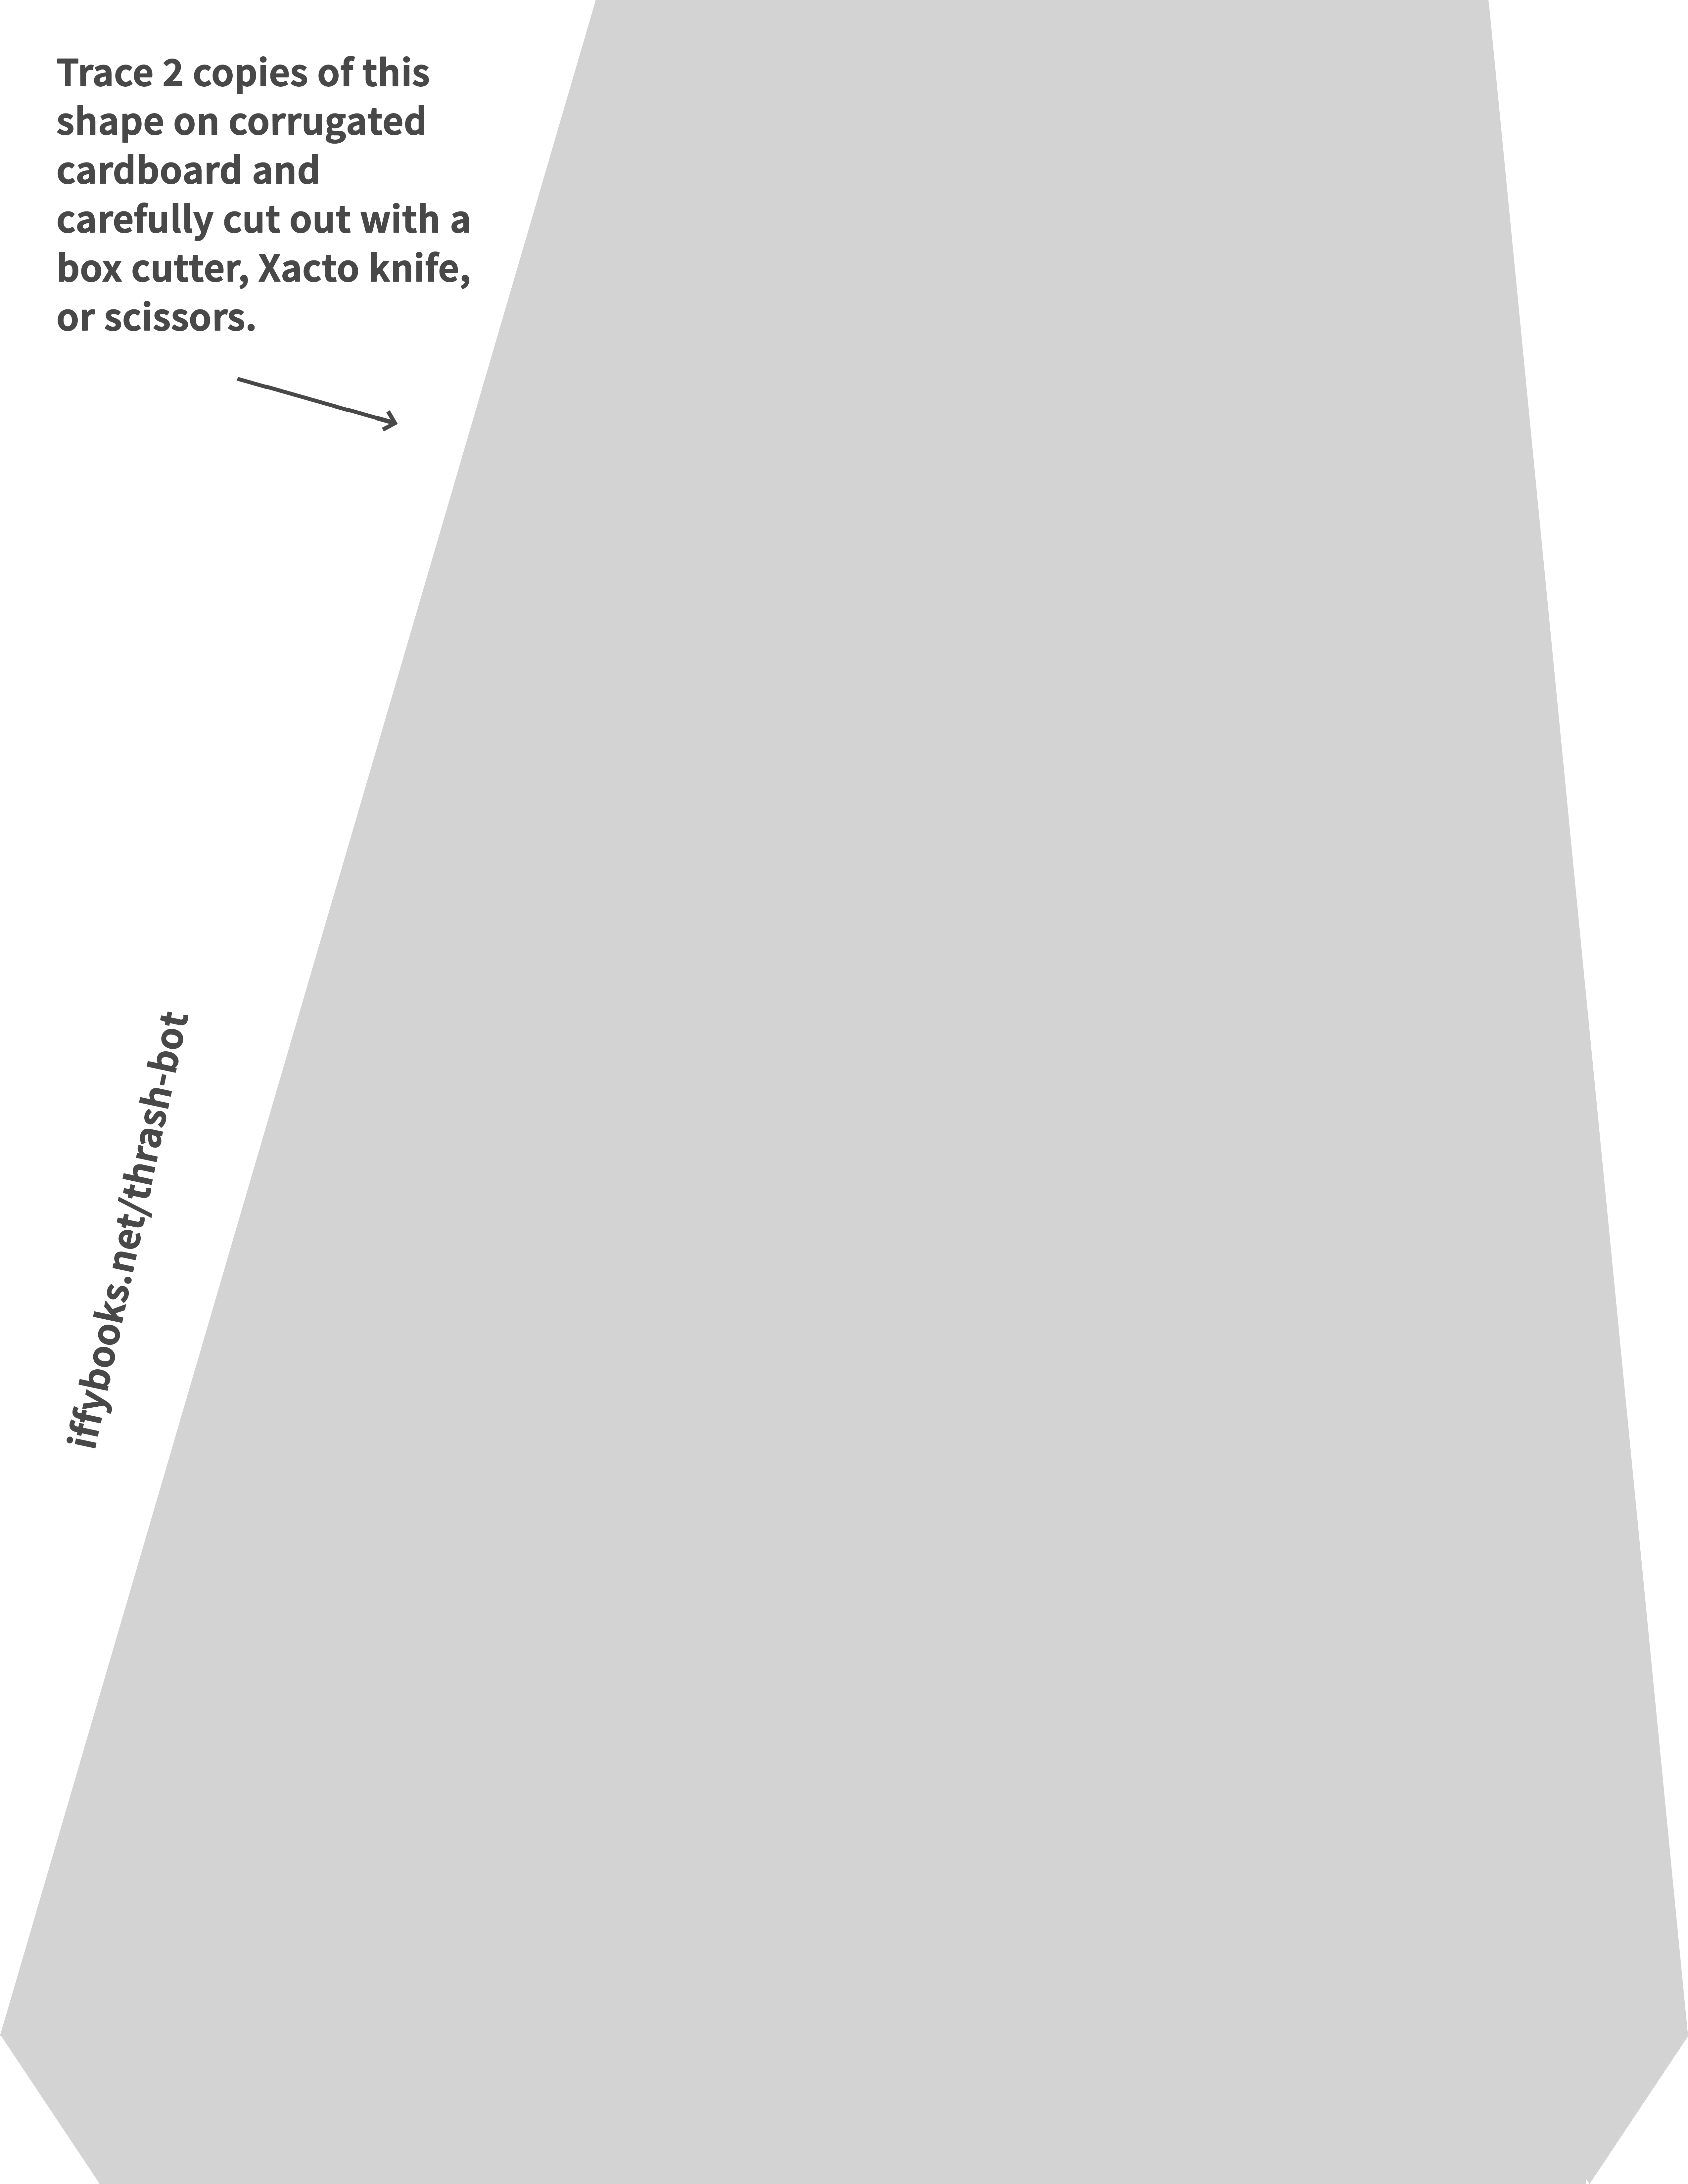
Assemble Cardboard Stand
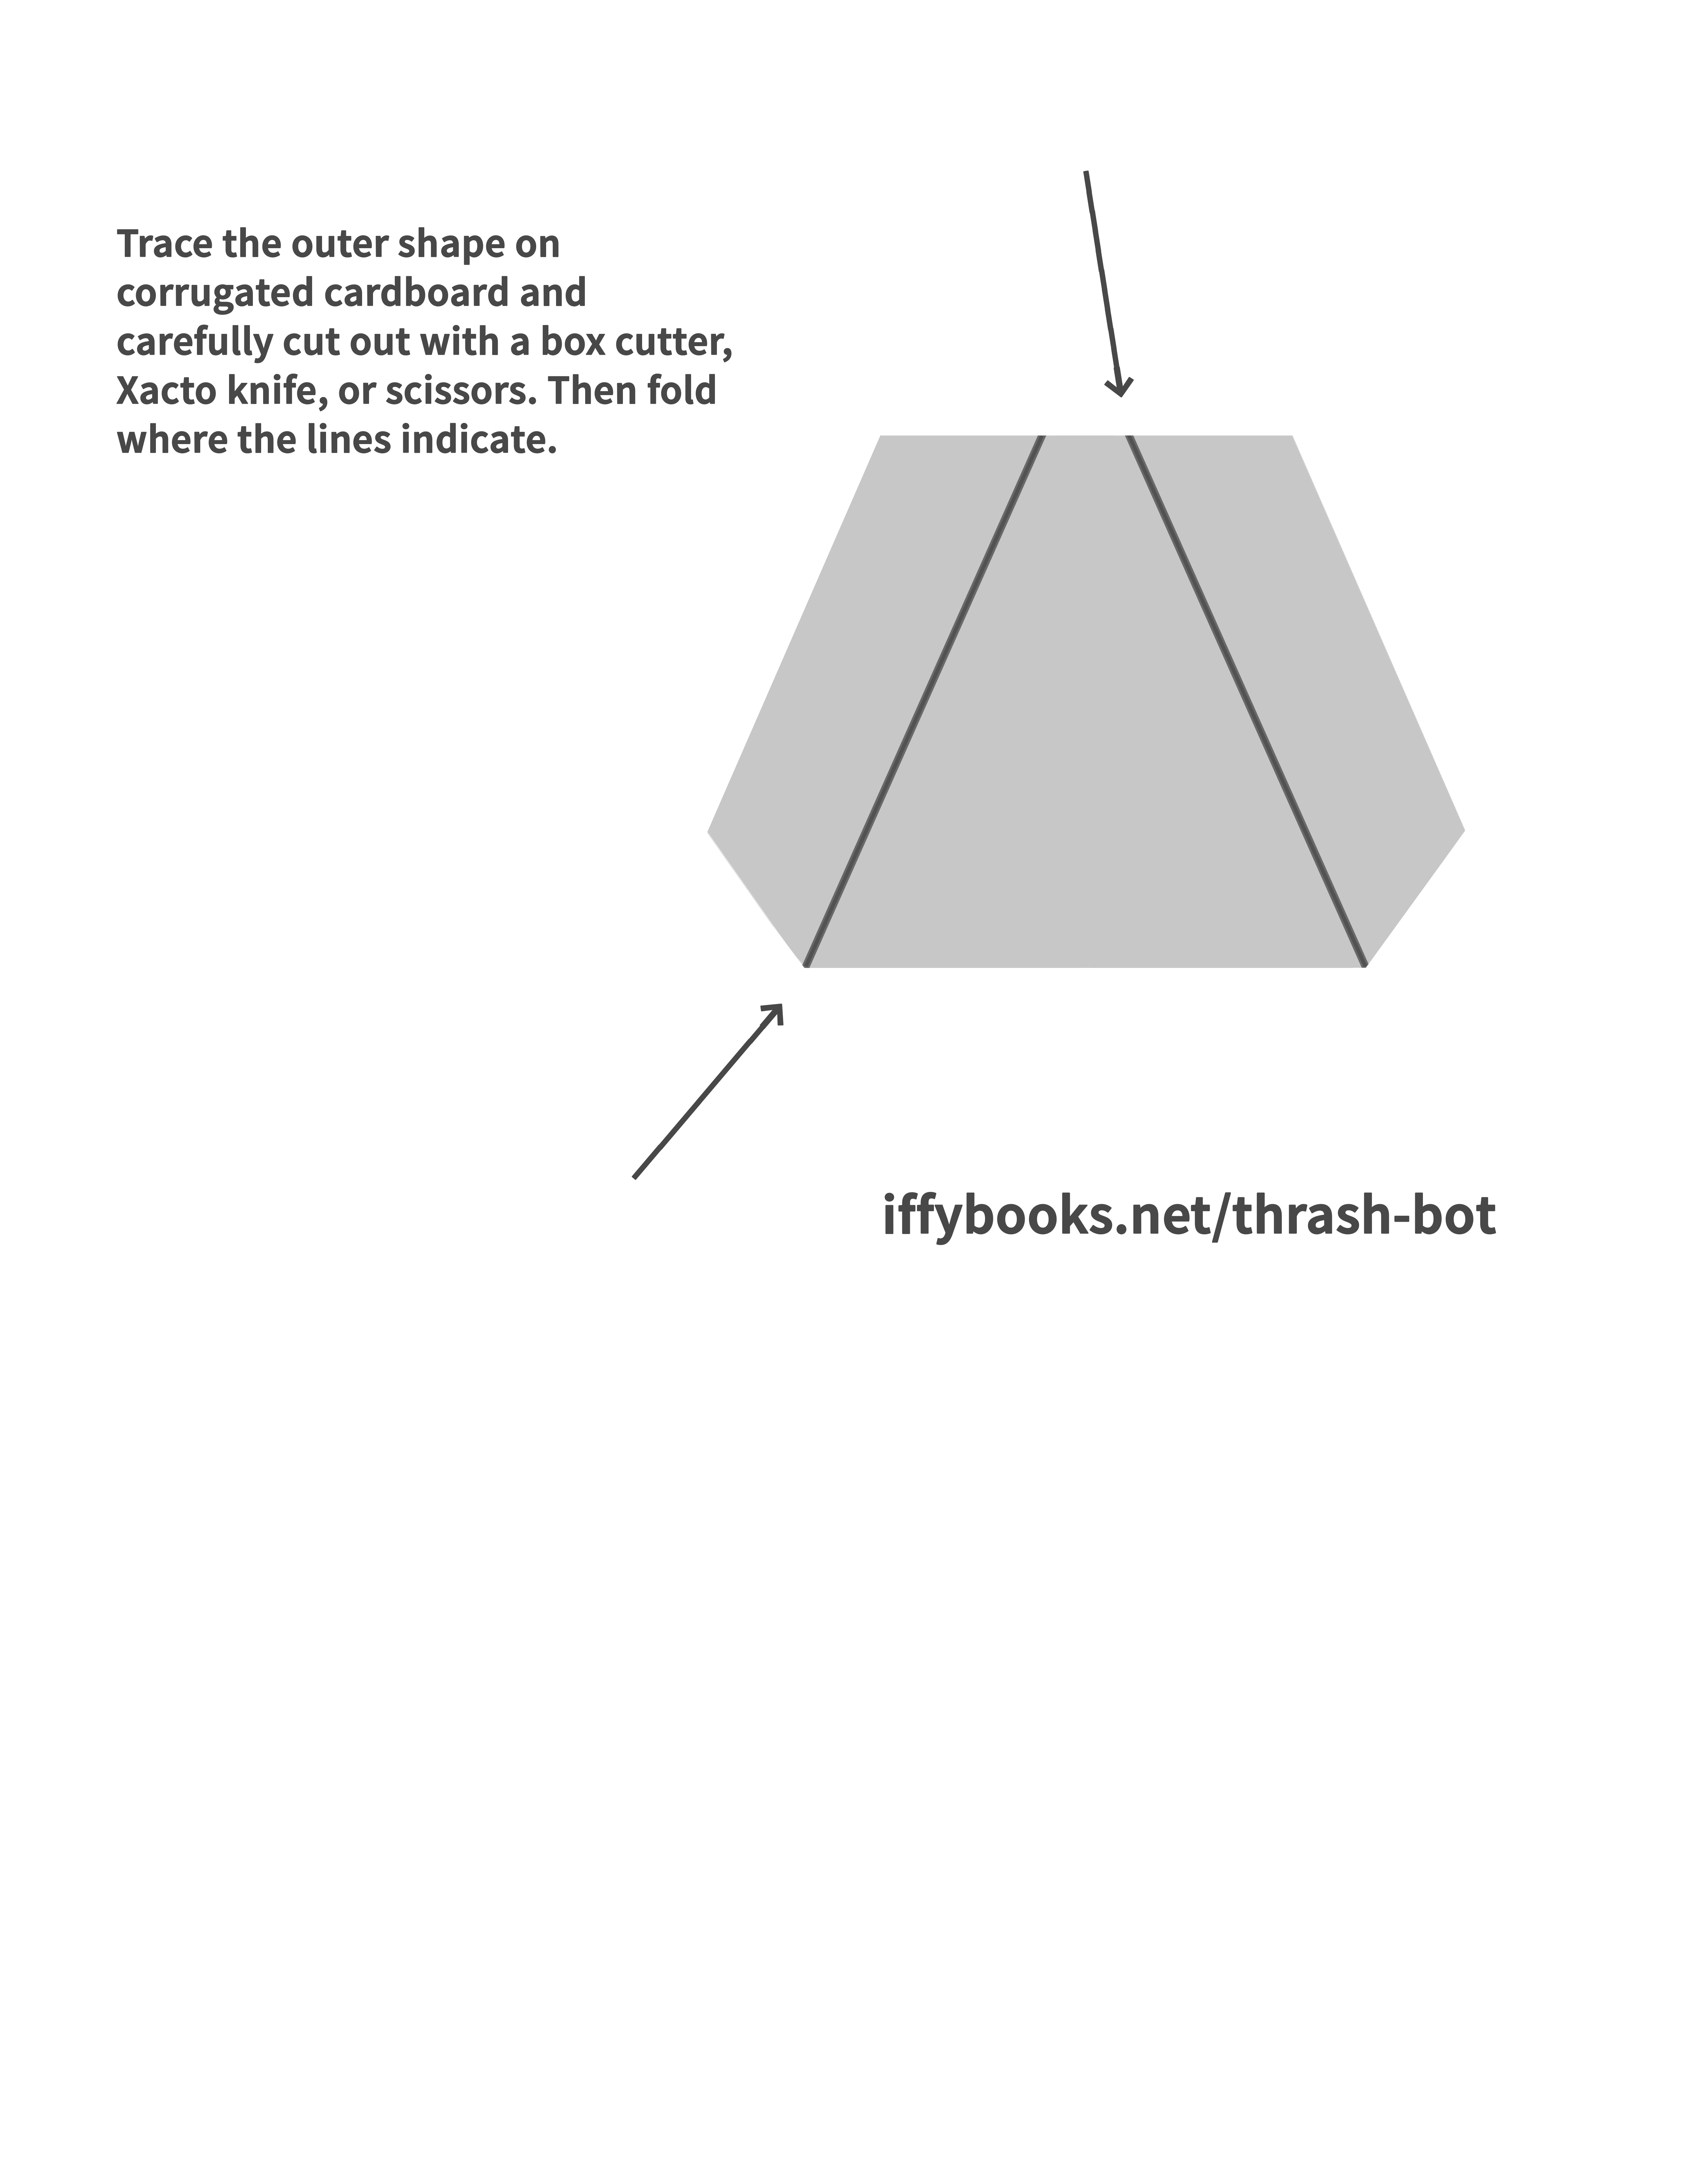
Print the following template pages on letter paper (8.5″x11″), then use pencil to transfer the shapes onto sheets of corrugated cardboard. Then carefully cut out the shapes using a box cutter, Xacto knife, or scissors.
Use glue and/or packing tape to assemble your stand, with the square at the bottom and the narrow ends of the two trapezoids meeting at the top.
Fold the small rectangle in the pattern below lengthwise, then glue it under the point where the two trapezoid pieces meet.

Line up your servo motor in the center of the triangle below with the rotor facing out, perpendicular to the cardboard. Use a pencil to trace the servo motor’s shape, then carefully cut out the rectangle using a box cutter, Xacto knife, or scissors.
Fold the shape below along the indicated lines, then apply glue to the tabs and attach at the peak of your stand where the two trapezoids meet. Once it’s dry, wedge the servo motor into the rectangular hole and reinforce with packing tape if necessary.
Attach hardware to servo motor
Choose one of the white plastic attachments that came with your servo motor and screw it into the rotor using a small Phillips screwdriver.
Next, use twist tie wire to attach one end of your guitar string segment to the plastic attachment on your servo motor.
Set up a guitar and jam!
Place the neck of a guitar through your cardboard stand’s triangular opening. Use books/magazines to adjust the height as needed.
When you connect your Pi Pico to power, the servo motor will spin around and make an unholy racket. 😎